
Forward the message
To forward the message, do one of the following:
-
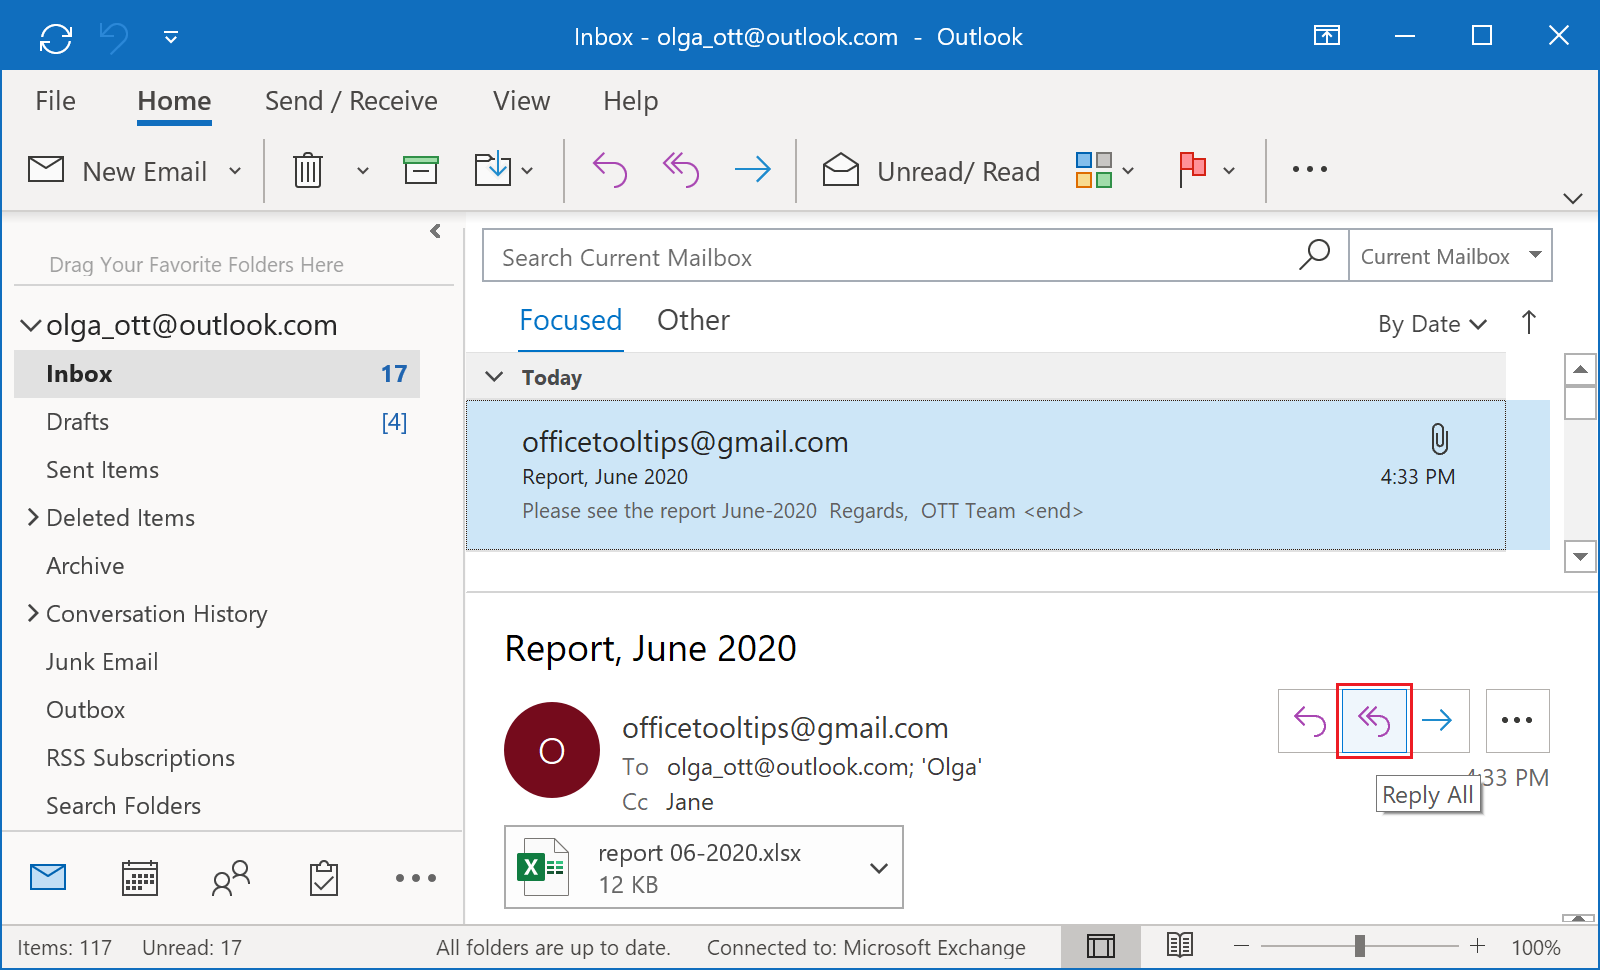
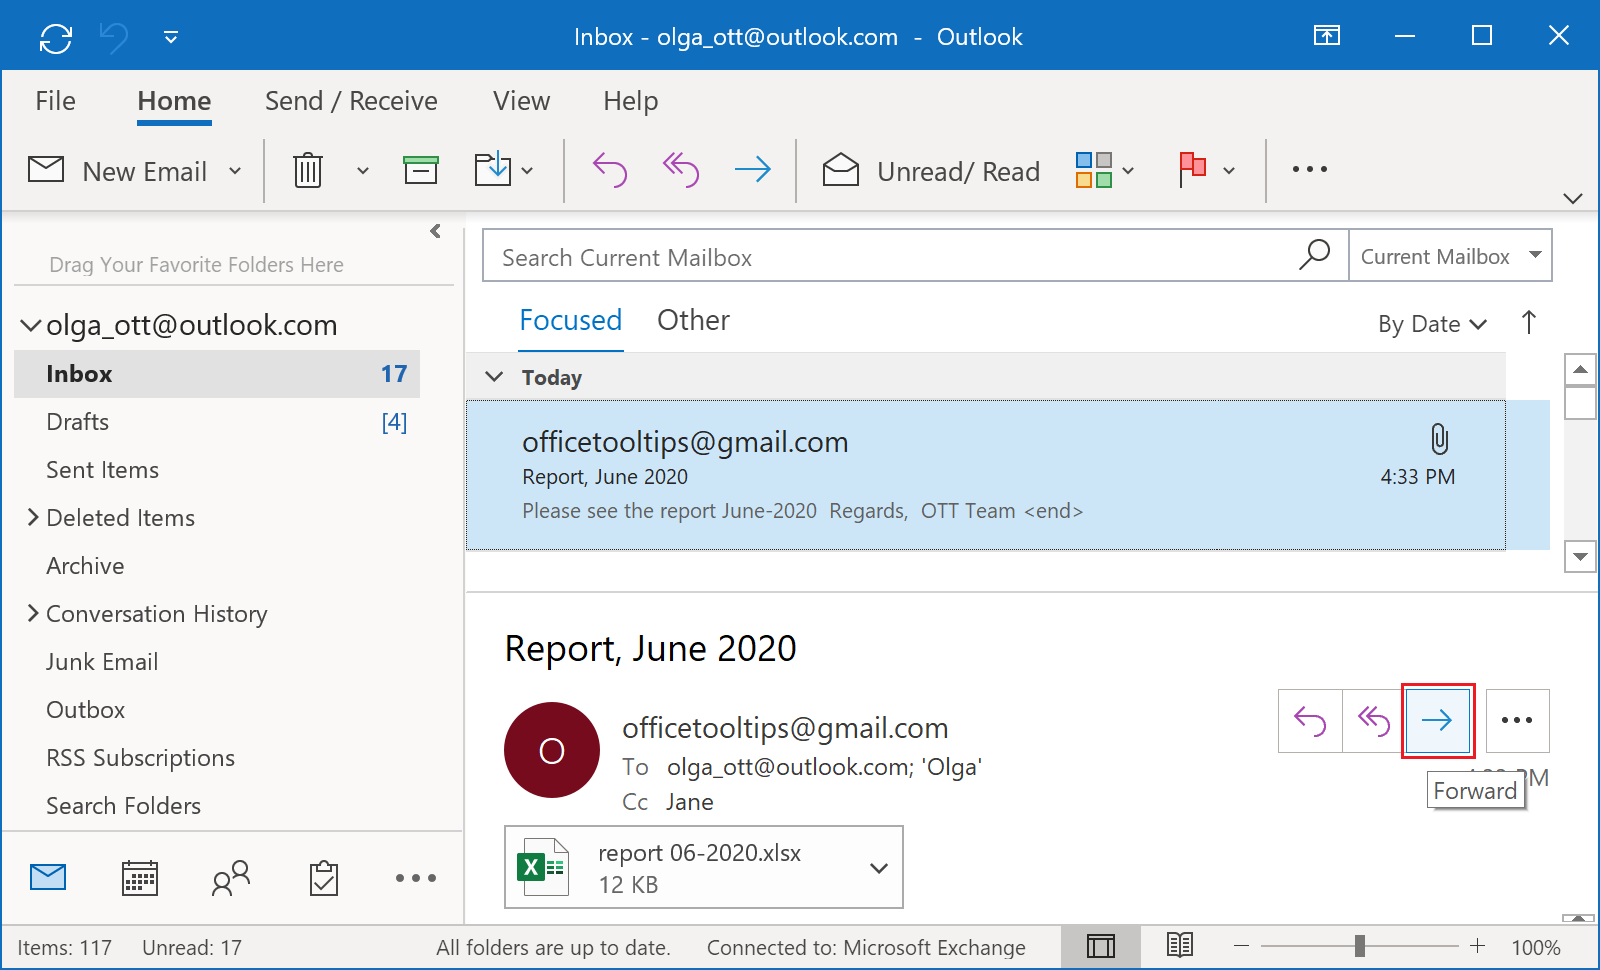
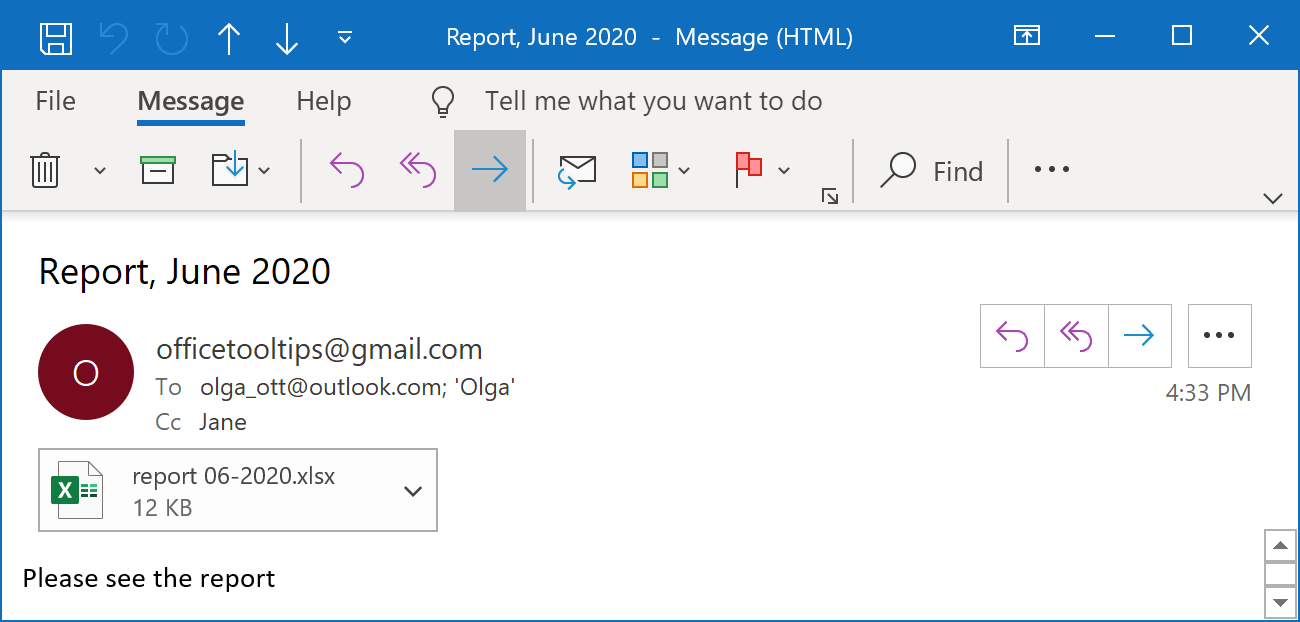
In the Reading pane or the Message window, click the Forward button at the top right
corner of the message pane:
-
In the Reading pane or the Message window, click the Forward button on the ribbon:
- Right-click on the selected message and choose the Forward action from the popup menu.
- Click Ctrl + F in the selected message.
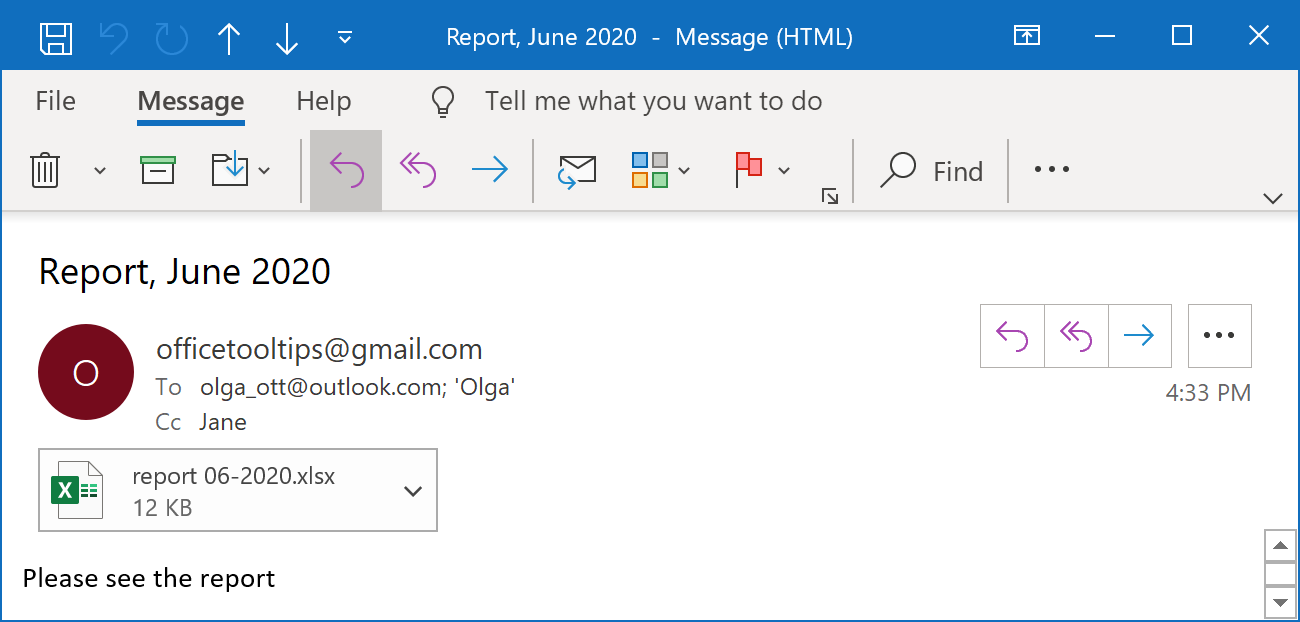
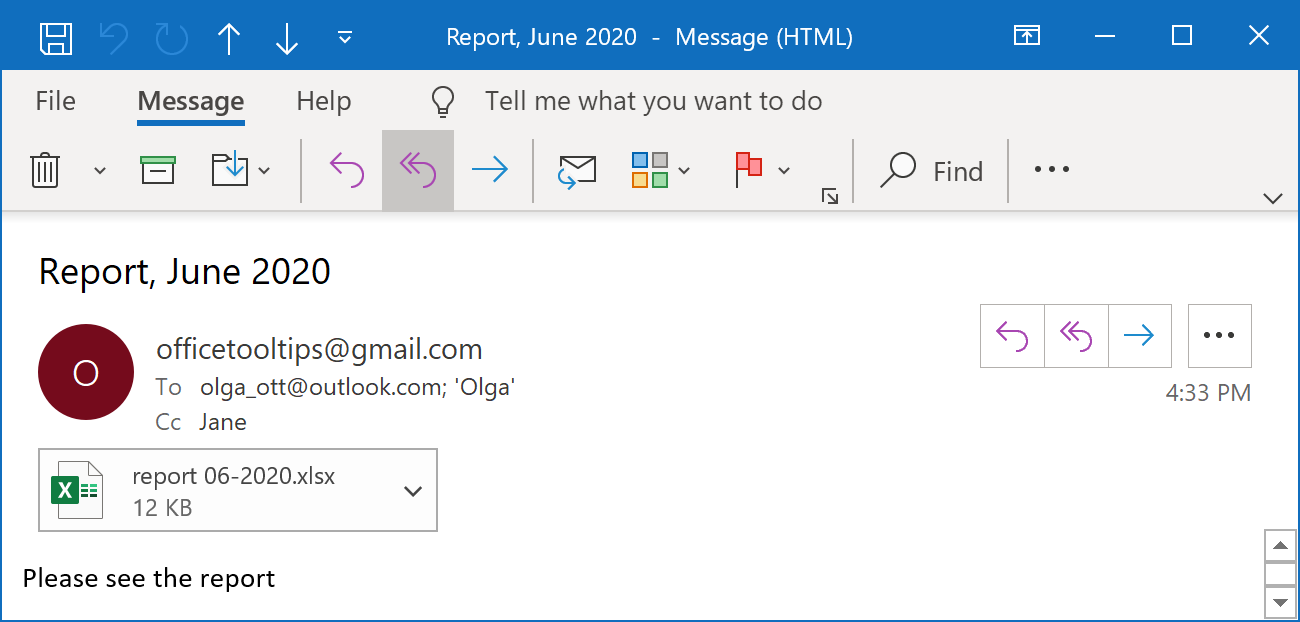
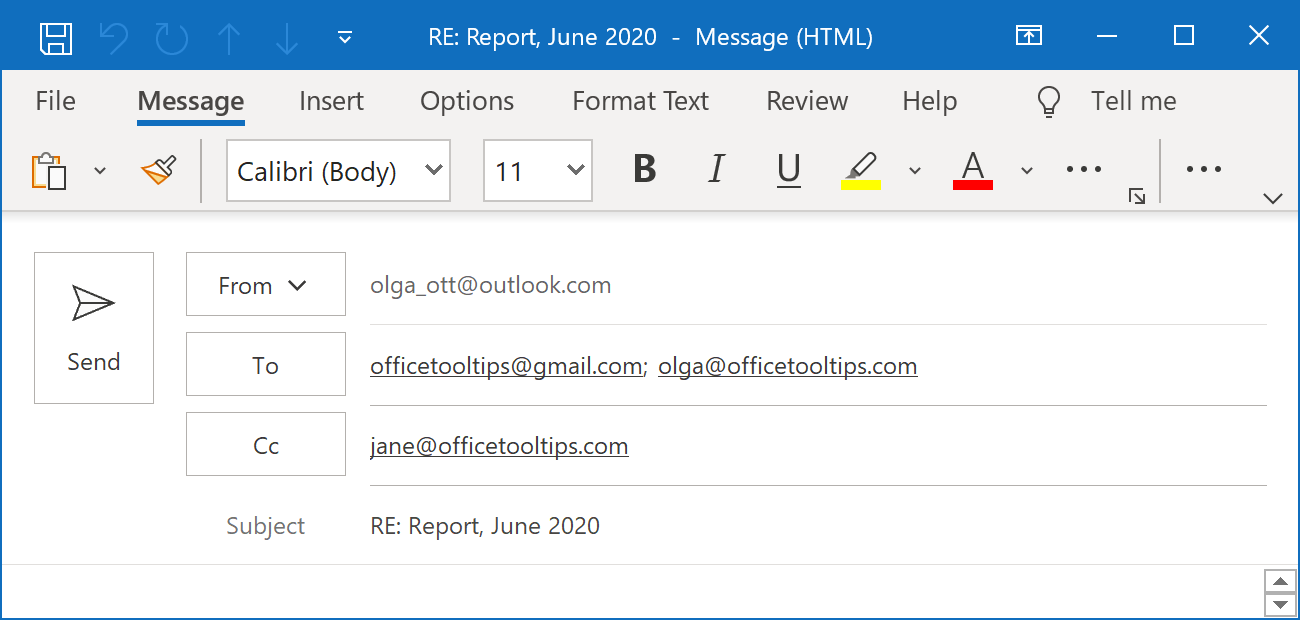
Outlook creates a new message with:
- Your email address in the From field (if available) for the account that received this message.
- Empty To, Cc, and Bcc (if available) fields.
- The original message subject prefixed by “FW:” in the Subject field:
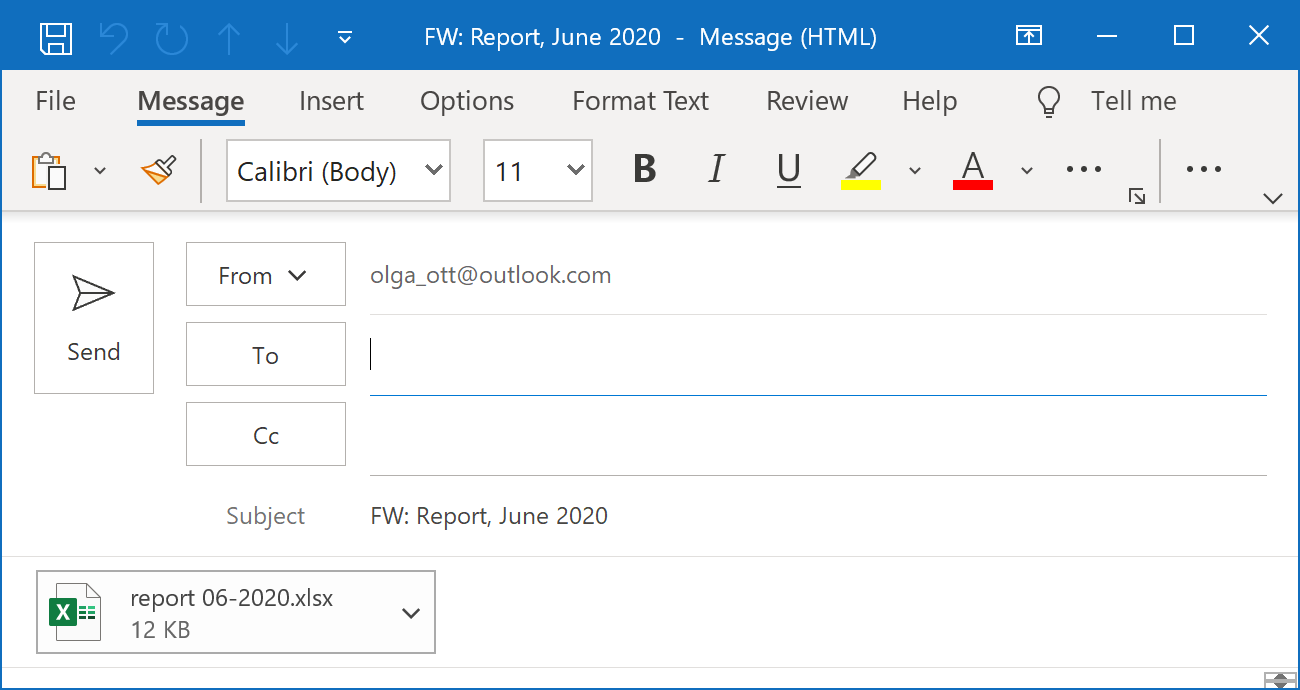
Fill the recipient's addresses, the body of the message, and then click the Send button.
- Outlook forwards only one message at a time.
- Outlook keeps the original message in the mailbox folder and sends a copy to the new recipients.
Forward as an attachment
Outlook changes the original email text and subject on forward. If you need to keep the original message “as is”, you need to send it as an attachment (see how to forward several messages in one as attachments). To forward the message as an attachment, in the Reading pane or the Message window, click the ... (ellipsis) button at the top right corner of the message pane and choose the Forward as Attachment action from the drop-down list:

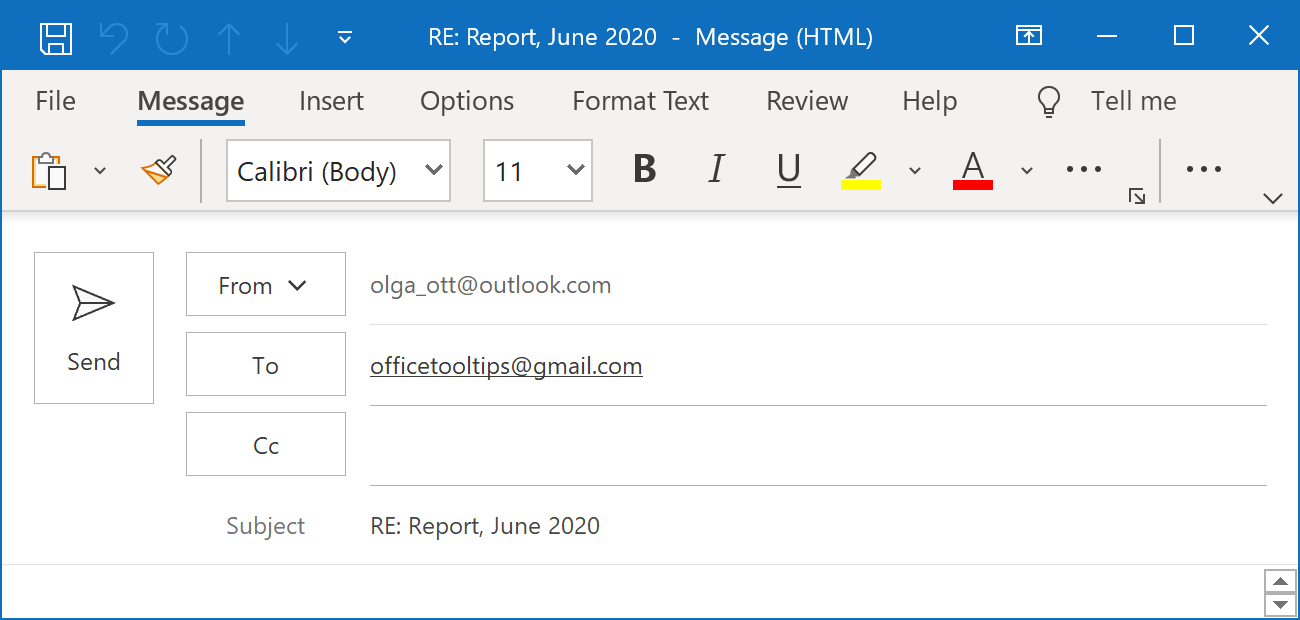
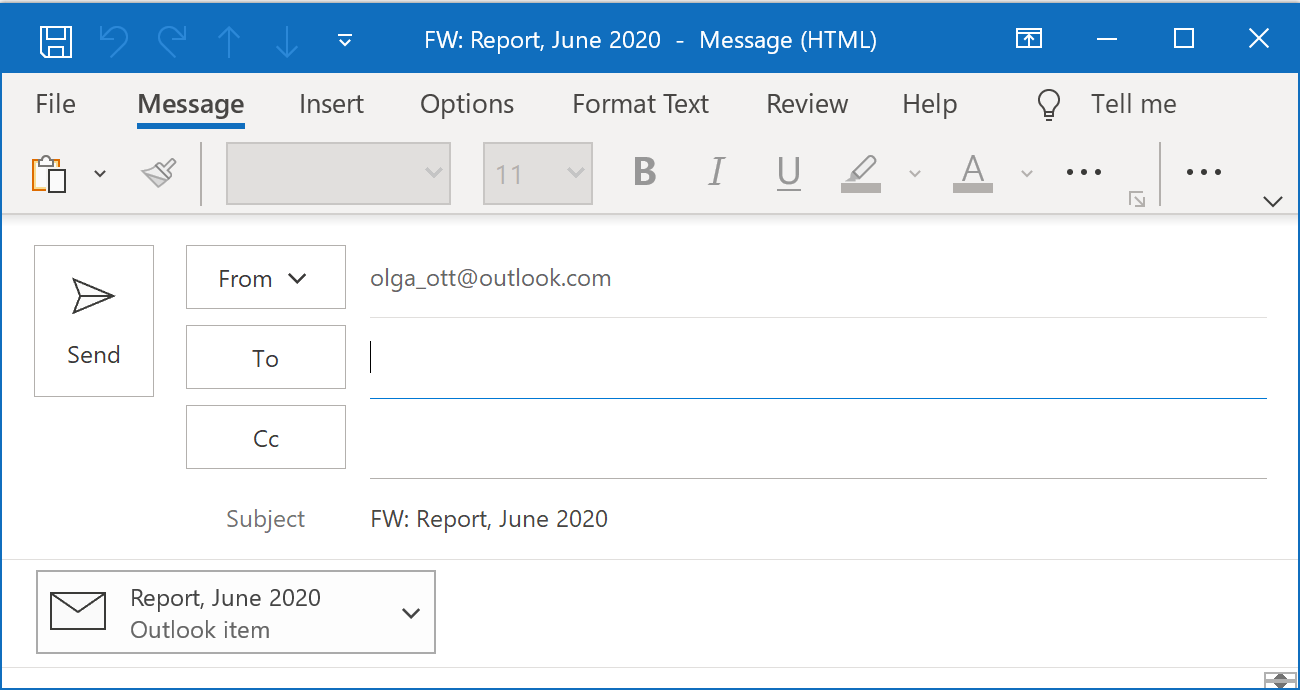
Outlook creates a new message with:
- The filled From field (if available) with an account to which you have received this message.
- Empty To, Cc, and Bcc (if available) fields.
- The filled Subject field with the original subject and prefix “FW:”
- The attached original message:
You can change any of the automatically filled fields. Fill the recipient's addresses, the body of the message, and then click the Send button.
Include/exclude original content
To specify the text included in response messages, do the following:
-
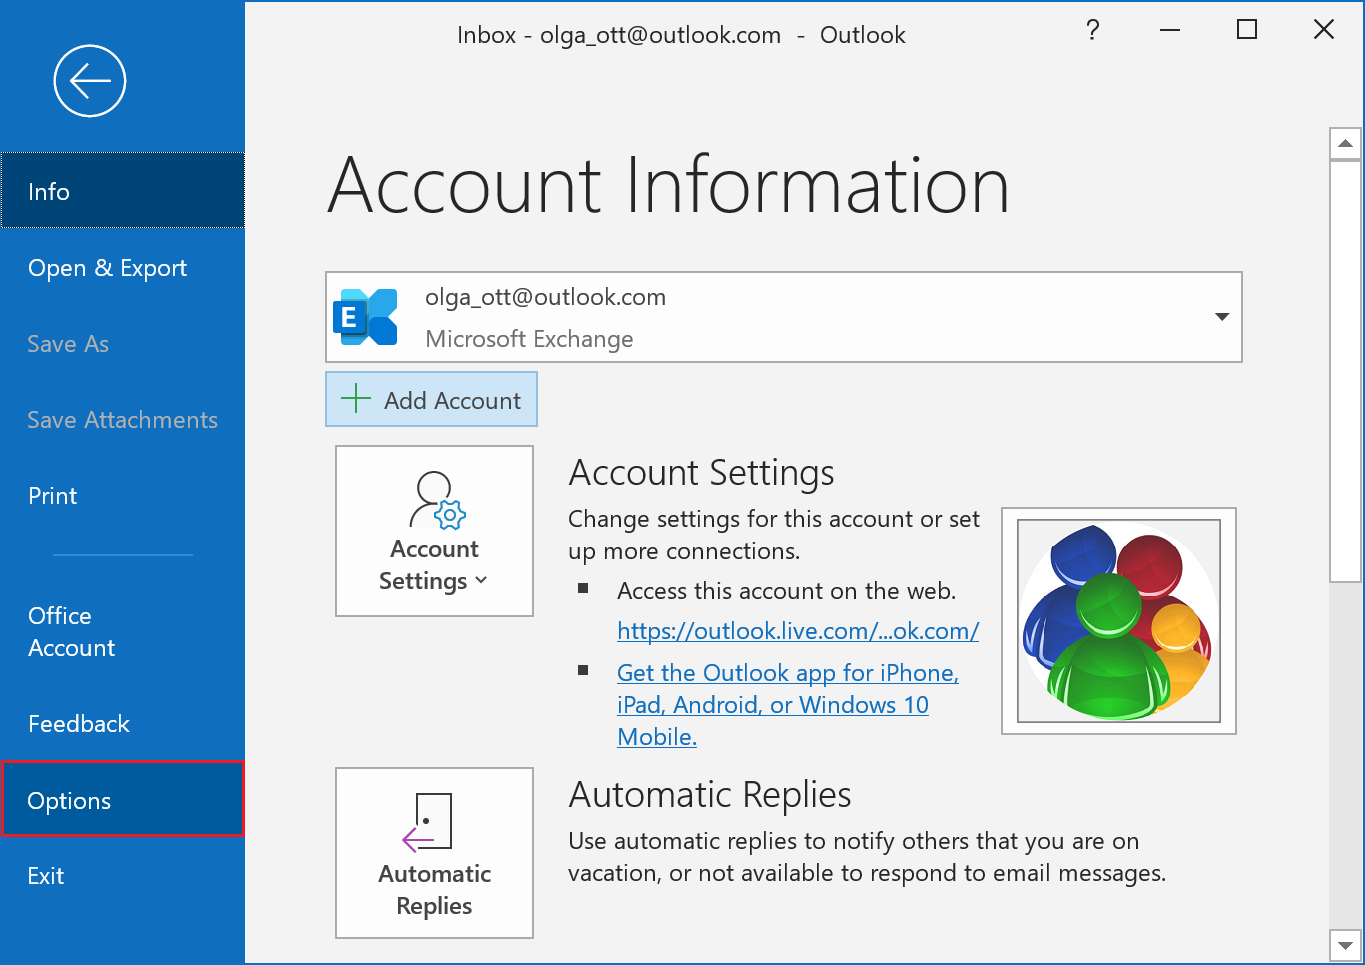
On the File tab, click the Options button:
-
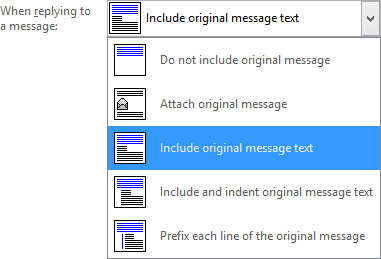
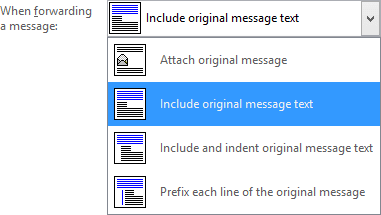
In the Outlook Options dialog box, on the Mail tab, in the Replies and forwards section,
in the When replying to a message and When forwarding a message lists, click the message options you
want for original content that is included in response messages:
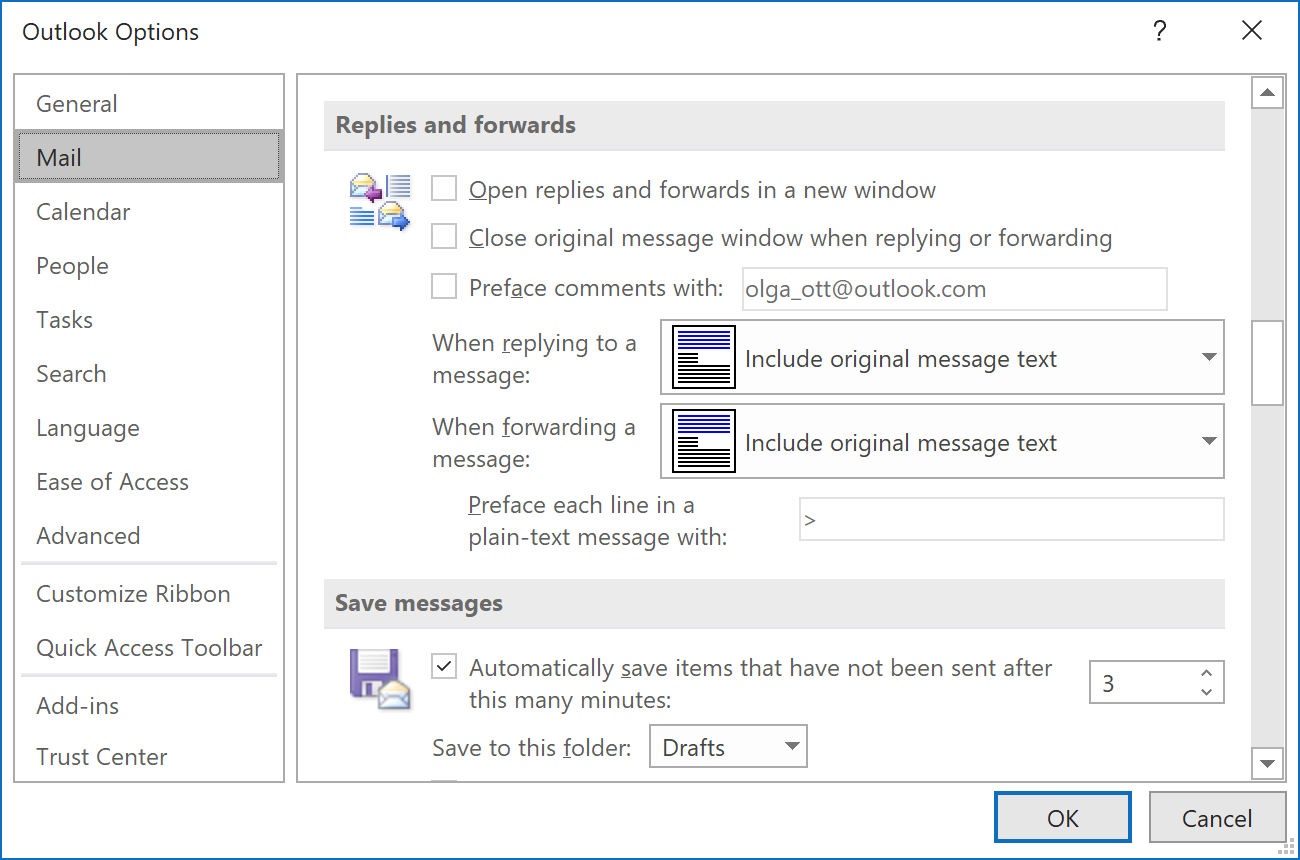
- Click OK to save the changes.
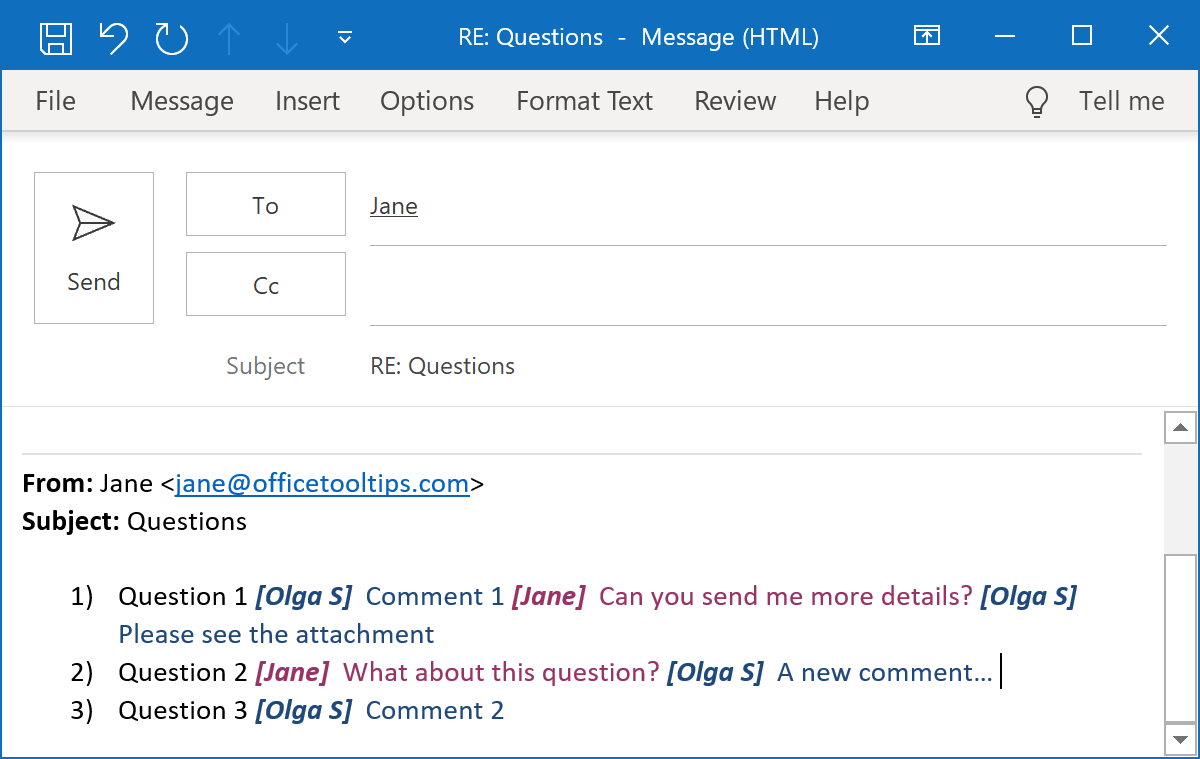
Mark and preface comments
When you answer questions or make comments on some points of the received message, it helps to include an indicator so that the person reading your letter will know where are your answers and comments begin and end:
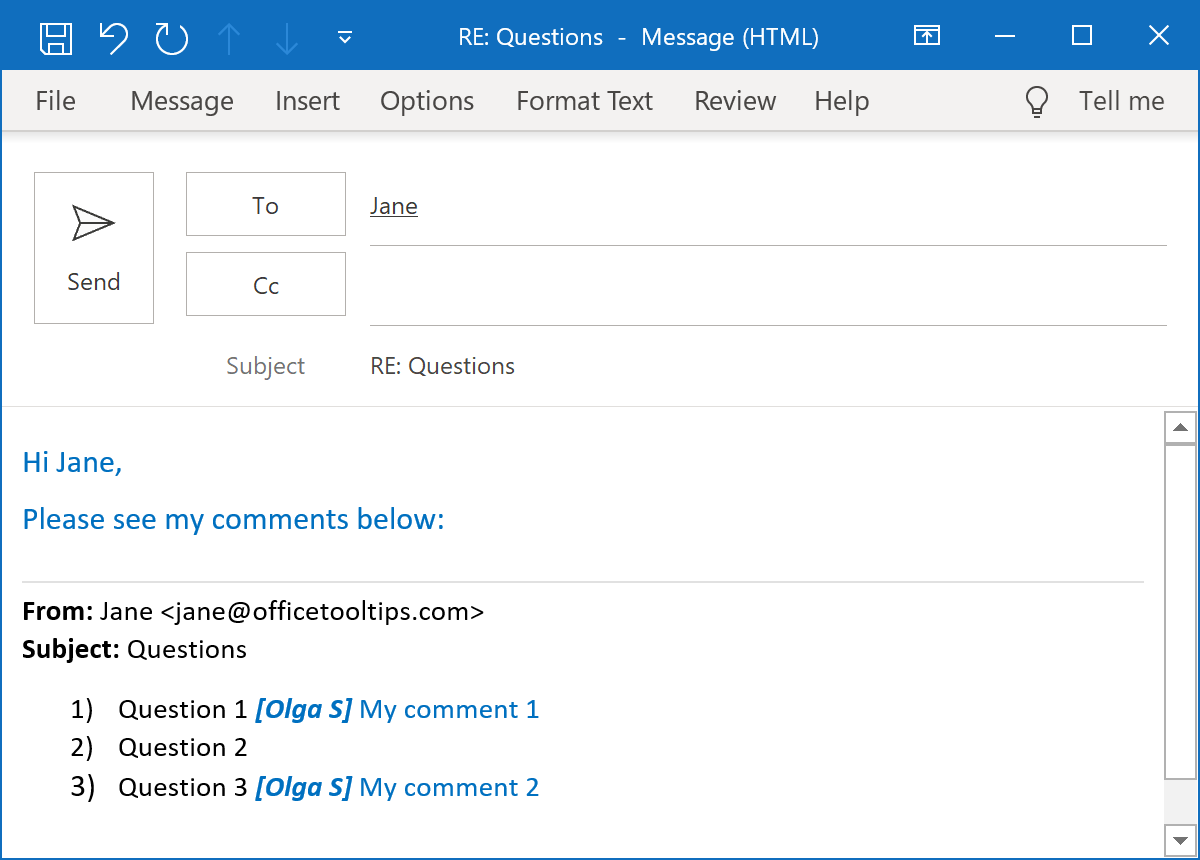
To tag your replies with your name, follow these steps:
-
On the File tab, click the Options button:
-
On the Mail tab, under Replies and forwards, select the Preface Comments With: checkbox.
In the Preface Comments With text box, type the text you want to accompany your annotations:
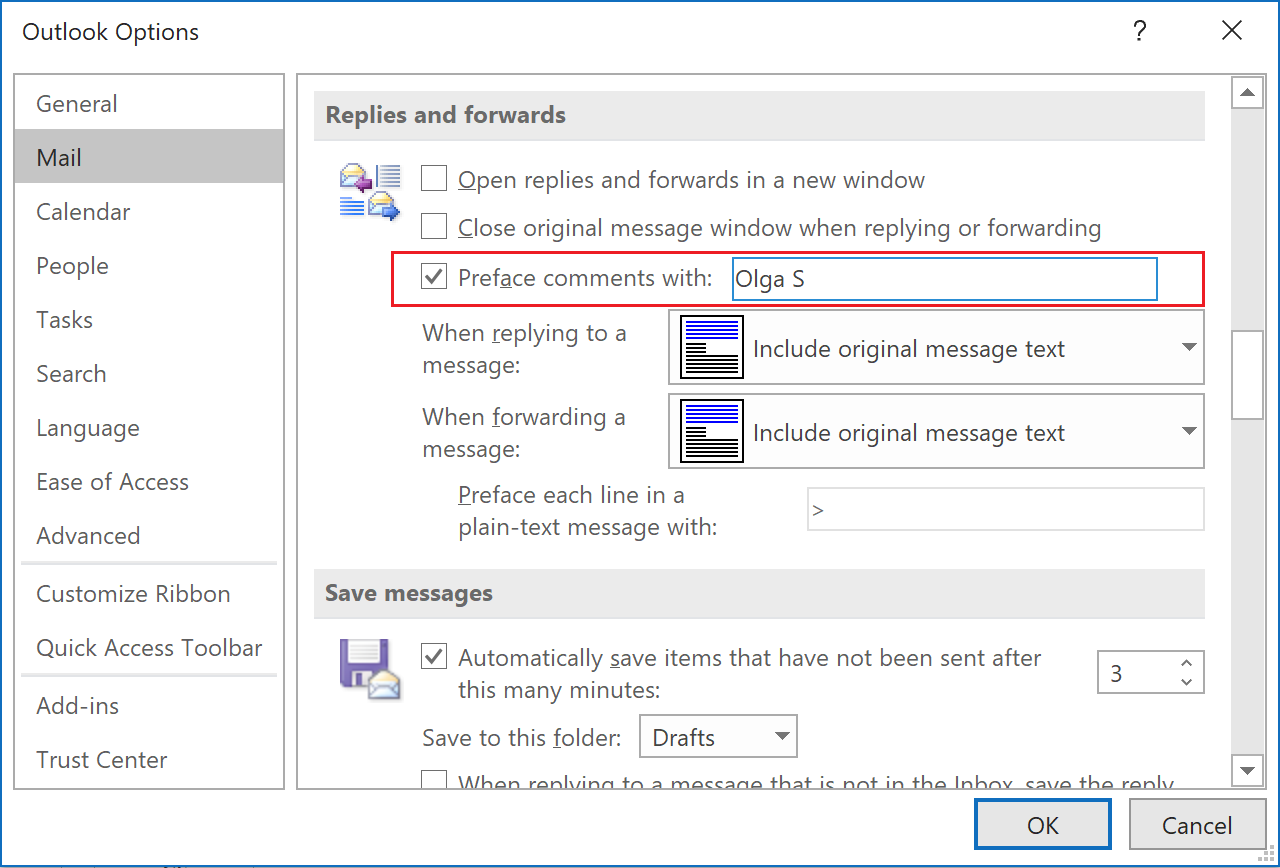 Use your name or initials. Whatever you enter will be used as the prefix to all the text you type when you
reply to messages.
Use your name or initials. Whatever you enter will be used as the prefix to all the text you type when you
reply to messages.
- Click OK to save the changes.
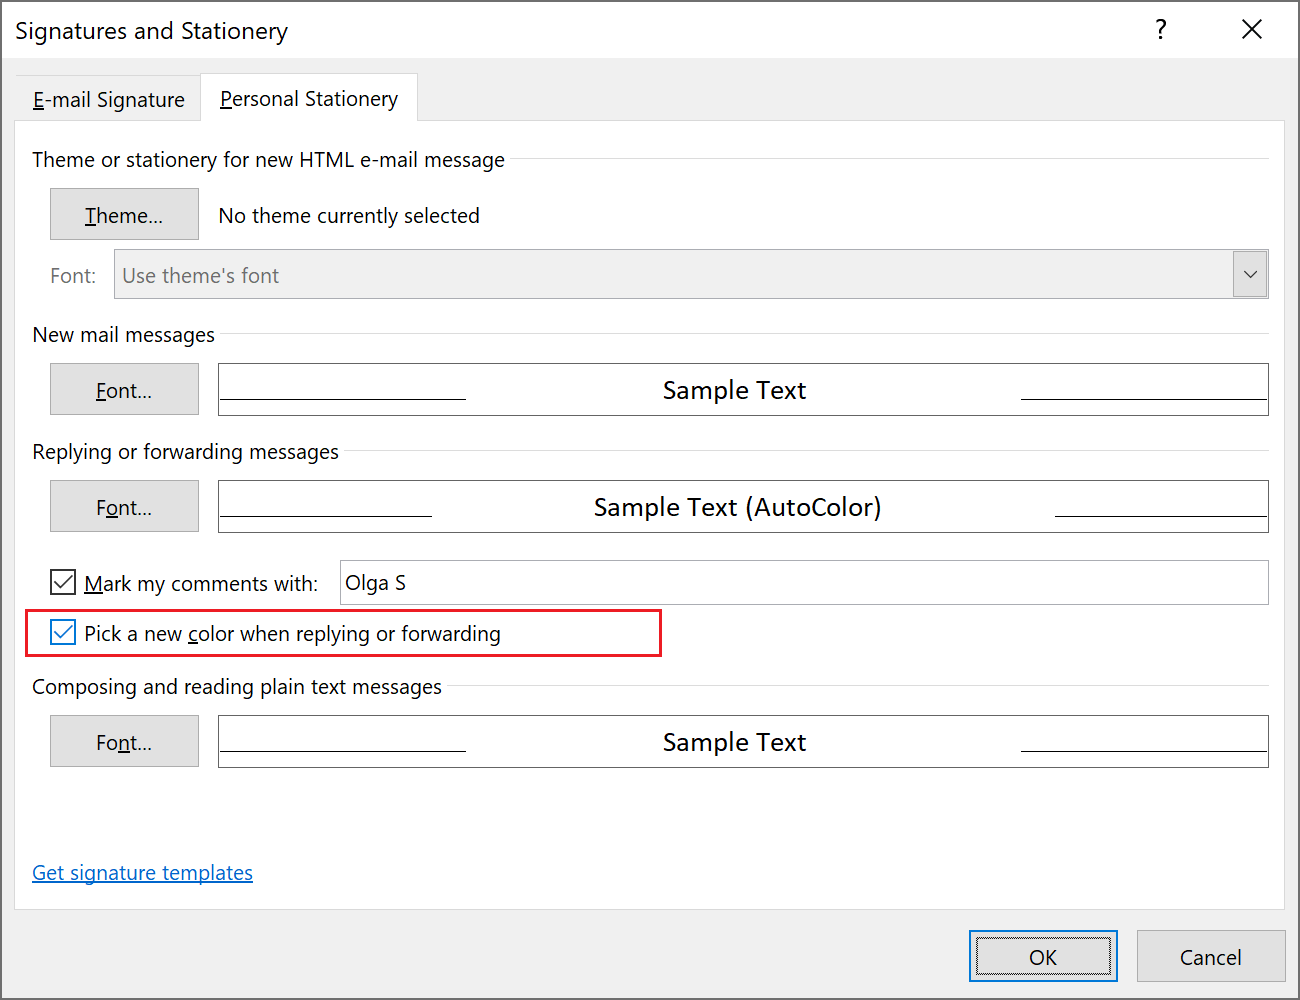
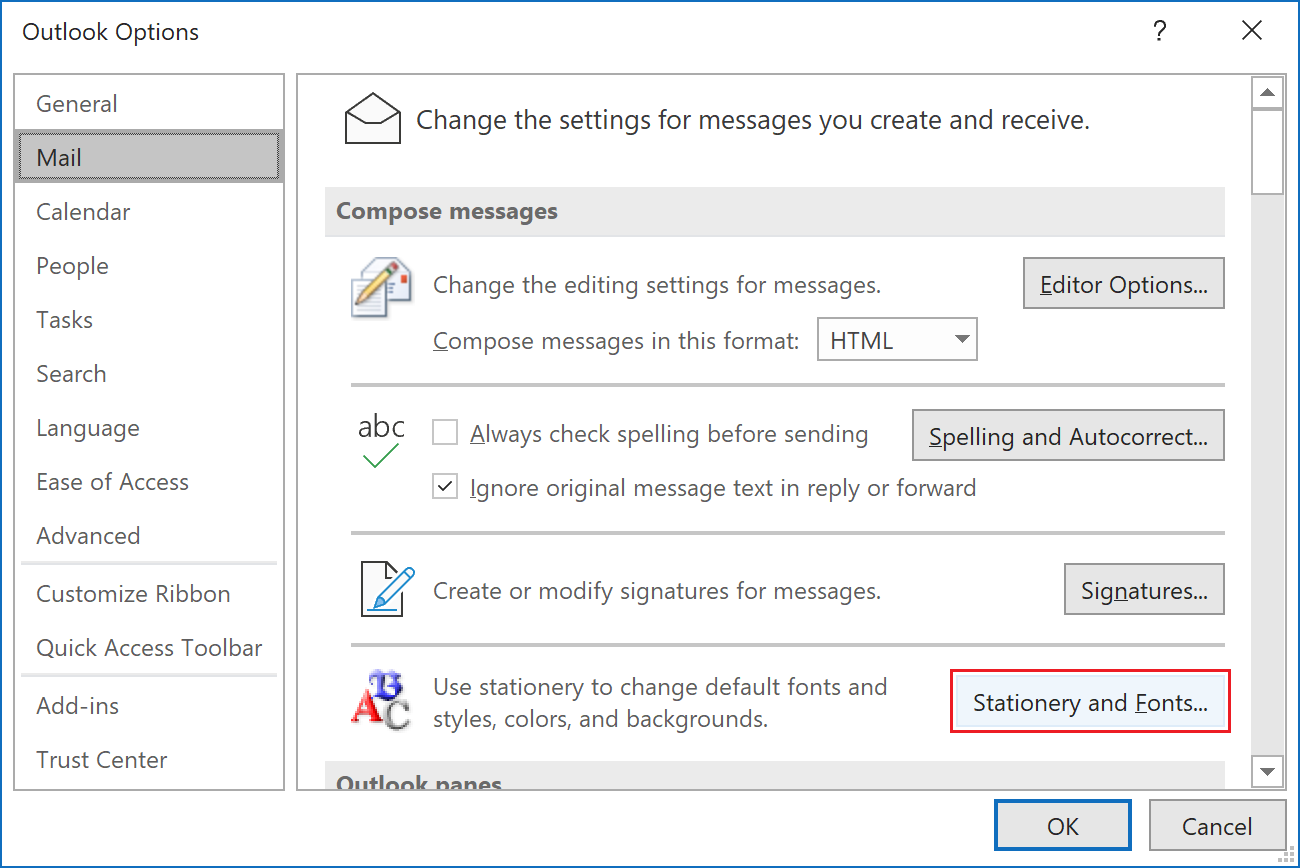
Set color coding
If you have a lot of comments on the post, it is useful to see not only the person names or initials but have a different color for comments of each person:
To turn on the color coding for replies and forwards, follow the next steps:
-
On the File tab, click the Options button:
- In the Outlook Options dialog box, on the Mail tab, click the Stationery and Fonts...
button:
-
In the Signatures and Stationery dialog box, on the Personal Stationery tab, select the Pick
a new color when replying or forwarding checkbox: