Make the text bold, italic, underlined
The local formatting options available in Outlook for Microsoft 365 are the same as those available in Word, PowerPoint, and other Microsoft 365 programs (see the Word Course for more details).
To make a symbol, word, sentence, or any text in the Outlook message body bold, italic, or underlined, do one of the following:
-
- Press Ctrl + B to make the selection or typed text Bold;
- Press Ctrl + I to make the selection or typed text Italic;
- Press Ctrl + U to make the selection or typed text Underlined;
-
To make some symbol, word, sentence, or any text bold, italic, or underlined using the mouse, select the
fragment first.
-
If you see the Mini Toolbar after selecting the symbol, word, sentence, or any text, you can click
the Bold, Italic, or Underline button on the Mini Toolbar:

-
If you see the Mini Toolbar after selecting the symbol, word, sentence, or any text, you can click
the Bold, Italic, or Underline button on the Mini Toolbar:
- On the Home tab, in the Basic Text group (or on the Format Text tab, in the
Font group), click the Bold, Italic, or Underline button:

Change the font, size, and color
To change the font for the selected text, on the Home tab, in the Basic Text group (or on the Format Text tab, in the Font group), open the Font drop-down list:

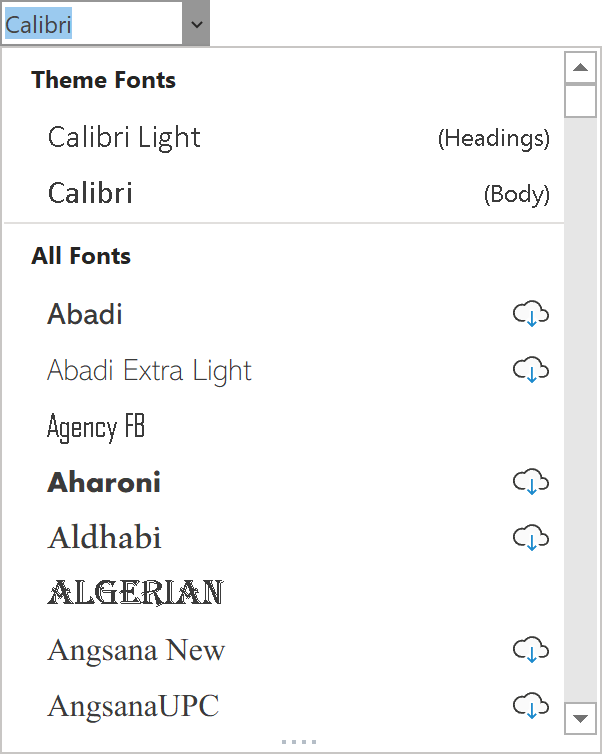
From the Font drop-down list, choose the font.
To change the font size for the selected text, on the Home tab, in the Basic Text group (or on the Format Text tab, in the Font group), open the Font Size drop-down list:
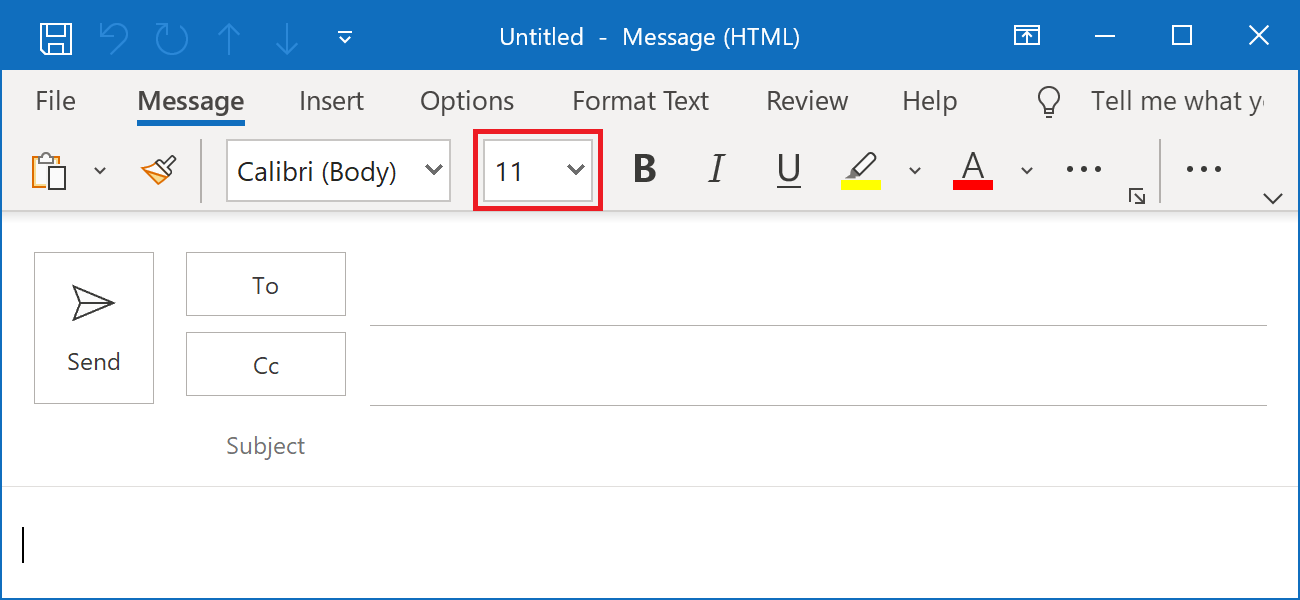

From the Font Size drop-down list, choose a pre-defined size or type a new font size in this text box.
To change the font color for the selected text, on the Home tab, in the Basic Text group (or on the Format Text tab, in the Font group), click the Font Color drop-down list:


If you want to use a different color, click the arrow down at the right side of the button to choose a new color.
Alignment, indentation, and spacing
To align a single paragraph, you need to place the cursor anywhere in the paragraph. You can select one or multiple paragraphs to align them all at once. To align the selected paragraph (paragraphs), do one of the following:
- Press Ctrl + L (align left), Ctrl + R (align right), Ctrl + E (center), or Ctrl + J (justify).
-
Do one of the following:
-
On the Home tab, in the Basic Text group, click the Align Left, Center,
Align Right, or Justify button. If you do not see these buttons, you can find more buttons
in the ... drop-down list:

-
On the Home tab, in the Basic Text group, click the Align Left, Center,
Align Right, or Justify button. If you do not see these buttons, you can find more buttons
in the ... drop-down list:
-
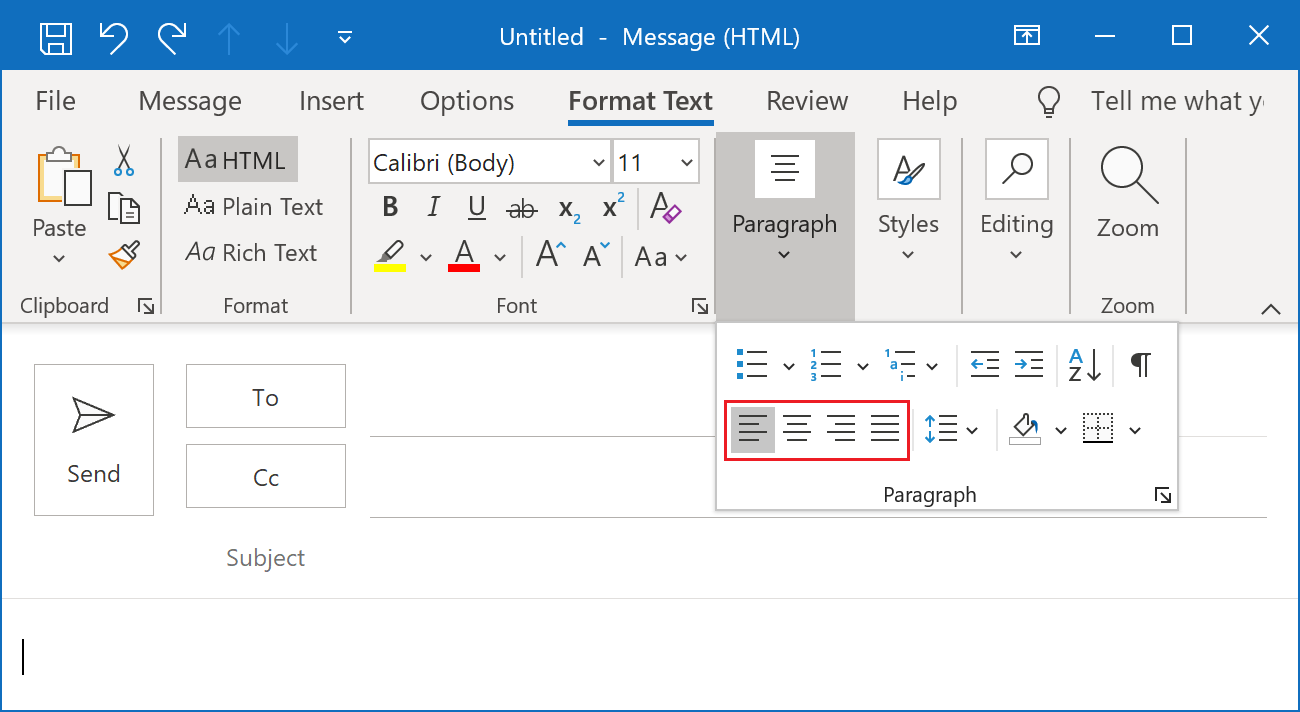
On the Format Text tab, in the Paragraph group, click the Align Left, Center,
Align Right, or Justify button:
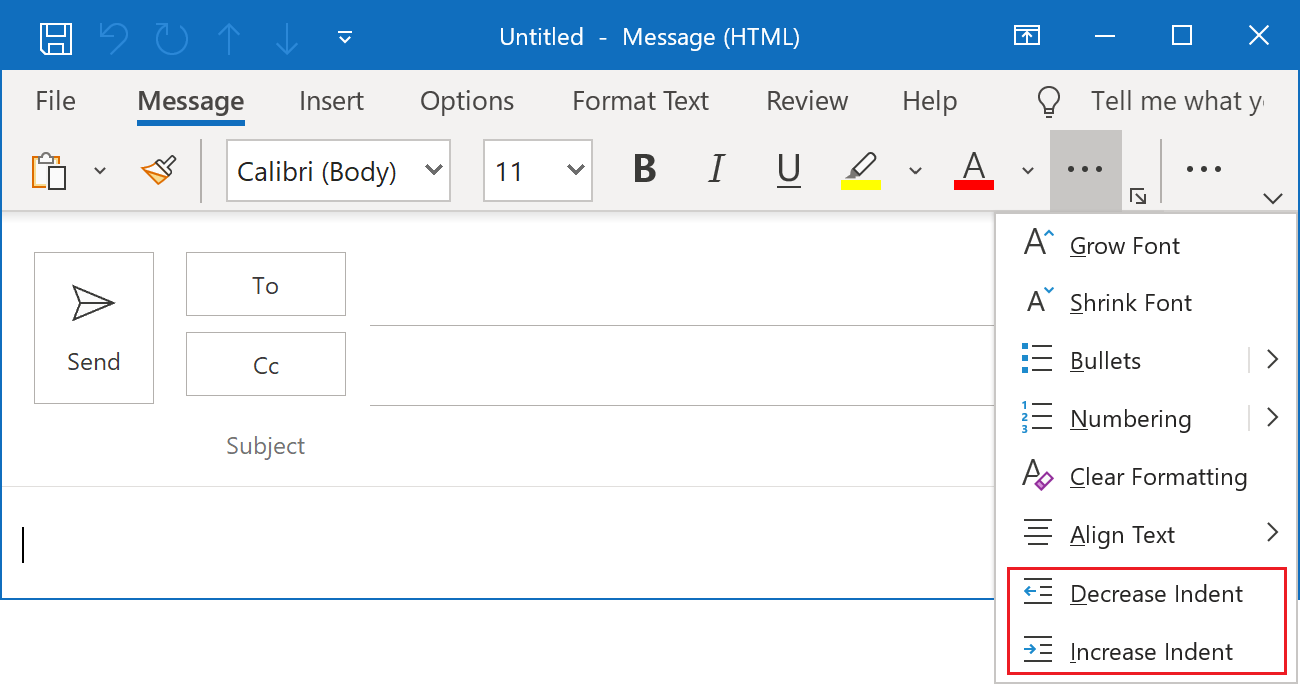
To increase/decrease text indentation for the selected text, do one of the following:
-
On the Home tab, in the Basic Text group, click the Decrease Indent or
Increase Indent button:
-
On the Format Text tab, in the Paragraph group, click the Decrease Indent or
Increase Indent button:

To change line spacing for the selected text, do one of the following:
-
- Ctrl + 1 - Single-line spacing
- Ctrl + 5 - 1.5-line spacing
- Ctrl + 2 - Double-line spacing
- Ctrl + 0(zero) - Add or remove 12 points of space before a paragraph
- On the Text Format tab, in the Paragraph group, click the Line and Paragraph Spacing button and select a pre-defined line-spacing value:


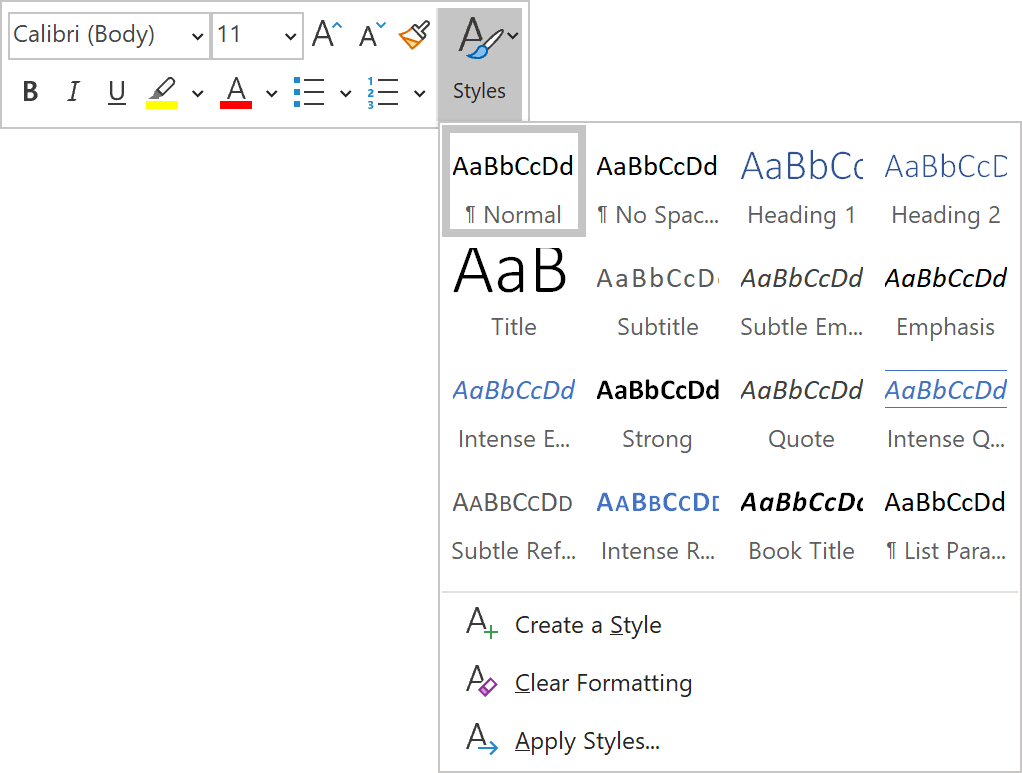
Apply text styles
A style is a combination of character formatting and paragraph formatting that you can apply to selected text or the current paragraph with one click. In Outlook, styles can be used to format text in the same way as in Word documents. To apply the style to the paragraph or other fragment of the text, select a paragraph or fragment of the message, and then do one of the following:
-
On the Format Text tab, in the Styles group, select the style from the Style Gallery:

Normal style plays an important role in the document because it defines base formatting for many other styles. To display more styles, click the More button to expand the Style Gallery:

Select the style in the extended Style Gallery. For example, the Quote style:

If you see the Mini Toolbar after selecting, you can click the Styles drop-down list on the Mini toolbar. Otherwise, right-click on the selection and then click the Styles list:
Insert hyperlinks from Clipboard
-
Copy the link to the Clipboard:
- Open the link that you would like to insert into the document the browser, select the link and copy it to the Clipboard (for example, by pressing Ctrl + C);
- Type the URL in the document (or any other application such as Note), select the link, and copy or cut it to the Clipboard (for example, by pressing Ctrl + X).
- Type the text for the link in your document and select it. For example, select the domain name of the company.
-
Right-click on the selected text, and select the copied link from the Link list in the popup menu:

Use the Hyperlink dialog box
- Type the text for the link in your document and select it. For example, select the name of the company.
-
On the Insert tab, in the Links group, click the Link button (or press
Ctrl + K on the keyboard):

-
In the Insert Hyperlink dialog box:
- Make sure that the Text to display text box contains the right text for the link.
-
Type the hyperlink address in the Address text box:

Insert images into the message body
You can insert digital photographs or pictures created in almost any program into the Outlook email message. To do so, on the Insert tab, in the Illustrations group, click Pictures drop-down list, then choose:
-
Pictures... to insert an image from the computer, or a network drive, or on a connected device such as a
digital camera:

-
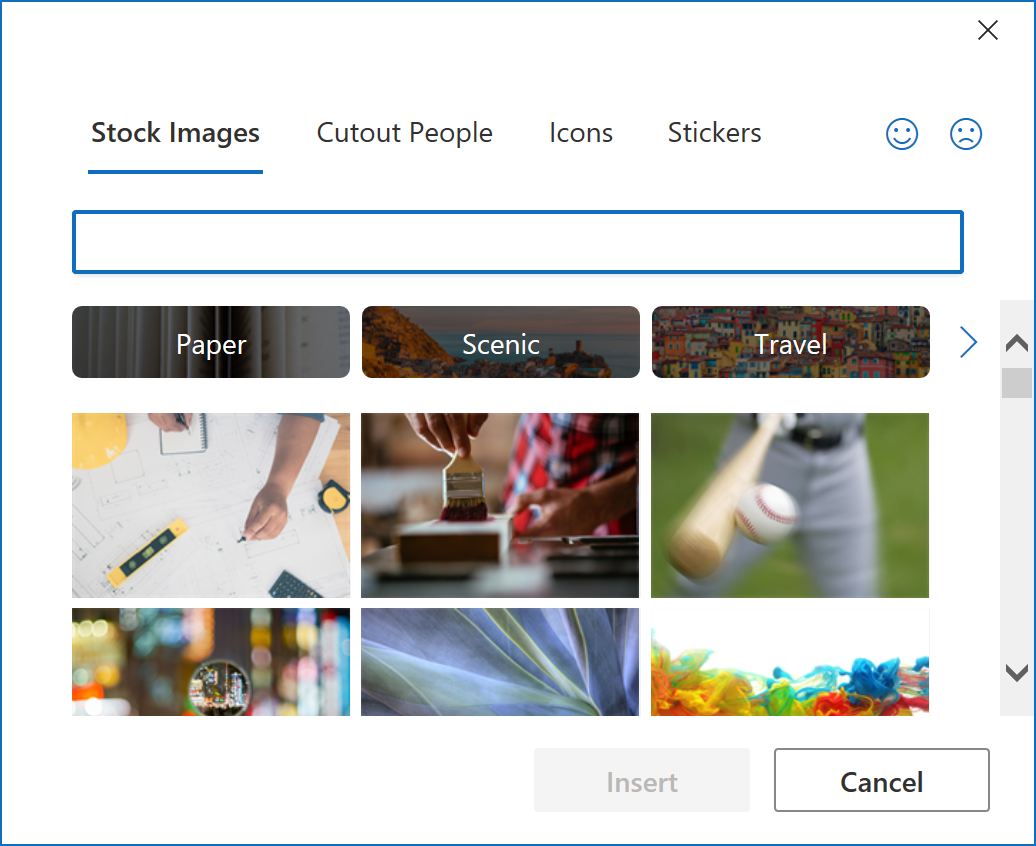
Stock Images... to insert royalty-free images from the Stock Image Library: