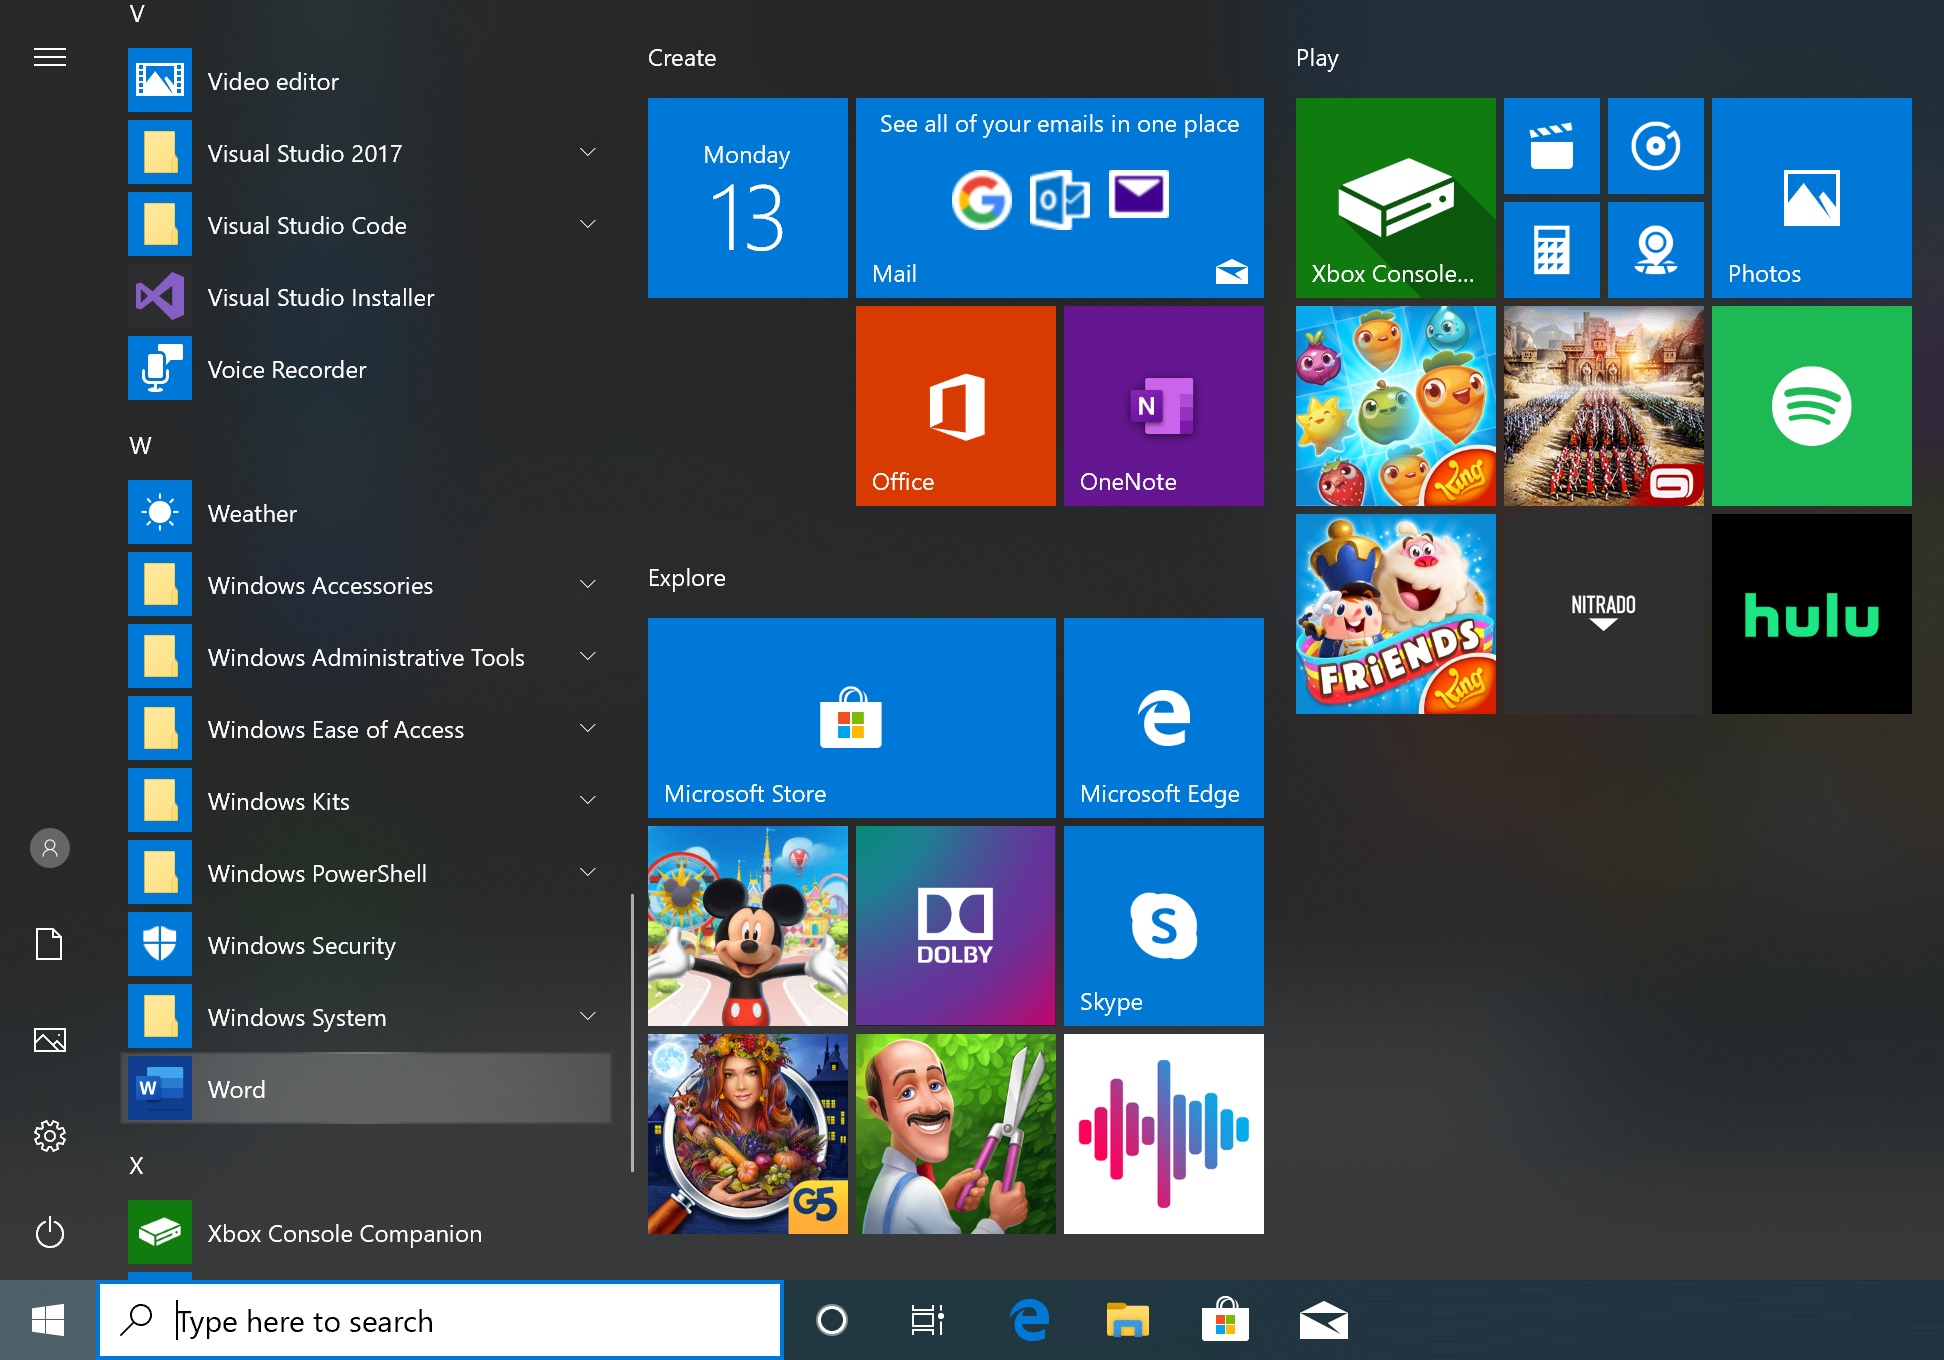
Launch from the Start Menu
Click the Start button. Scroll down the applications list using the mouse and click on the Word application:
Launch from the Search box
Click the Start button. Type word into the search box. Click on the Word application in the search results list:

Pin to the taskbar
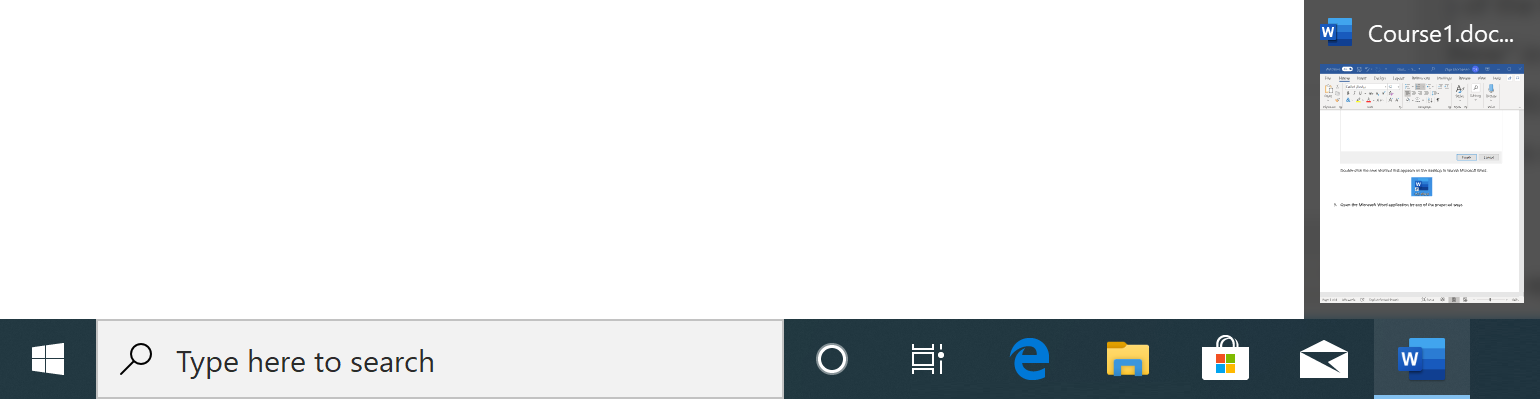
After launching the Microsoft Word application in any of the proposed ways, the Word application icon shows on the Taskbar:
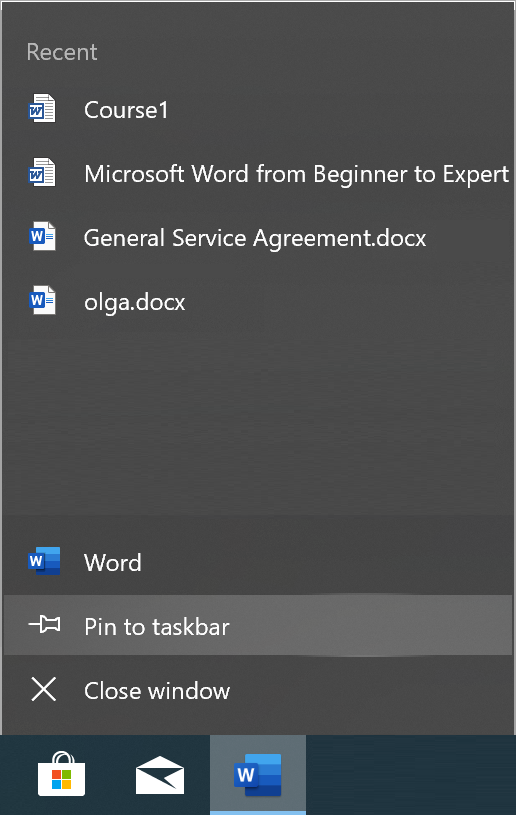
Right-click the shortcut on the Taskbar and choose Pin to taskbar in the popup menu:
After pinning the application, the Word application icon stays in the Windows taskbar even after closing the application. Click the application shortcut on the Windows taskbar to launch Microsoft Word:

To unpin a shortcut from the Windows taskbar, right-click it, then select Unpin from taskbar in the popup menu.
Remove ribbon white space
After recent updates, the ribbon in Microsoft Word can take up to ⅓ of the available screen space:
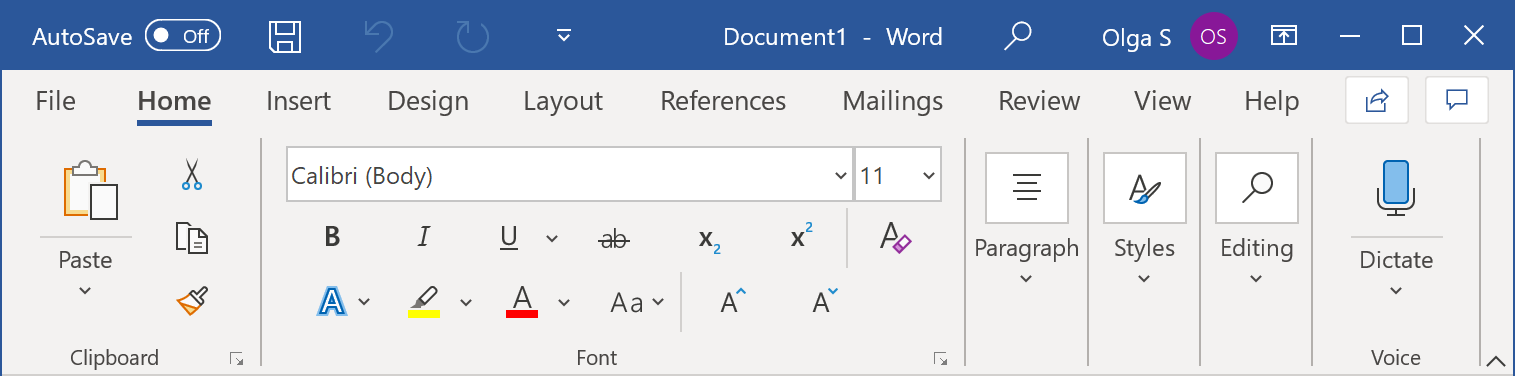
This is the Touch mode of the Ribbon. To remove extra space around Ribbon buttons, you need to switch to the Mouse mode:

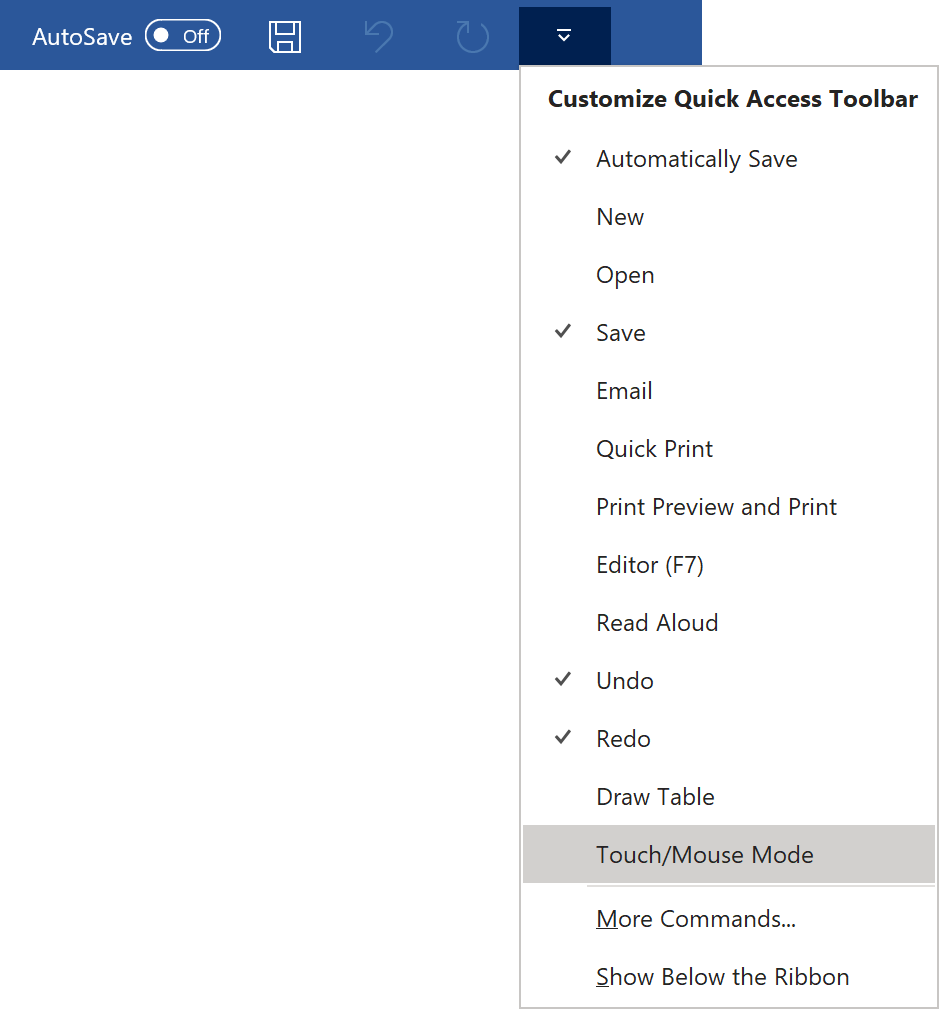
To change the Ribbon mode, click on the dropdown arrow on the right side of the Quick Access Toolbar and choose the Touch/Mouse Mode command:
After adding the Touch/Mouse Mode button to the Quick Access Toolbar, click on it, then choose the Mouse option from the drop-down menu:
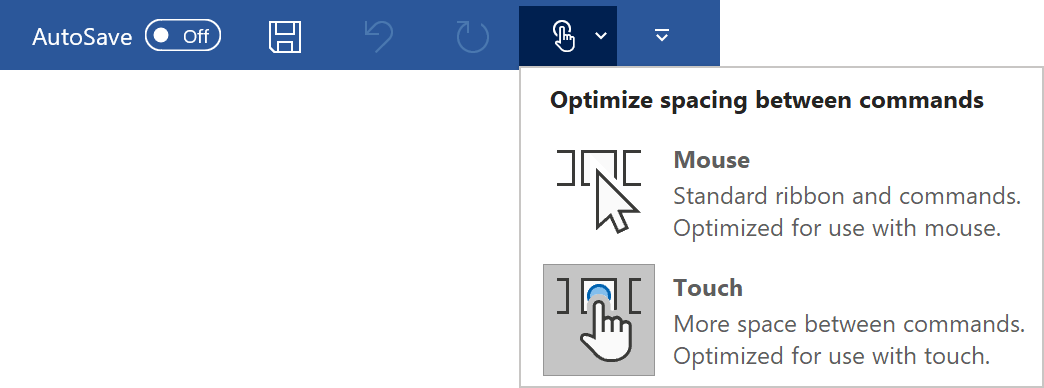
The Mouse option removes extra whitespace around Ribbon buttons:
Disable combability mode
If you open a document Word created in an older version of Microsoft Word, you may see Compatibility Mode near the filename of the document in the title bar:

Compatibility Mode temporarily disables new or enhanced Word features so that the document still can be edited by people using the earlier version of Word. Compatibility Mode also preserves the layout of the document and disables new Word features like inline equations.
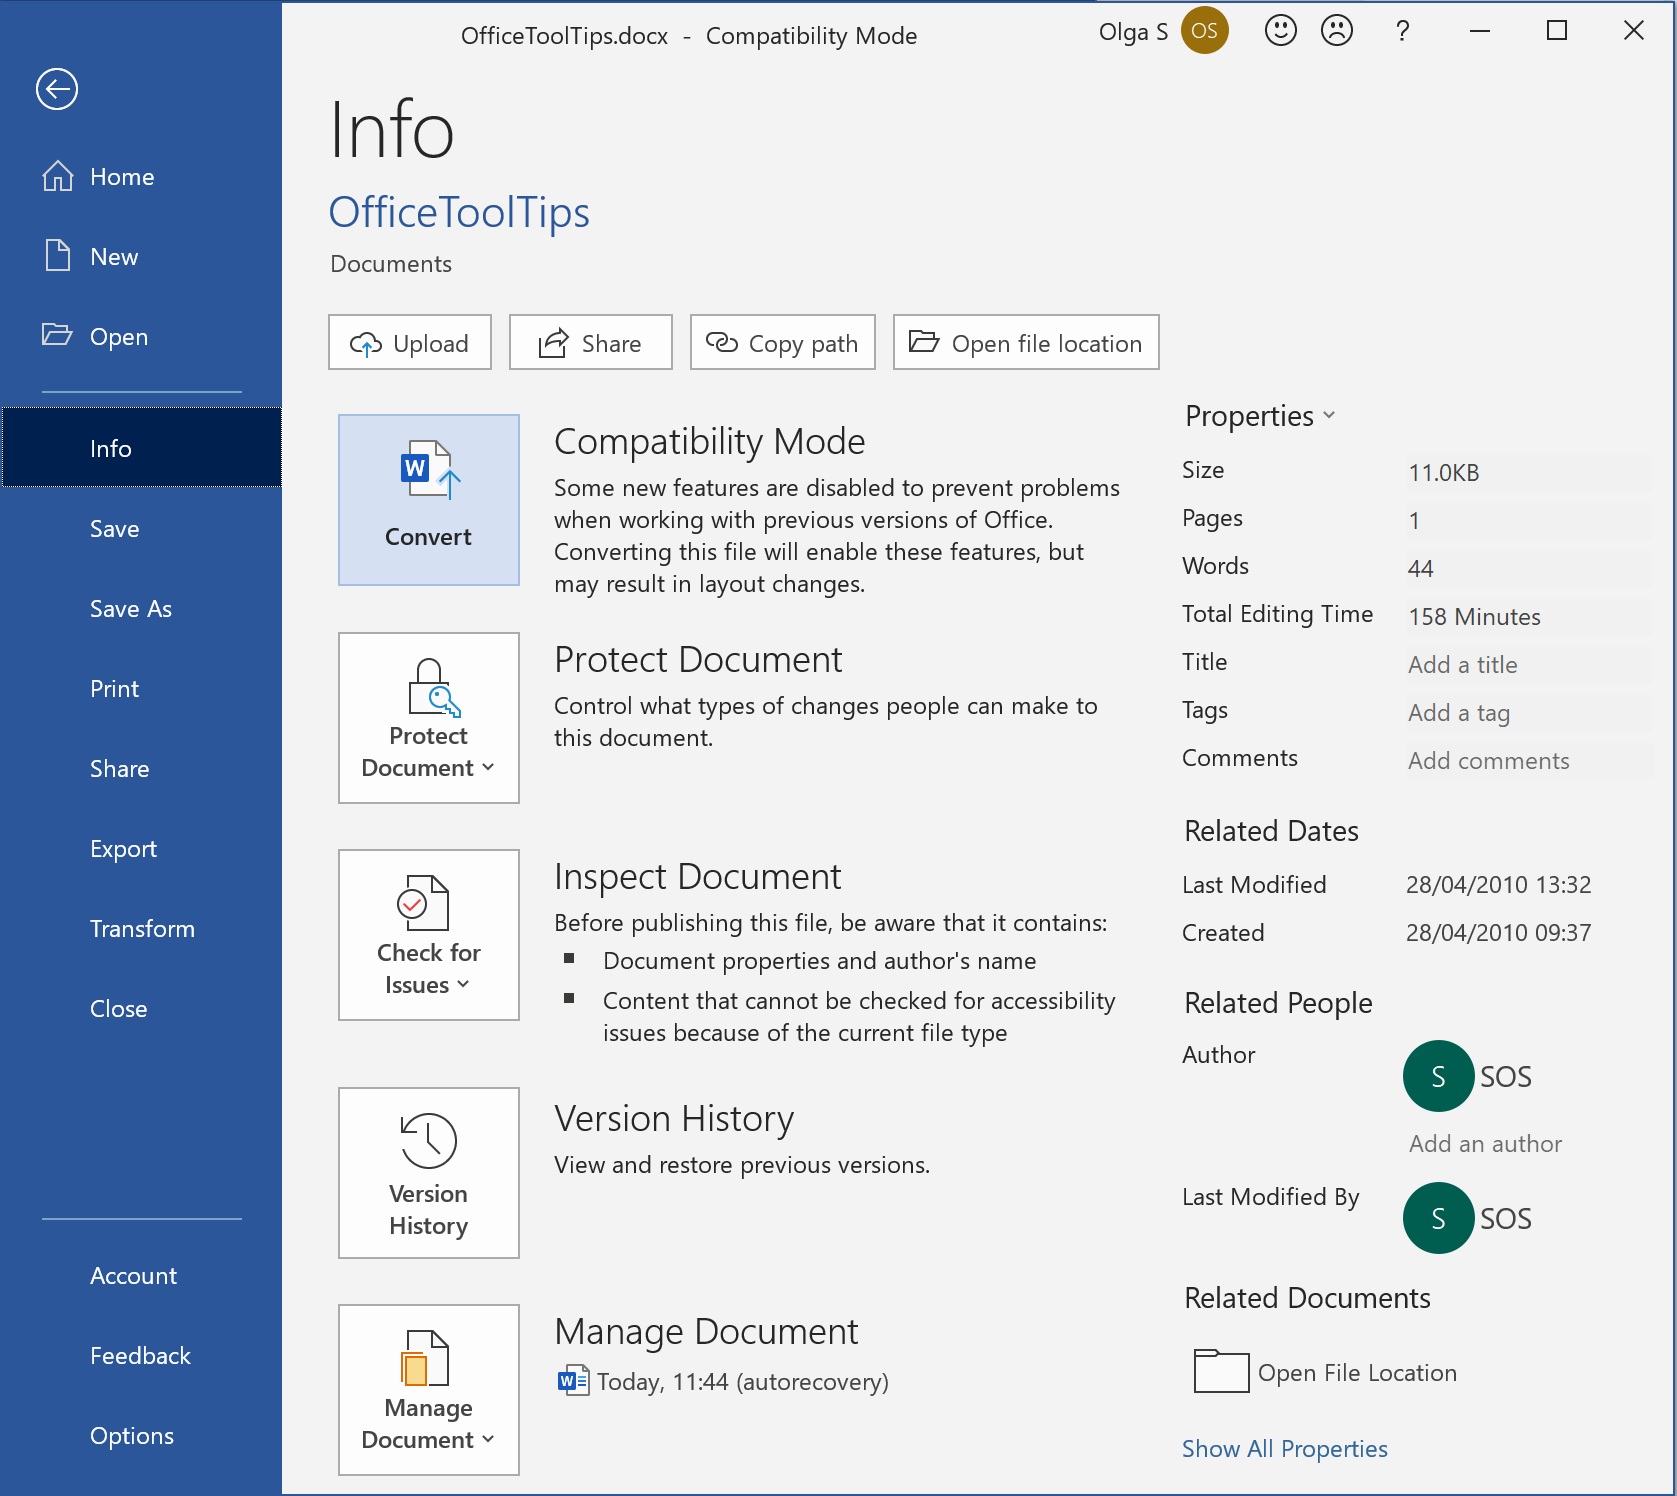
To get the document out of the Compatibility Mode, click on the File tab, open the Info page and click the Convert button:
In the Microsoft Word dialog box, click OK:
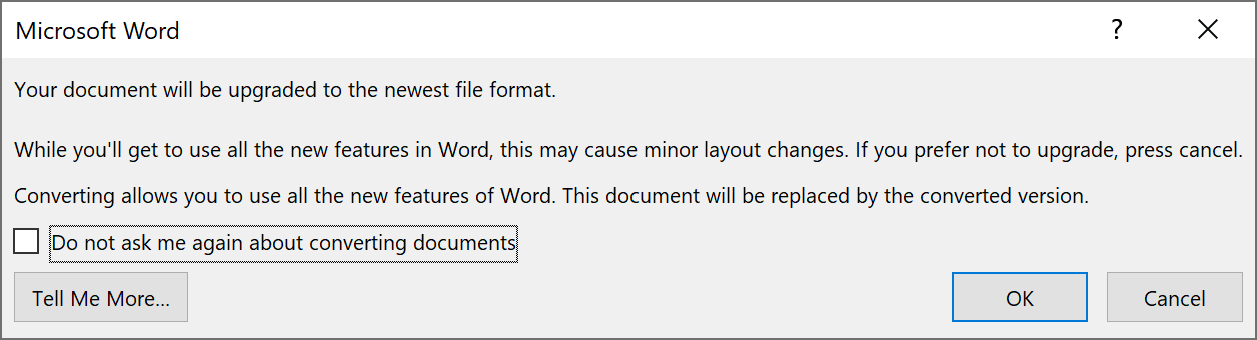
This will convert the older document to a modern type of Office document.
Don’t do this if you (or someone else) needs to work with the document using an older version of Office, like Office 2010 or before.
Create a document on application start
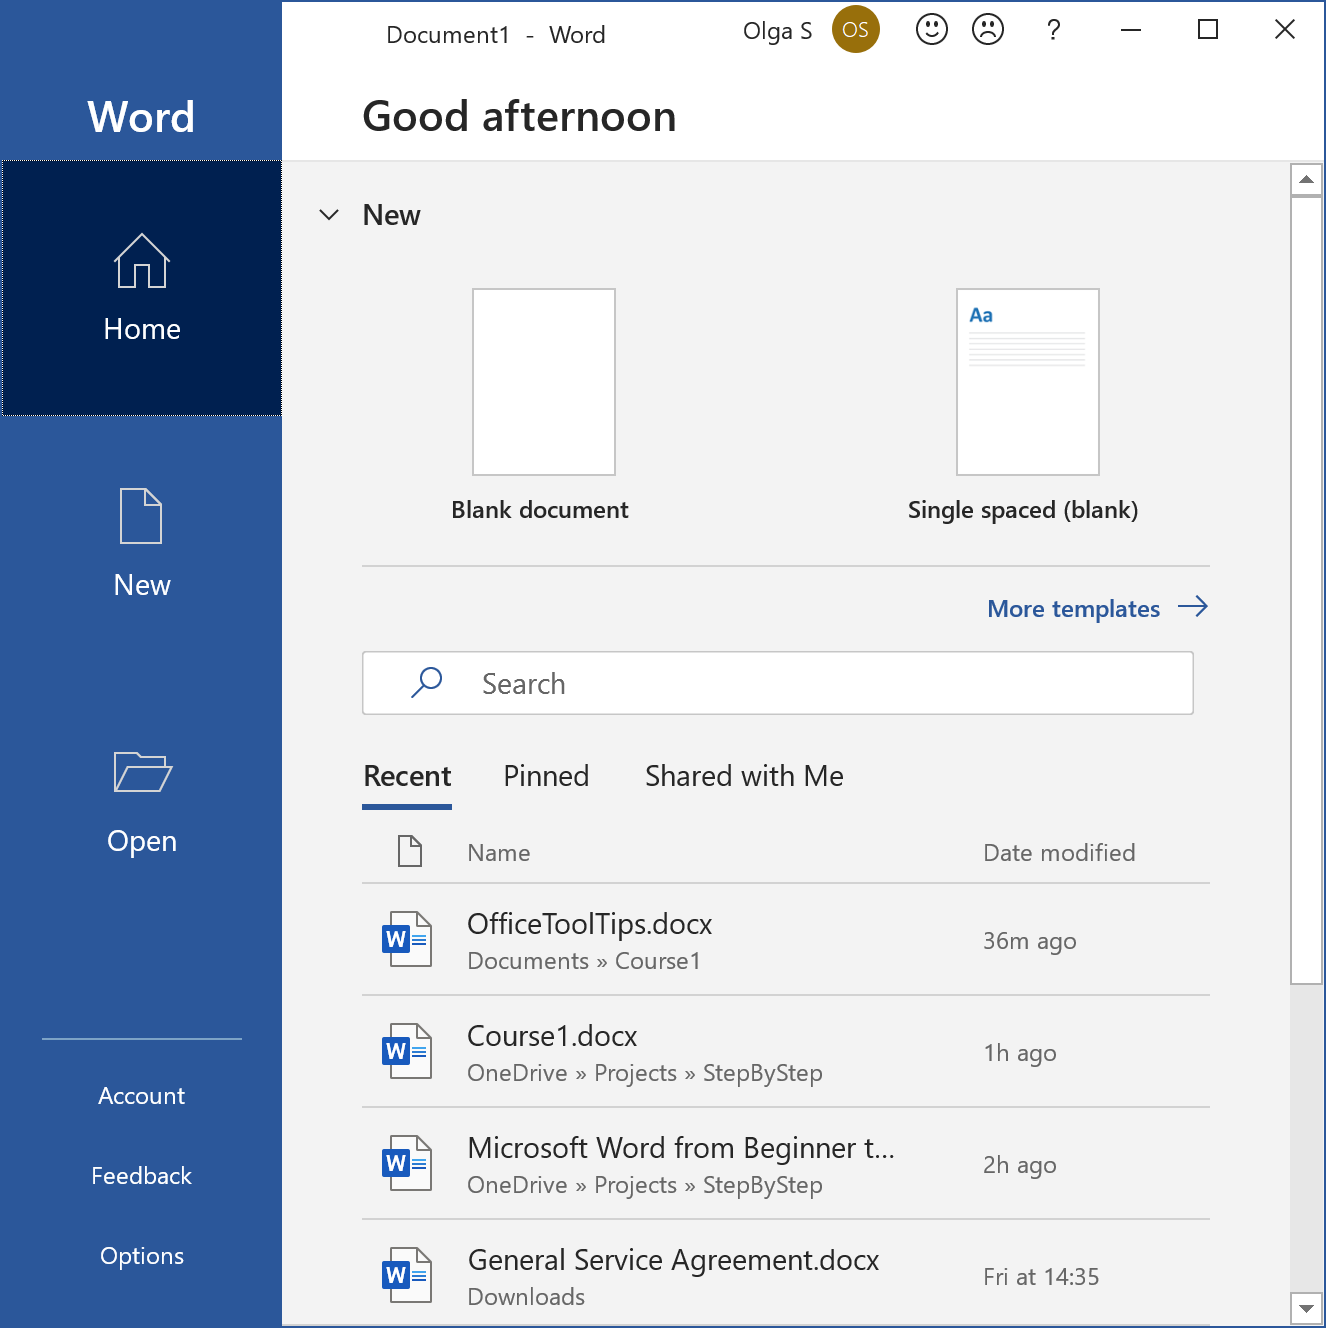
If you start Word without opening an existing document, Word shows the Start screen:
Create a new document
If Word is already running, you can create a new document in many different ways:
-
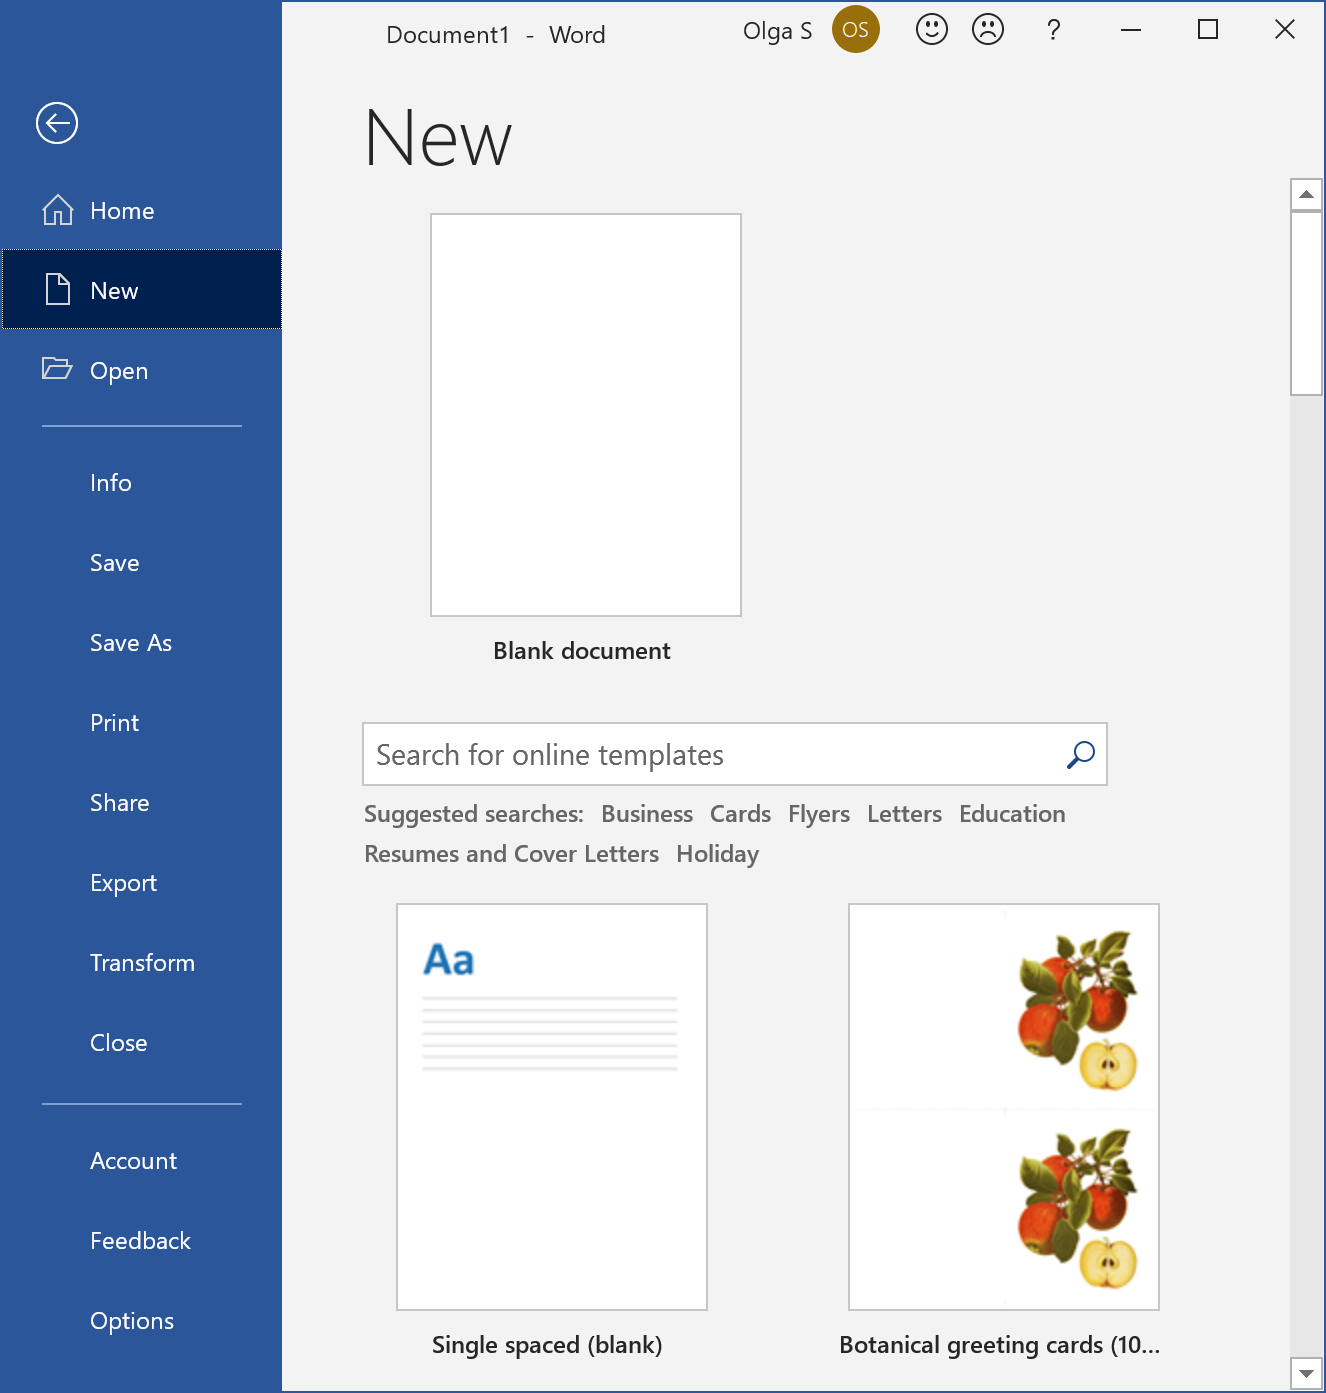
Click on the File tab from the existing document and click the New button, and
double-click the Blank document or any other template:
- Press Ctrl + N on the keyboard.
Type a company name and description
Insert a hyperlink to the website
-
Copy the link to the Clipboard:
- Open the link that you would like to insert in the document the browser, select the link and copy it to the Clipboard (for example, by pressing Ctrl + C);
- Type the URL in the document (or any other application such as Note), select the link and copy or cut it to the Clipboard (for example, by pressing Ctrl + X).
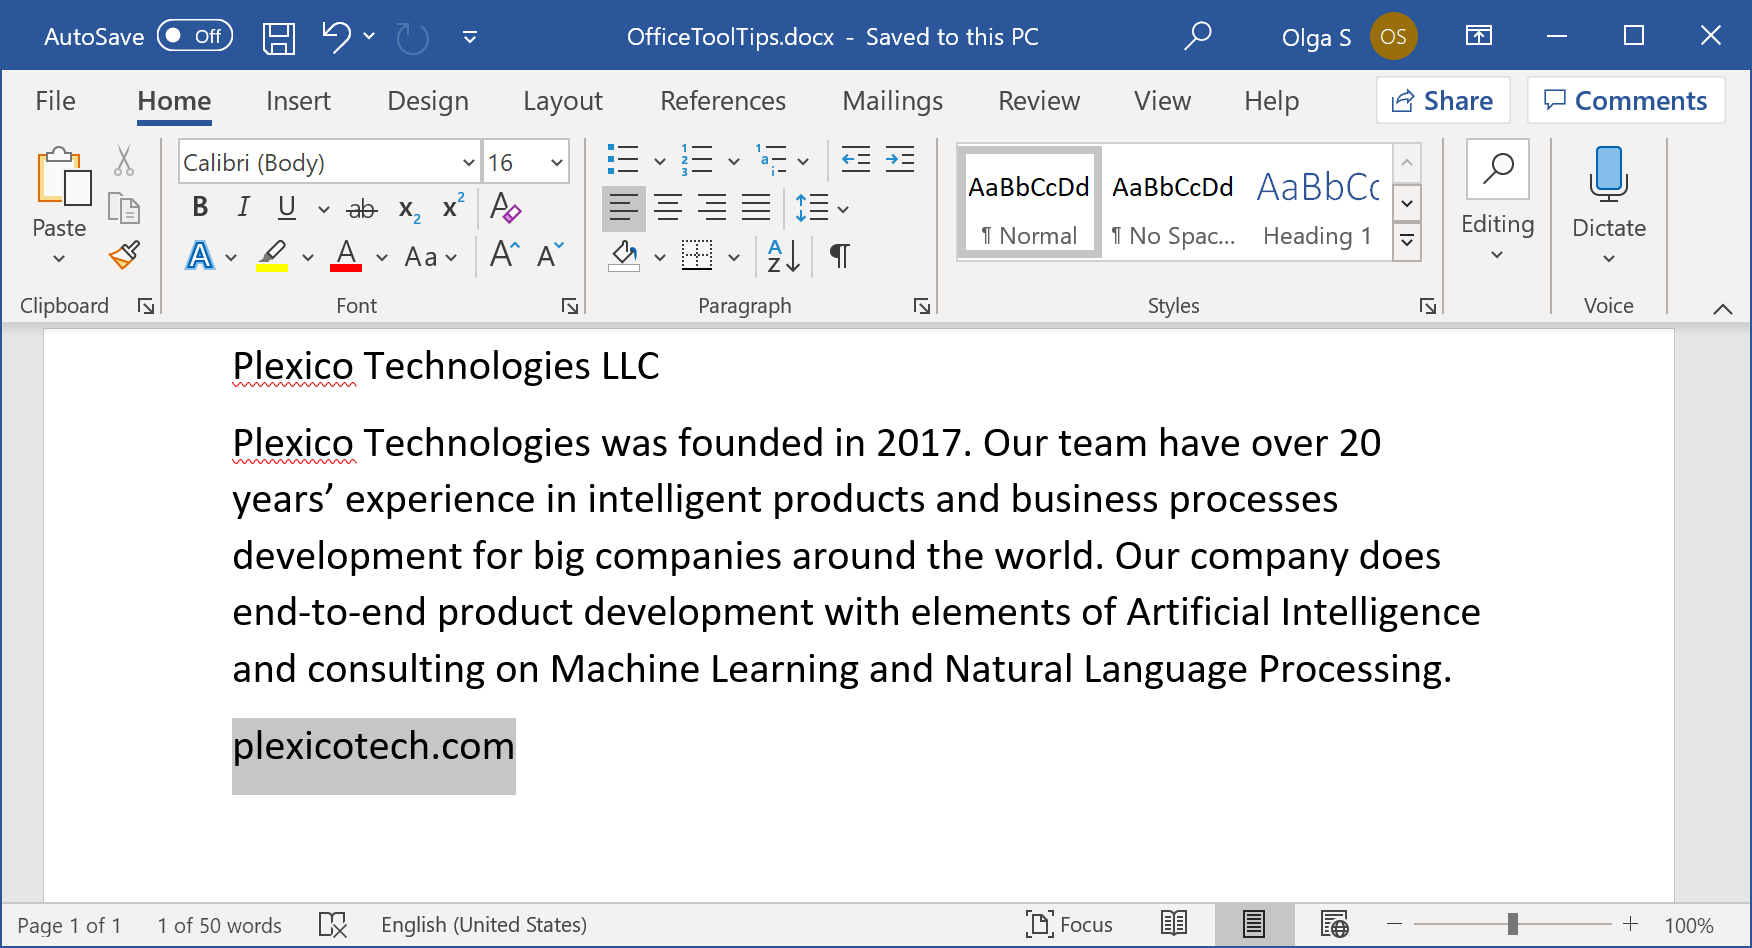
- Type the text for the link in your document and select it. For example, select the domain name of the company (see the previous slide).
-
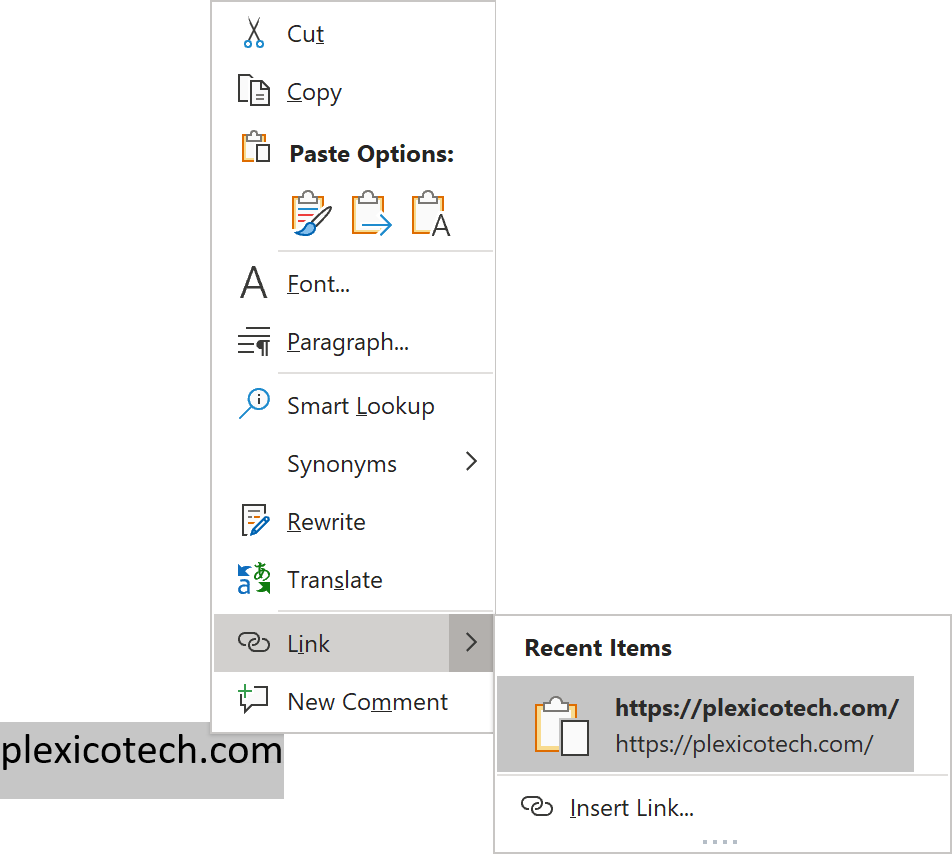
Right-click on the selected text, and select the copied link from the Link list in the popup menu:
- Type the text for the link in your document and select it. For example, select the name of the company (see the previous slide).
-
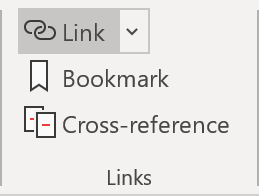
On the Insert lab, in the Links group, click the Link button (or press
Ctrl + K on the keyboard):
-
In the Insert Hyperlink dialog box:
- Make sure that the Text to display text box contains the right text for the link;
-
Type the hyperlink address in the Address text box:
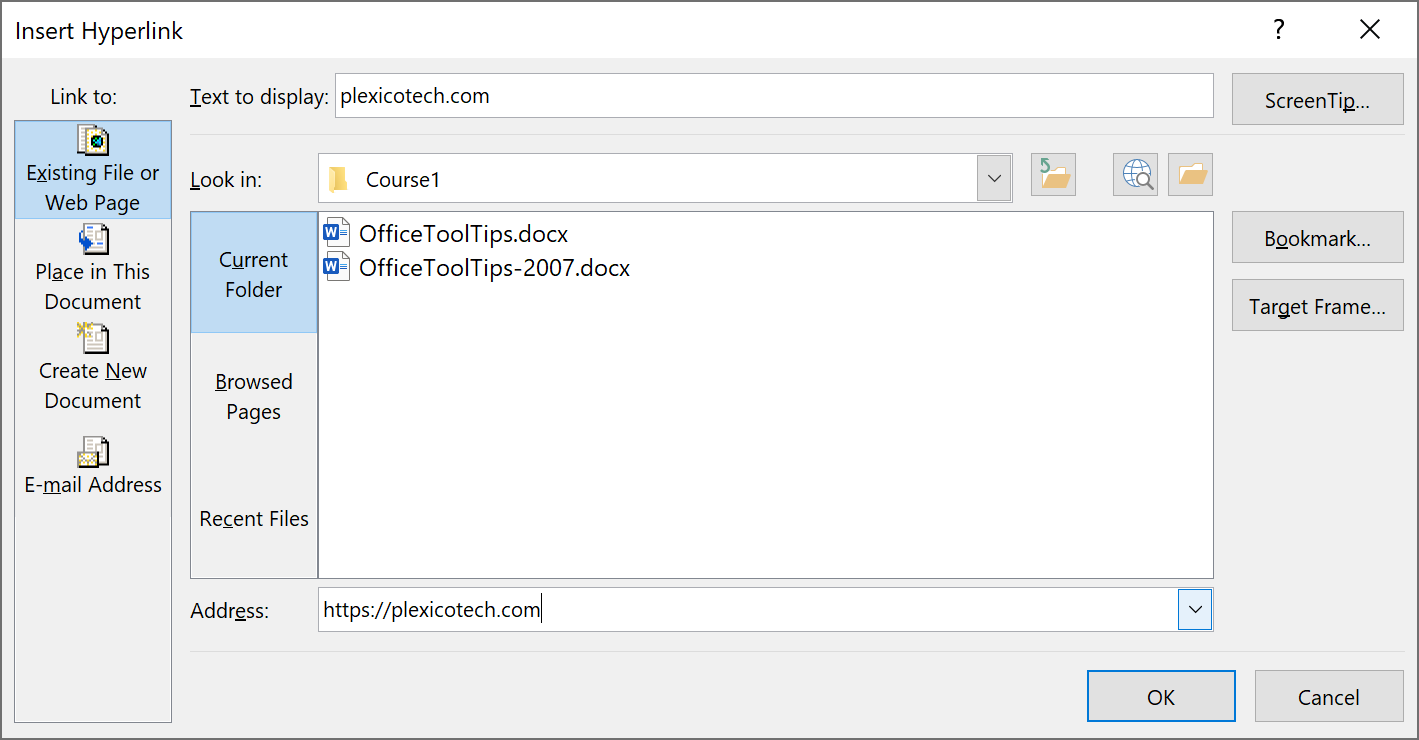
- Click OK to insert the hyperlink in the document.
Insert a company email hyperlink
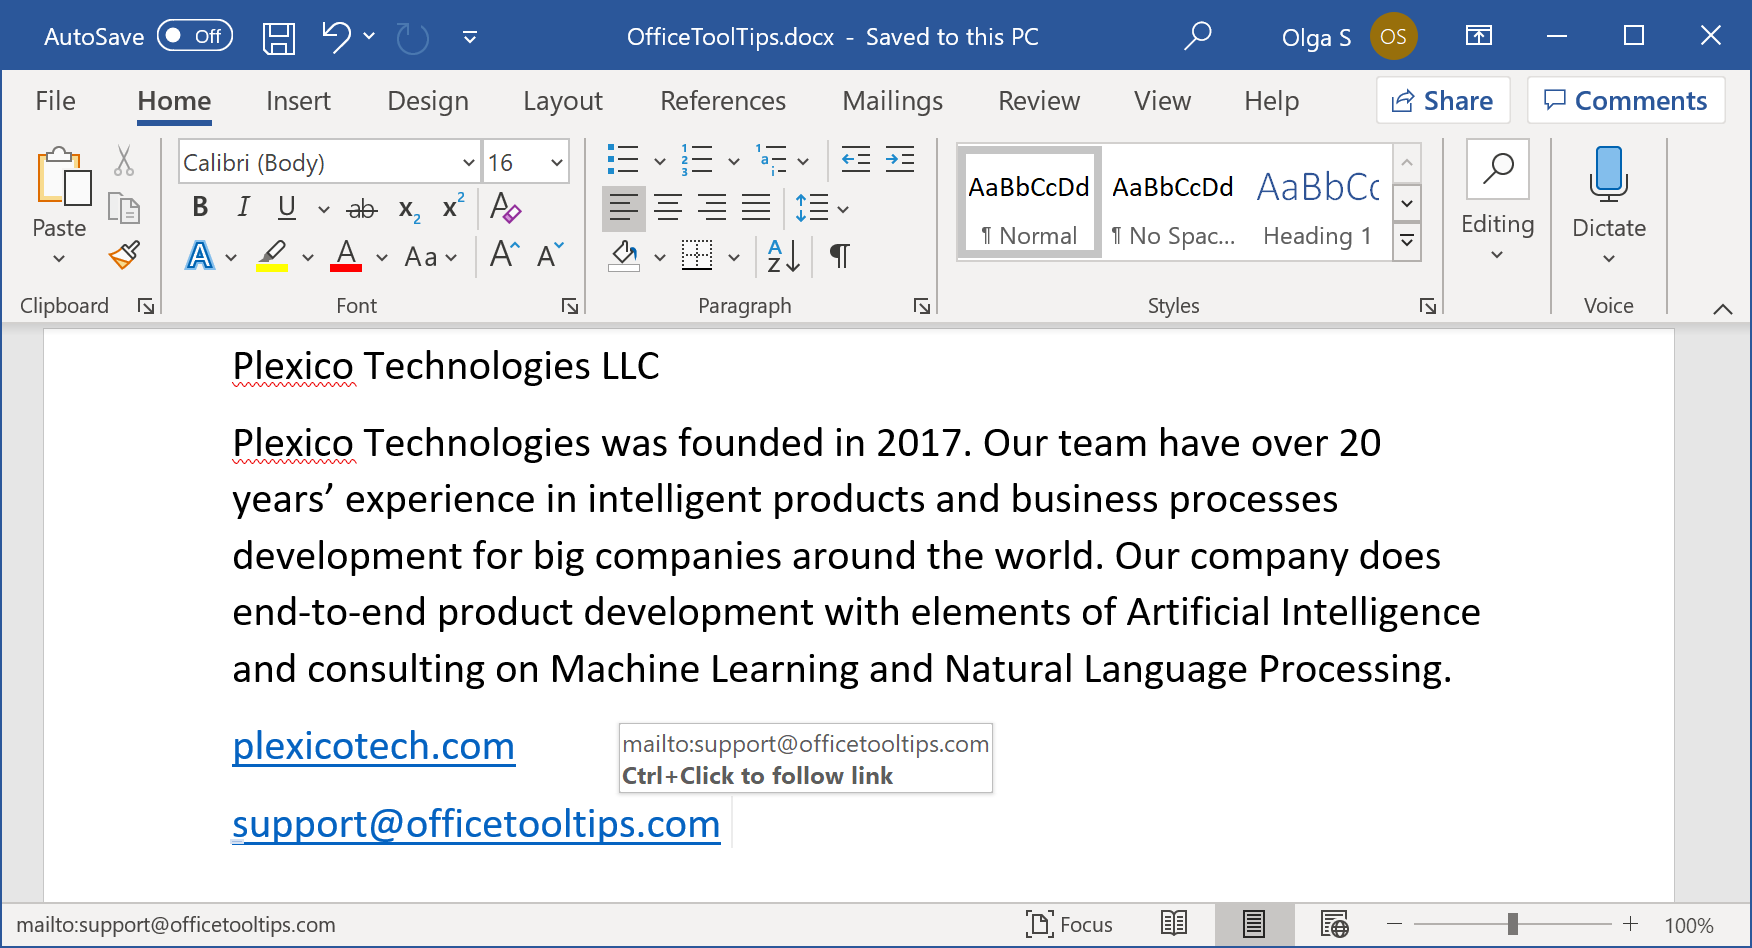
Inserting an e-mail address is simpler than adding a hyperlink. Just type the email address as it is, and typing pace bar or any punctuation symbol such as comma or dot, after the e-mail address, instructs Word to create an email address hyperlink automatically:
If you don’t see the mailto: hyperlink after inserting the email address, check the address. It should contain the symbol @. If the address is correct, you probably have a problem with AutoCorrect options.
Switch between insert and overtype
In the previous versions of Microsoft Word, the Insert button switched between the Insert and Overtype modes. Newer Word versions don’t offer this functionality; the Overtype mode is disabled in Word 2016 and newer. To enable the Overtype mode in Word 2016 and later, do the following:
-
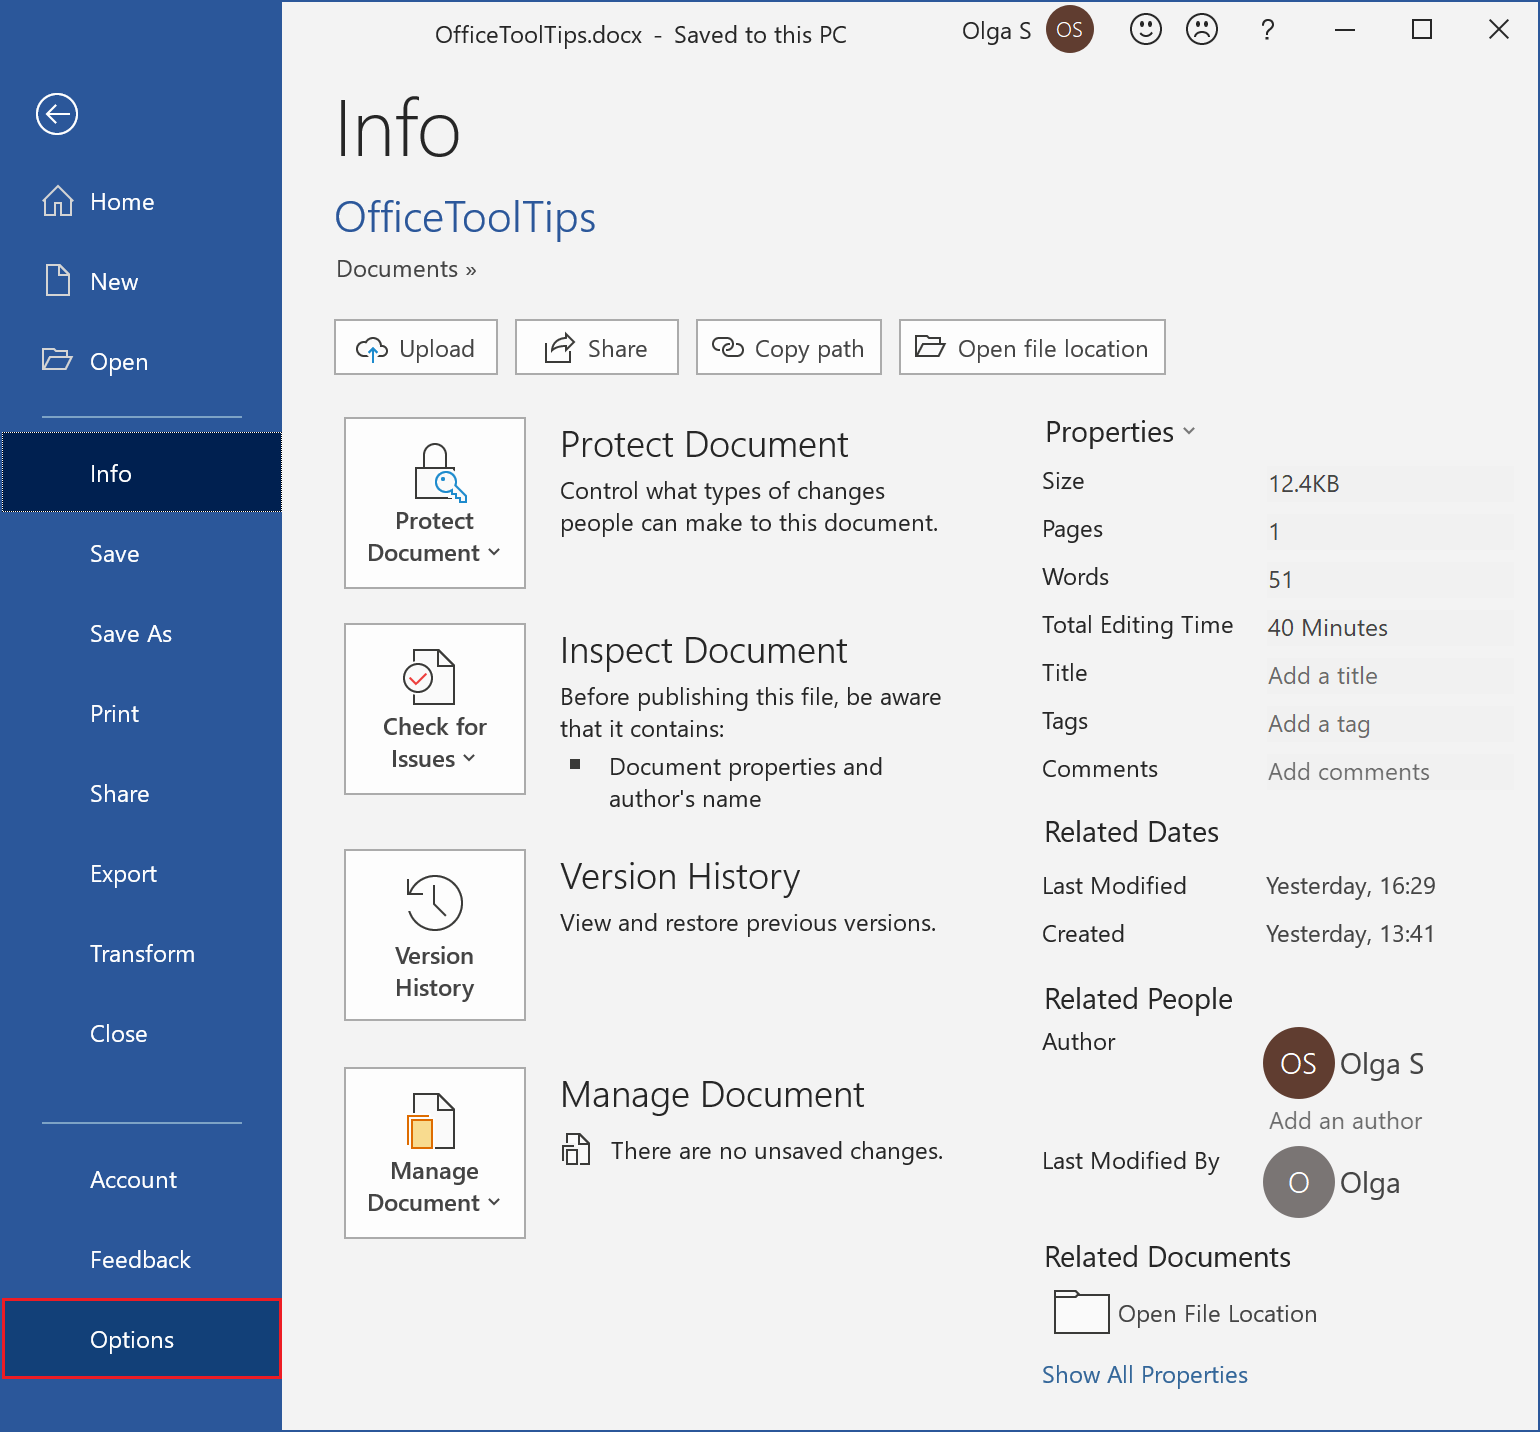
On the File tab, click Options:
-
In the Word Options dialog box, on the Advanced tab, under Editing options:
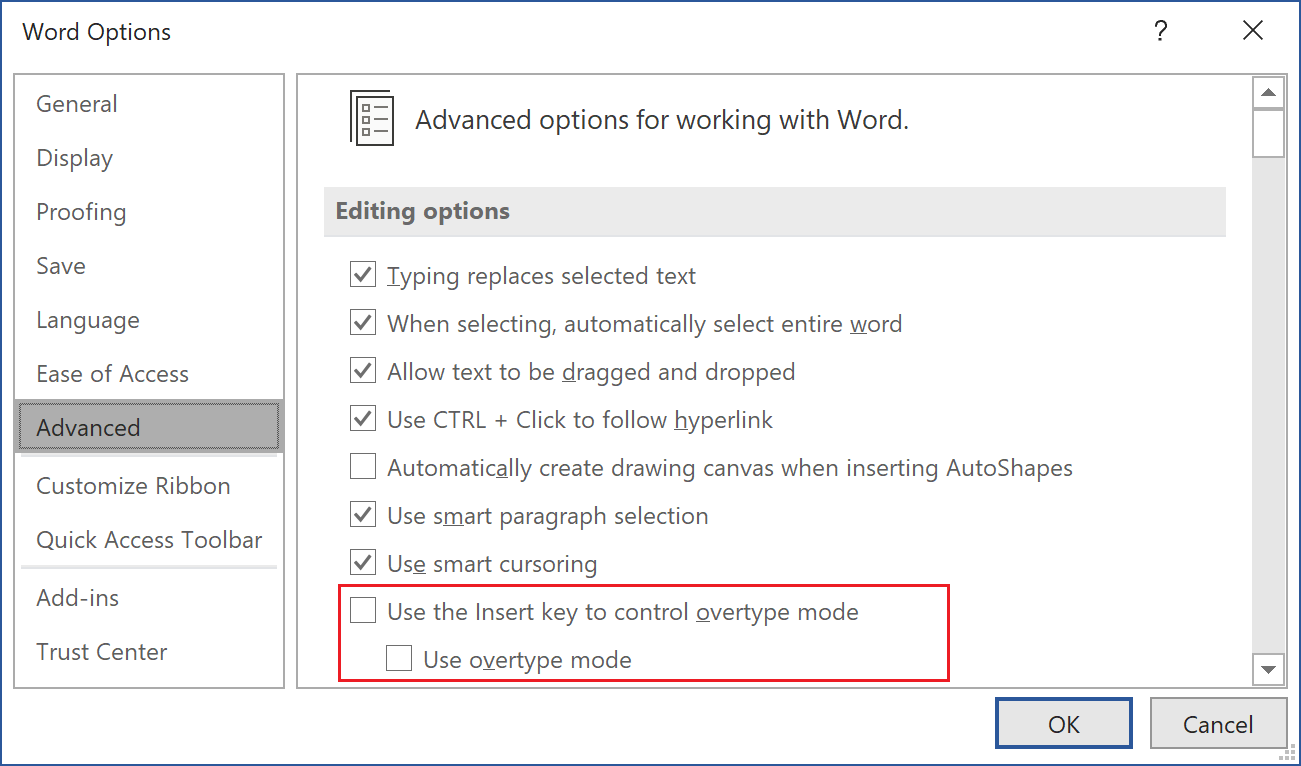
- To use Insert key to control Overtype mode, select the Use Insert key to control overtype check box.
- To keep the Overtype mode always enabled, select the Use overtype mode check box.
Save to the Documents folder
To save the document to the Documents folder, do one of the following:
-
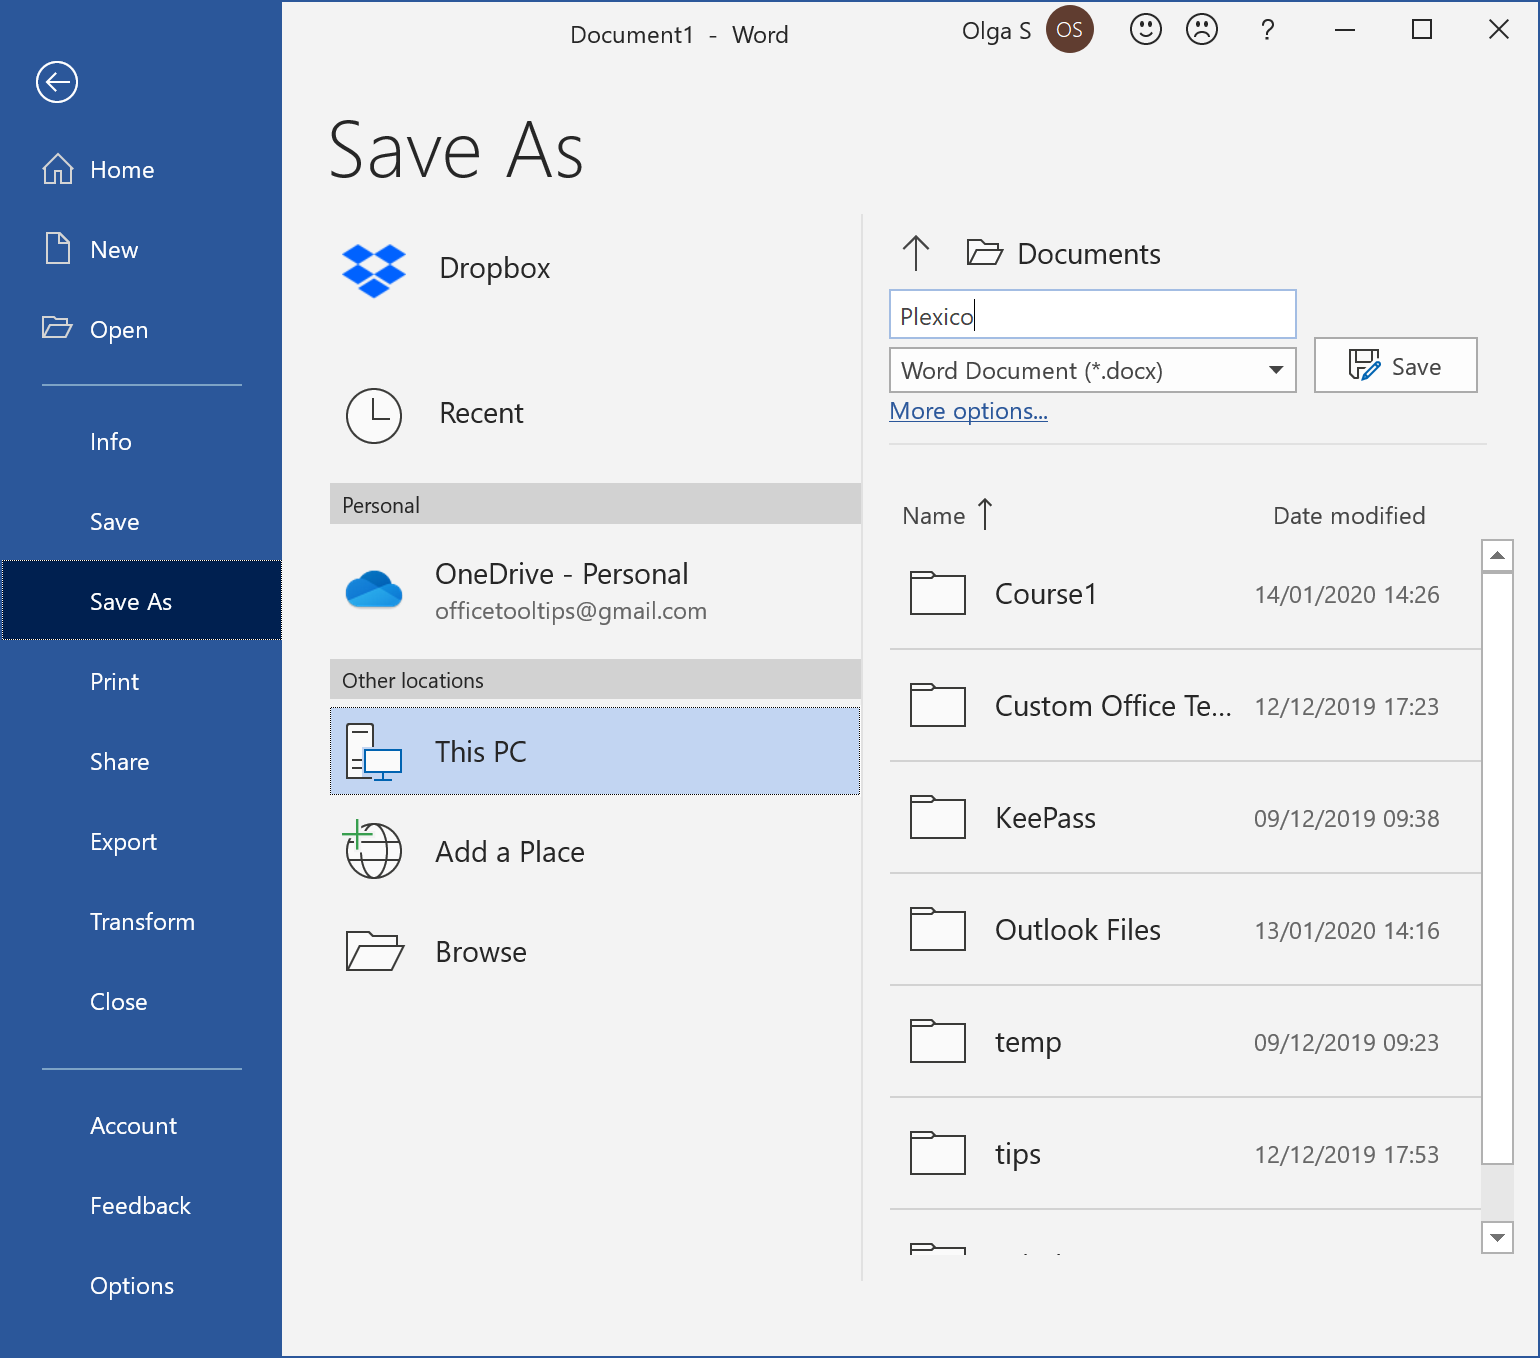
On the File tab, click the Save button. In the Save As pane:
- On the left side of the Save As pane, select the This PC option;
-
On the right side, type the name of your document and click the Save button:
-
Click the Save button on the Quick Access Toolbar (if the Save button is visible)
or press Ctrl + S on the keyboard.
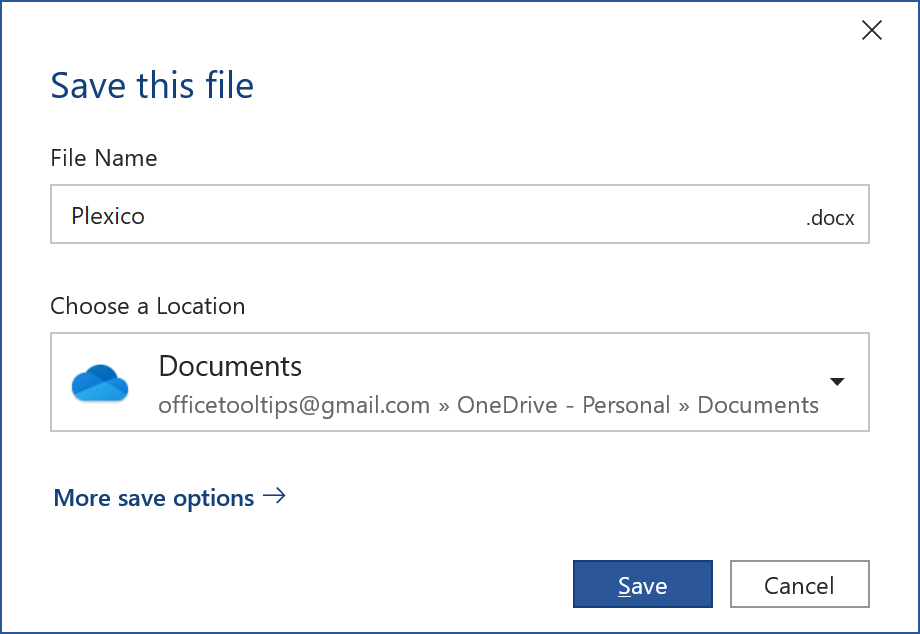
 In the Save this file dialog box:
- In the File name text box, type the file name.
-
In the Choose a Location list, select the Documents folder:
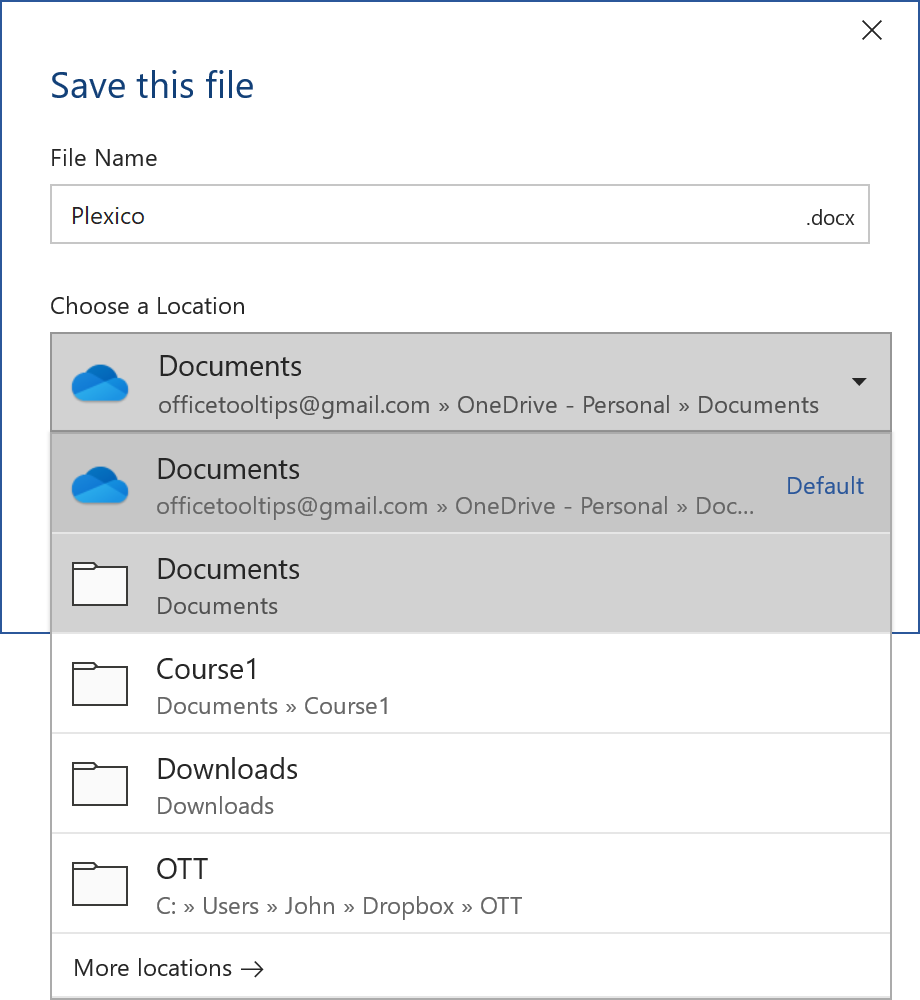
- Click the Save button.
Save to OneDrive
To save the document to the OneDrive folder, do one of the following:
-
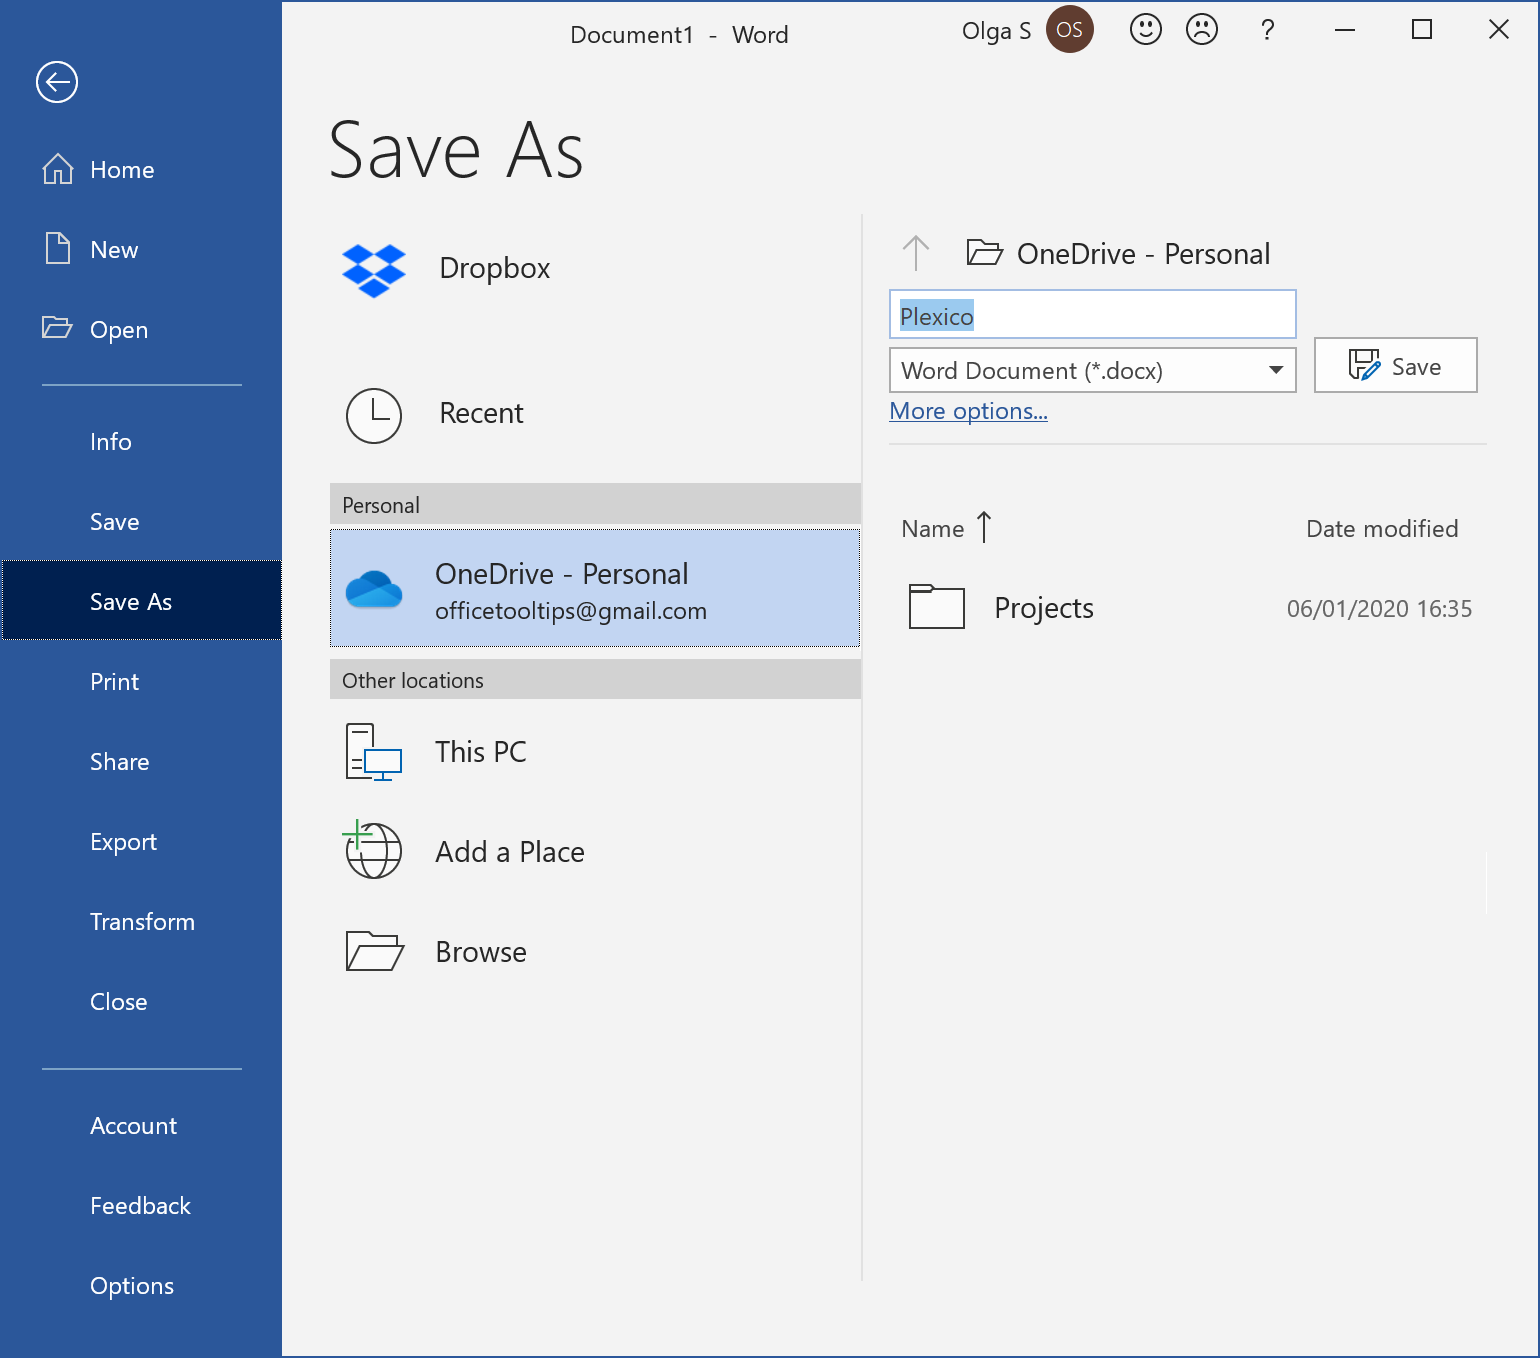
On the File tab, click the Save button. In the Save As pane:
- On the left side of the Save As pane, click the OneDrive.
-
On the right side, type the name of your document and click the Save button:
-
Click the Save button on the Quick Access Toolbar (if the Save button is visible)
or press Ctrl + S on the keyboard.
In the Save this file dialog box:
- In the File name text box, type the file name.
-
Click the Save button:
If you changed the path in this dialog box, you see another folder instead of Documents on OneDrive. Choose the correct folder in this drop-down list.
Close the document
To close the Word document, do one of the following:
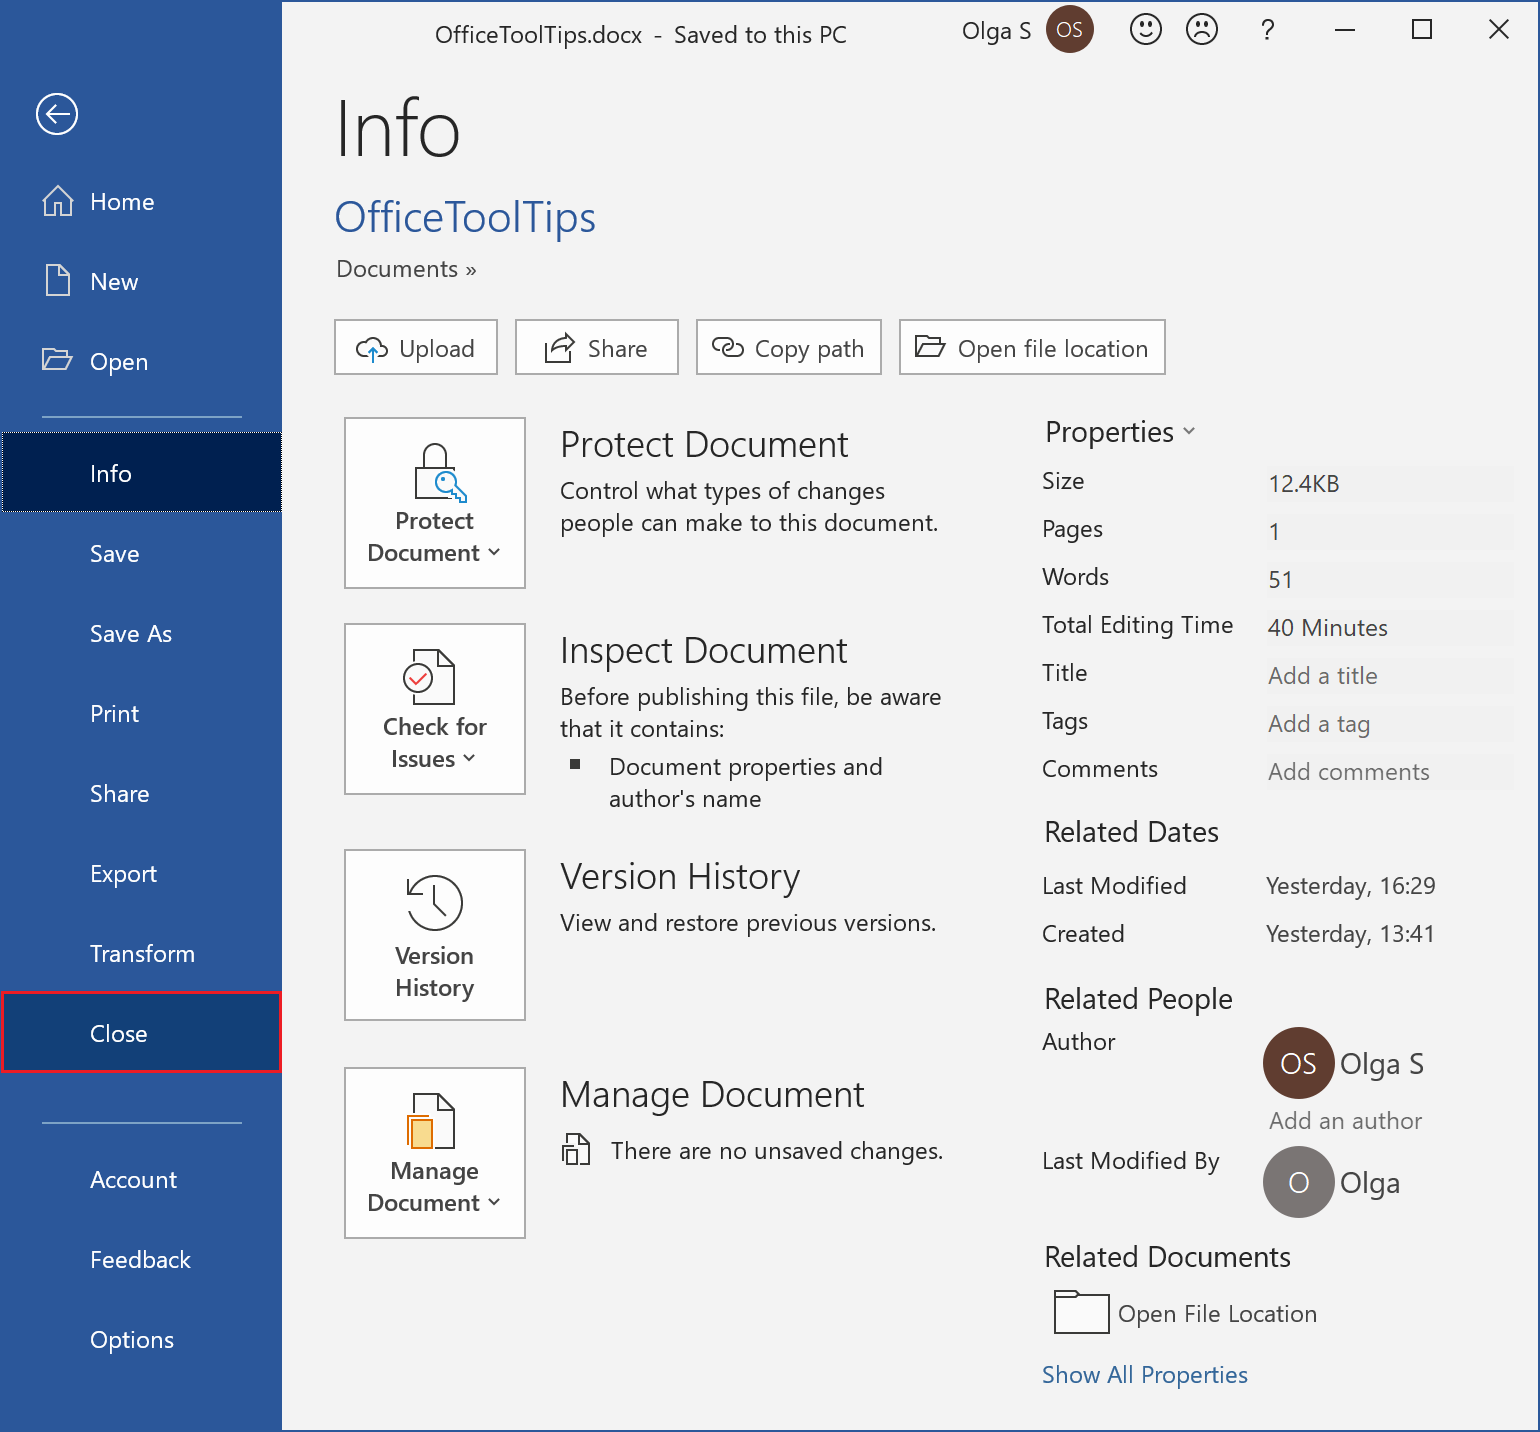
-
On the File tab, click Close:
-
Click the Close button on the top right corner of the document window:

- Press Alt+F4 on the keyboard.
Open in Word and Save As
To open a document if the Word application is already running, do one of the following:
- Click the Open button on the Quick Access Toolbar (if this button was visible);
- Press Ctrl + O on the keyboard;
- On the File tab, click the Open button.
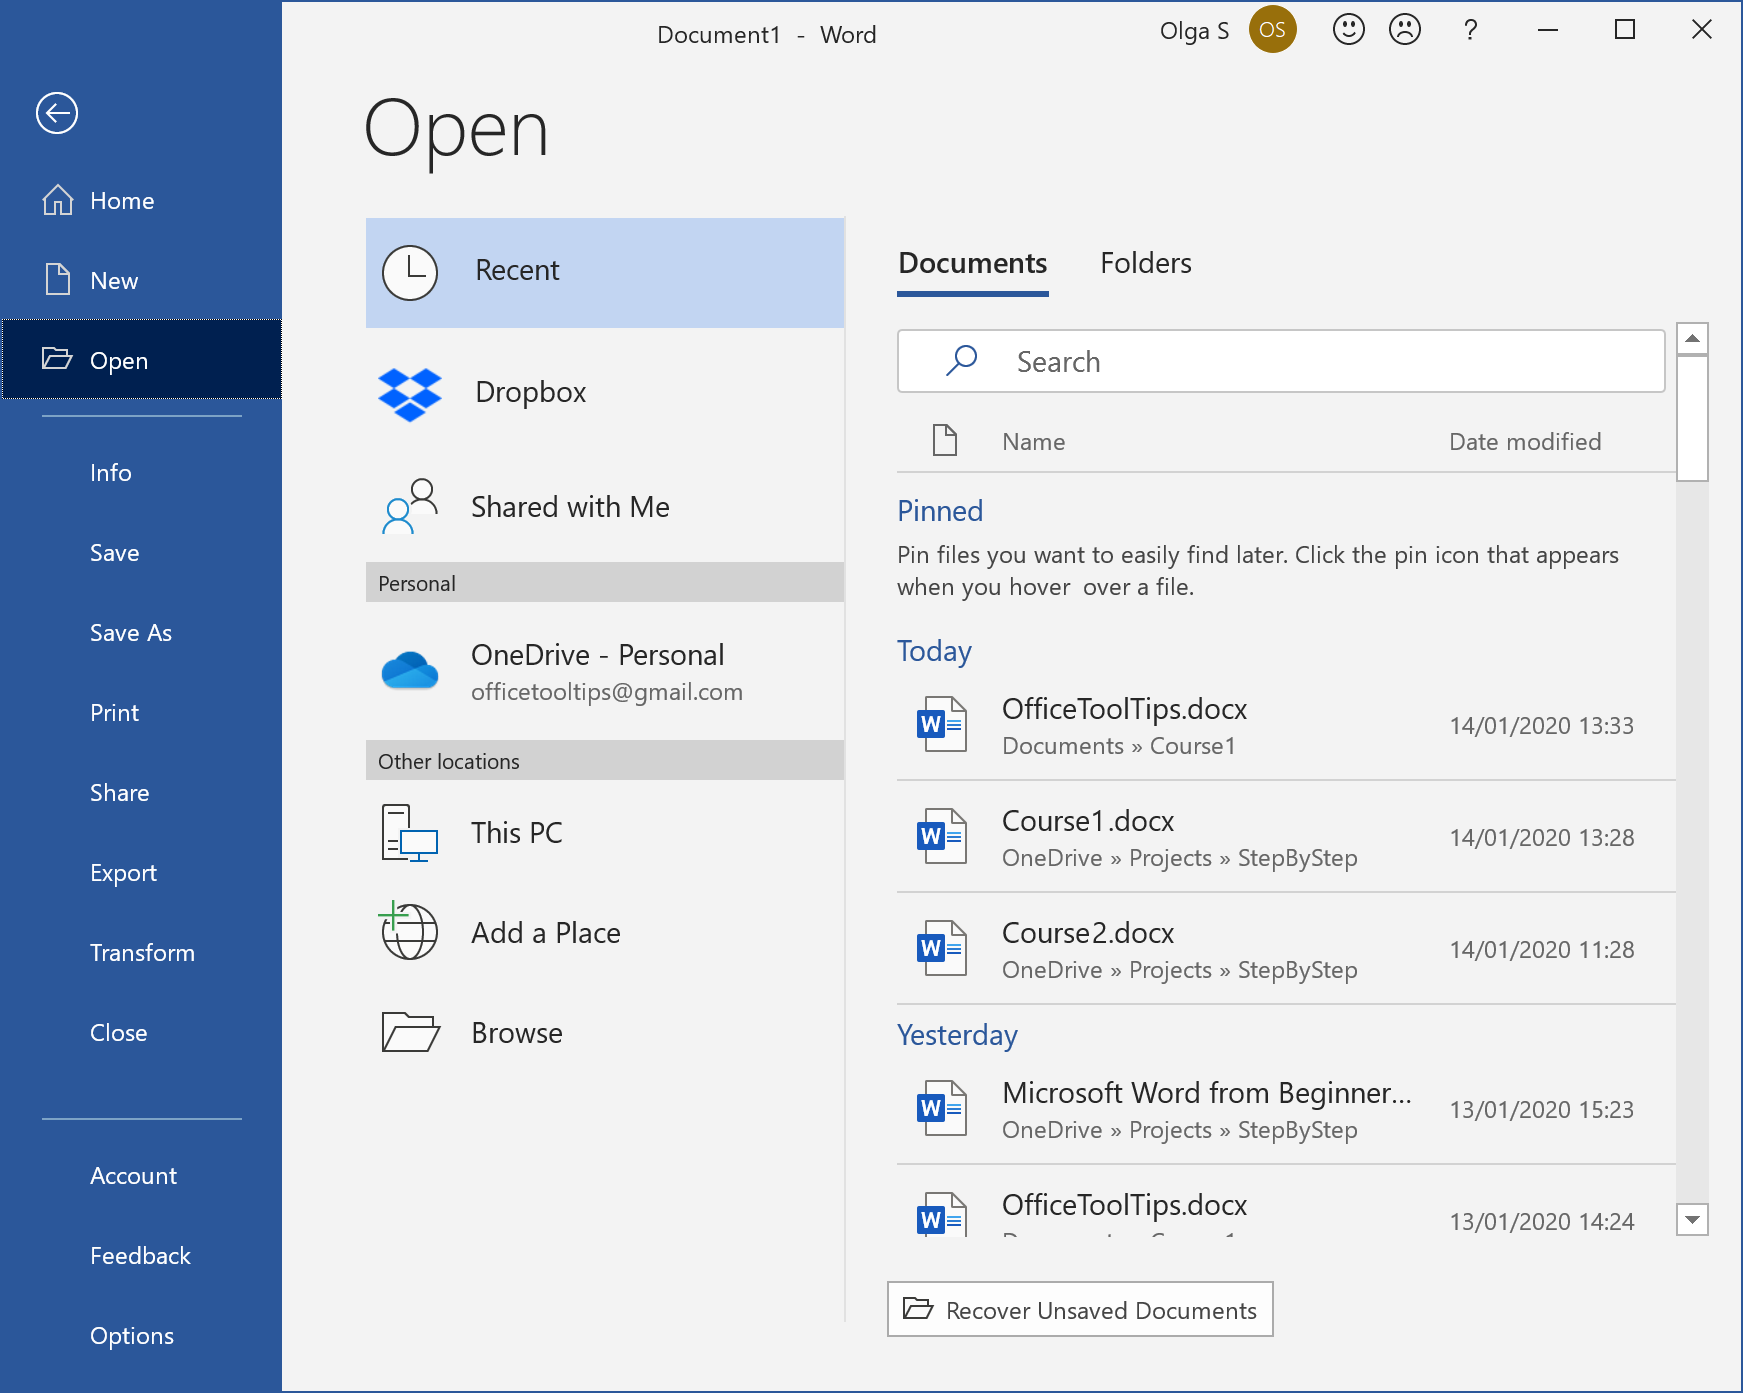 After:
- On the left side of the Open pane, select the location of the document you want to open.
- On the right side, choose the file.
To save an opened document with a different name, on the File tab, click the Save As button:
Instead of the proposed name of the document, type the new name you need and click the Save button. If needed, choose another location for this document.
Copy and open in Explorer
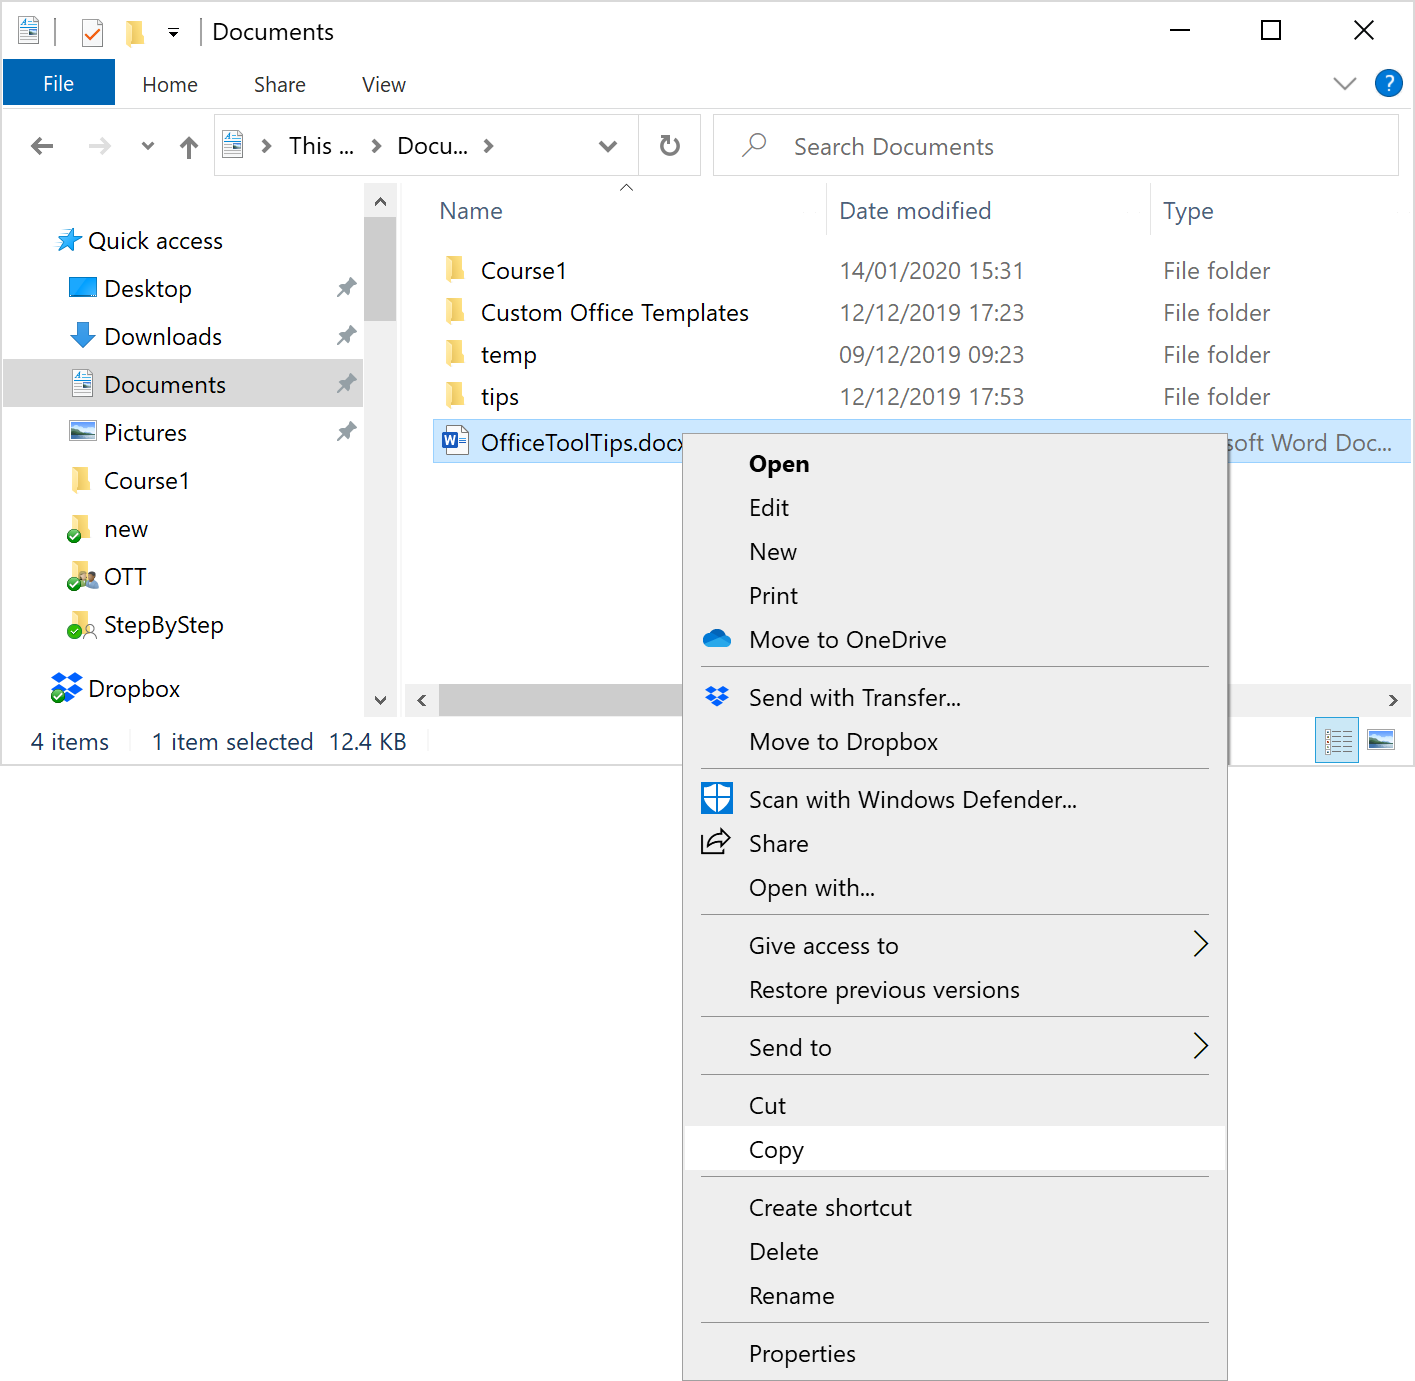
-
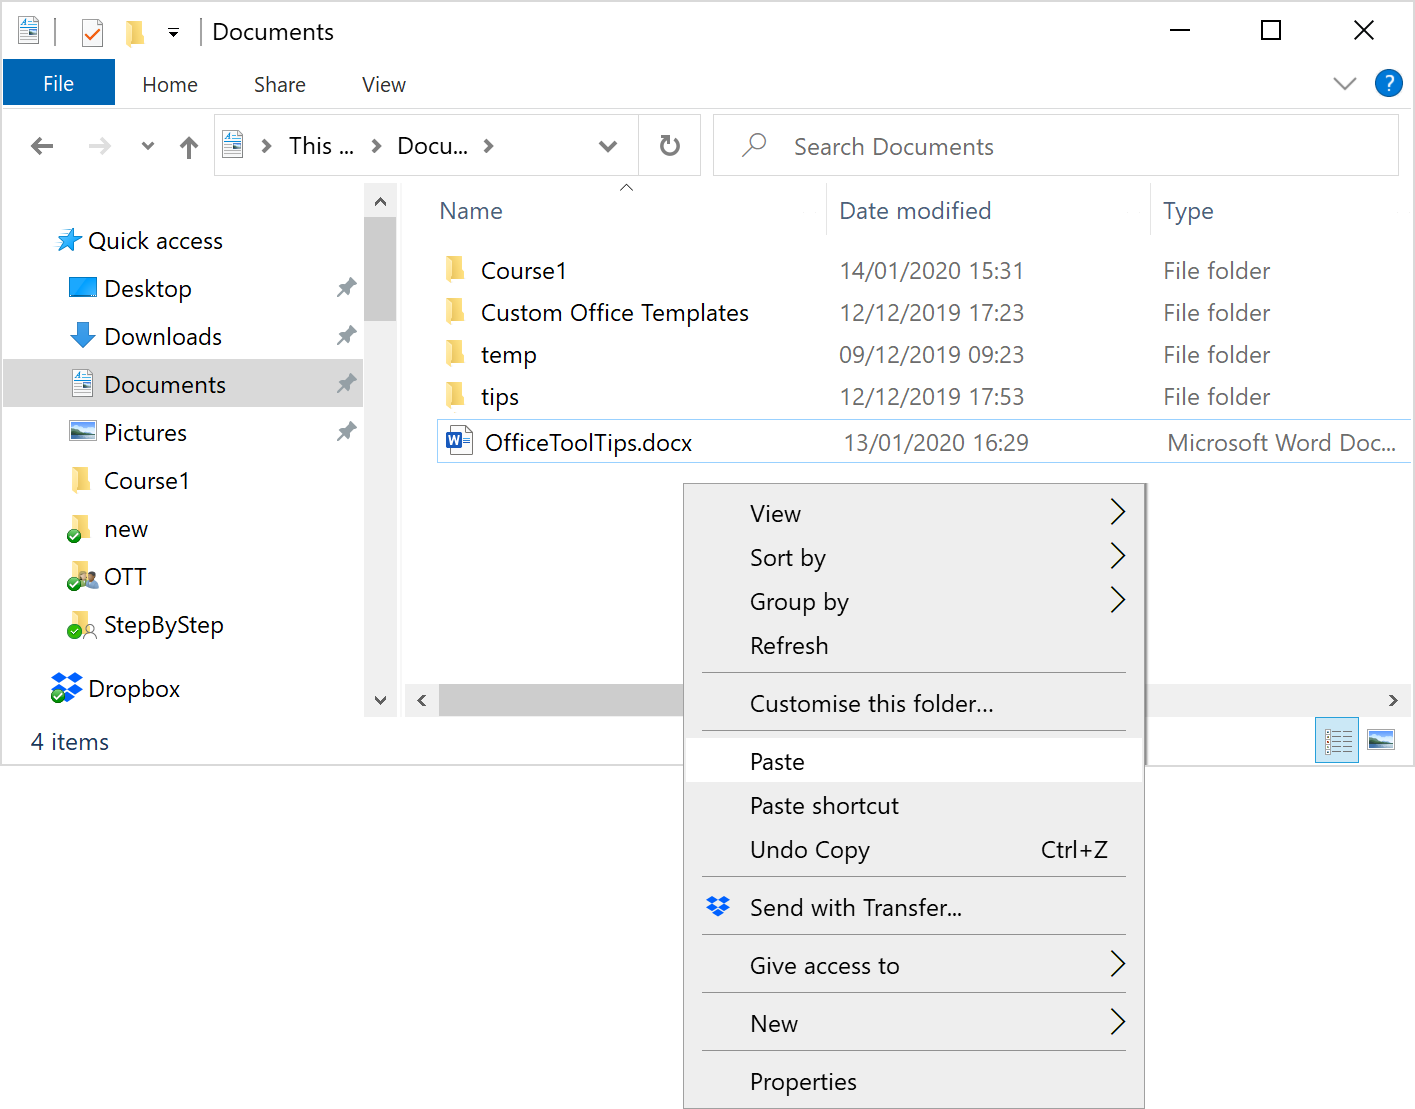
In Explorer, select the document, right-click on the selected file, and choose Copy
in the popup menu (or press Ctrl+ C) to copy it to the Clipboard:
-
Right-click at the empty space in the folder, where you want to paste the document, and select
Paste in the popup menu (or click Ctrl+ V) to paste the
copied file from the Clipboard:
- Right-click on the copied document (with the same name + - Copy) and choose Rename in the popup menu. Type a new name for the document.
- Double-click on the new document (or right-click it and select Open in the popup menu) to open it in the Microsoft Word.
Exit the Microsoft Word application
To exit the Microsoft Word application, you need to close all opened documents. To close documents, do one of the following:
- Close all the open documents one-by-one as described on slide Close the document
-
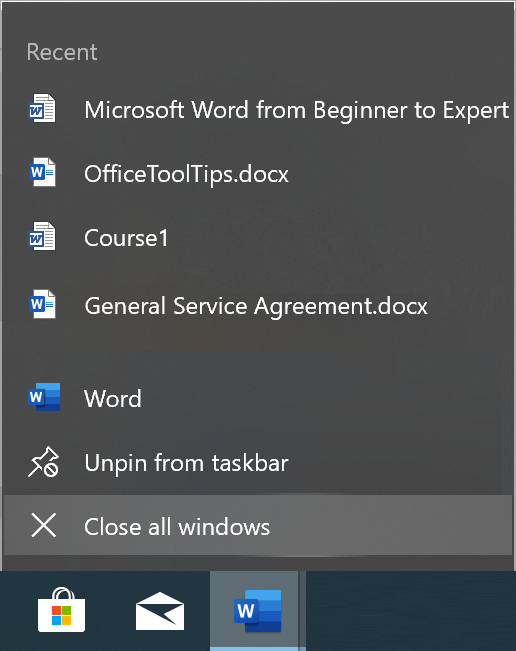
Right-click on the Word icon in the taskbar, and choose Close all windows
- Click Alt + F4 on the keyboard.
It isn’t important, which way you choose, Word prompts to save all non-saved documents one-by-one.