Select and make the word bold
To select a single word, do one of the following:
-
Place the cursor at the start of the word (or the end of the word), and then:
- Press Shift + the right arrow (or the left arrow) many times to select all letters of the word;
- Press Ctrl + Shift + the right arrow (or the left arrow).
- Double-click on the word:
-
Left-click in front of the first letter of the word (or the last letter of the word)
and hold the left button while you drag your cursor to select the word;

To make the selected word bold, do one of the following:
- Press Ctrl + B on the keyboard
-
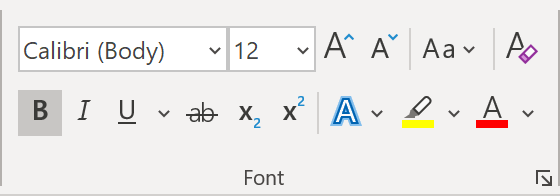
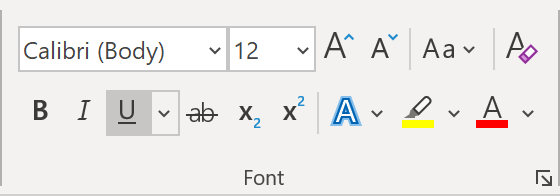
On the Home tab, in the Font group, click the Bold button:
-
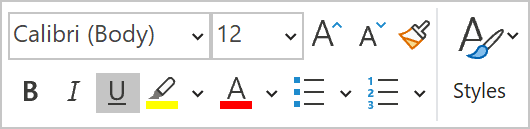
If you see the Mini Toolbar after selecting the word, you can click the Bold button
on the Mini Toolbar:
Select and make the sentence italic
To select a sentence, do one of the following:
-
Place the cursor at the start of the first word of the sentence (or the end of the sentence,
usually after the dot) and then:
- Press Shift + the right arrow (or the left arrow) many times to select all words of the sentence;
- Press Ctrl + Shift + the right arrow (or the left arrow) many times to select words of the sentence.
- Left-click in front of the first letter of the first word of the sentence (or after the last letter of the last word of the sentence) and hold the left button while you drag your cursor to select the sentence;
-
Hold Ctrl and click at any place within the sentence:

- To select the line of text, press Shift + the arrow down (the arrow up).
-
To select the line of text, click on the left margin of the document.
To make the selected sentence italic, do one of the following:
- Press Ctrl + I on the keyboard.
-
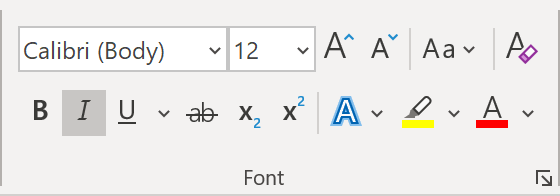
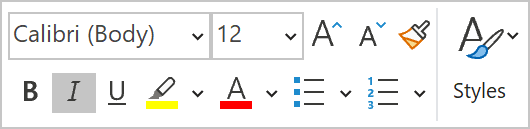
On the Home tab, in the Font group, click the Italic button:
-
If you see the Mini Toolbar after selecting a sentence, you can click the
Italic button on the Mini Toolbar. Otherwise, right-click on the
selected sentence and then click the Italic button:
Select and make paragraph underlined
To select a paragraph, do one of the following:
- Place the cursor at the start of the paragraph (or at the end of the paragraph, usually after the dot) and press Ctrl + Shift + the arrow down (or the arrow up).
- Double-click on the left margin of the document.
- Click in front of the first letter of the first word of the paragraph (or after the last letter of the last word of the paragraph) and hold the left button while you drag your cursor to select the text you want.
-
Triple-click on the paragraph:
To make the selected paragraph underlined, do one of the following:
- Press Ctrl + U on the keyboard.
-
On the Home tab, in the Font group, click the Underline button:
-
If you see the Mini Toolbar after selecting a paragraph, you can click the
Underline button on the Mini Toolbar. Otherwise, right-click the selected paragraph
and then click the Underline button:
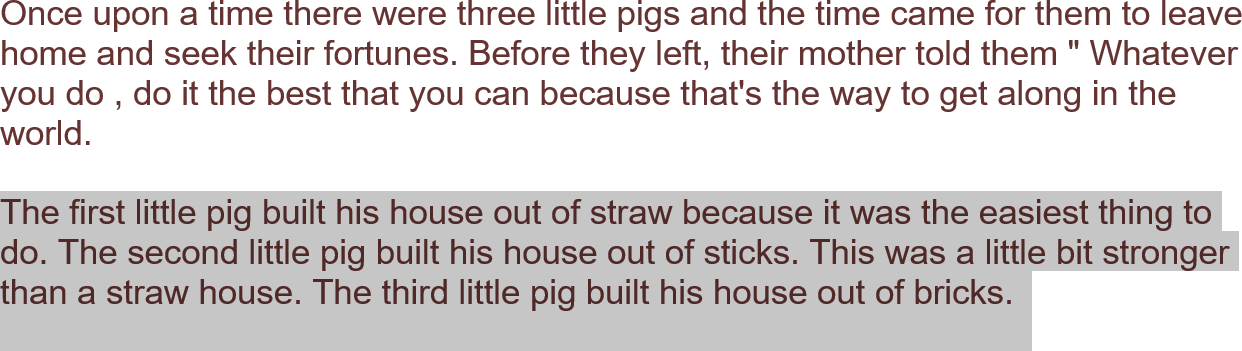
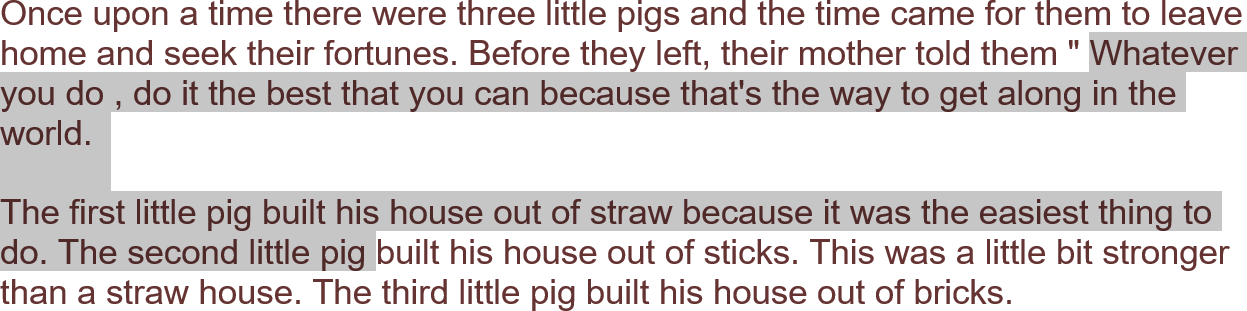
Highlight and change fragment color
To select a fragment, do one of the following:
- Place the cursor at the start of the fragment (or at the end of the fragment), press Shift + the right arrow (or the left arrow) many times.
- To select multiple lines and press Shift + the arrow down (or the arrow up) many times.
-
Left-click in front of the first letter of the fragment (or after the last letter of the fragment),
hold Shift and then click after the last letter of the fragment (or in front of the first
letter of the fragment):
To change the color of the selected fragment, do one of the following:
-
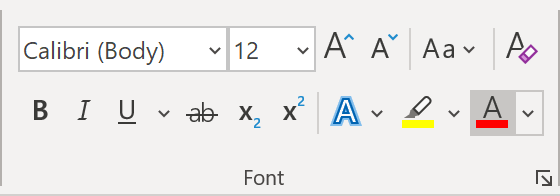
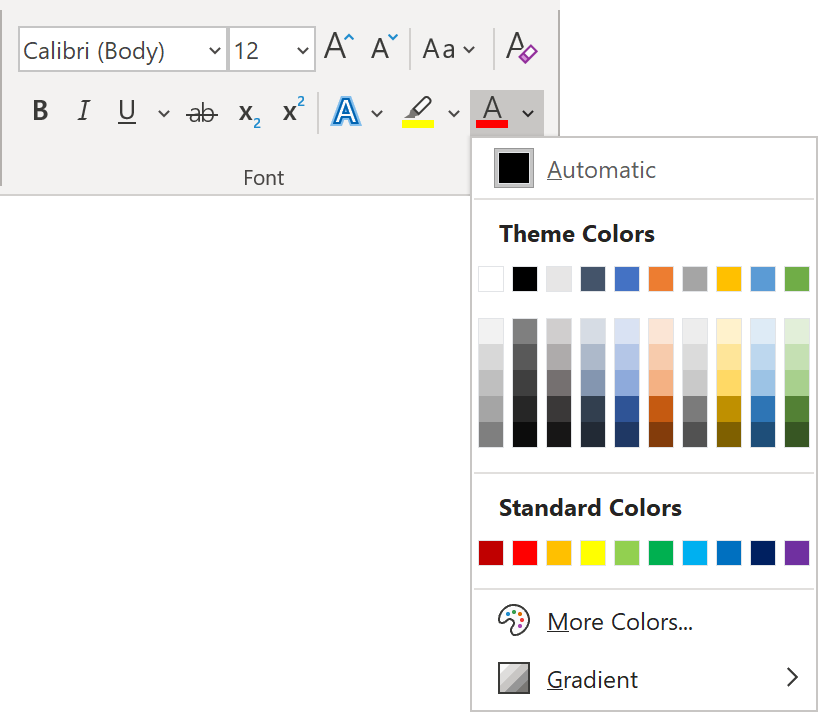
On the Home tab, in the Font group, click the Font Color button:
If you want to use a different color, click the arrow down at the right side of the button to choose a new color.
-
If you see the Mini Toolbar after selecting a fragment, you can click the
Font Color button on the Mini toolbar. Otherwise, right-click on
the selected fragment and then click the Font Color button:
To highlight the selected fragment, do one of the following:
-
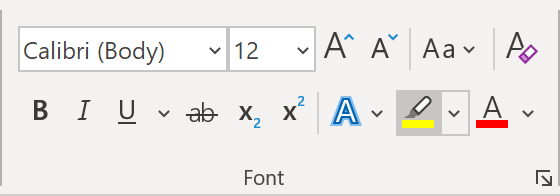
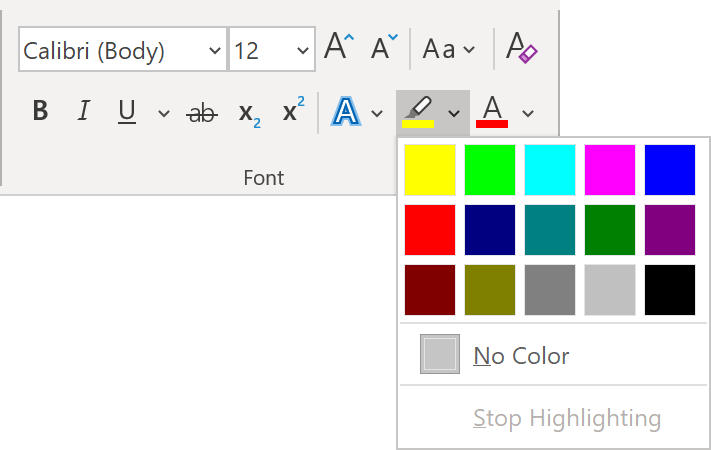
On the Home tab, in the Font group, click the Text Highlight Color button:
If you want to use a different, click the arrow down at the right side of the button to choose a new color.
-
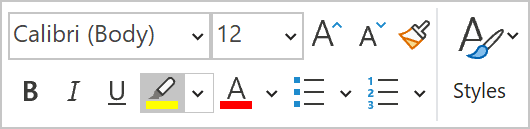
If you see the Mini Toolbar after selecting a fragment, you can click the
Text Highlight Color button on the Mini Toolbar. Otherwise, right-click on
the selected fragment and then click the Text Highlight Color button:
Increase/decrease font size
To increase/decrease the font size of the selected text (a single word, a sentence, a paragraph or some fragment), do one of the following:
- Press Ctrl + Shift + the right arrow to increase font size or Ctrl + Shift + the left arrow to decrease font size.
-
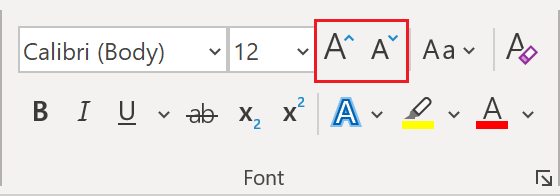
On the Home tab, in the Font group, click the Increase Font Size or
Decrease Font Size button:
-
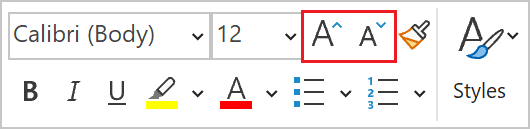
If you see the Mini Toolbar after selecting a text, you can click the
Increase Font Size or Decrease Font Size button in the Mini Toolbar.
Otherwise, right-click on the selected fragment and then click the Increase Font Size or
Decrease Font Size button:
Change font and size
To change the font for the selected text, do one of the following:
-
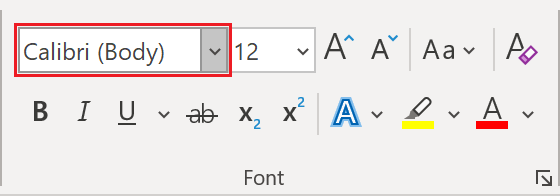
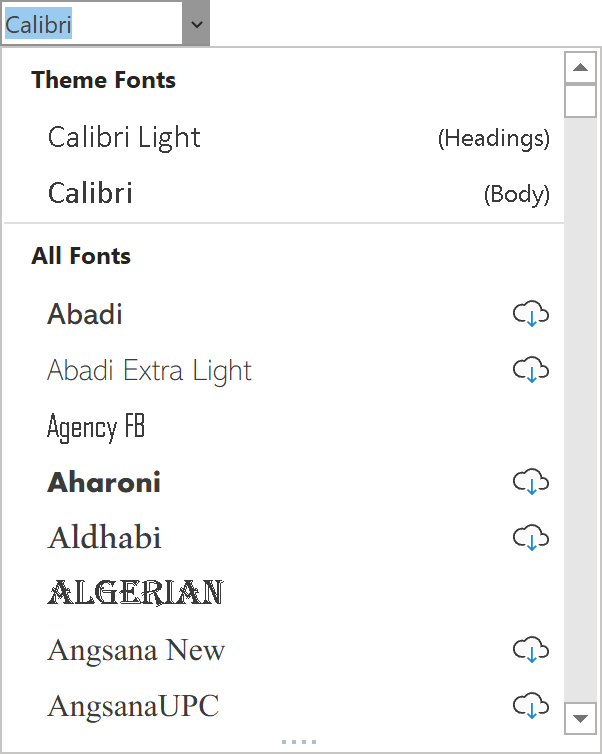
On the Home tab, in the Font group, open the Font dropdown list:
From the Font dropdown list, choose the font.
-
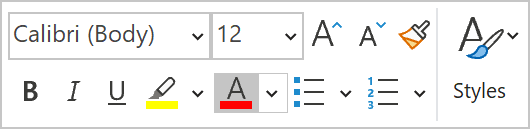
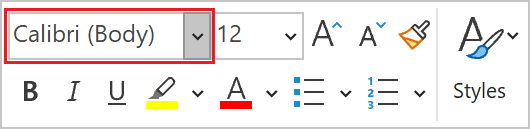
If you see the Mini Toolbar after selecting the text, you can open the
Font dropdown list on Mini toolbar:
To change the font size for the selected text, do one of the following:
-
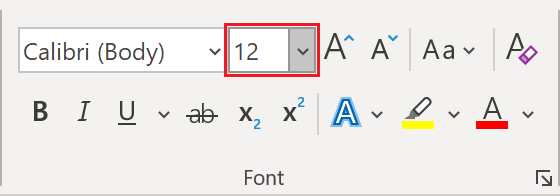
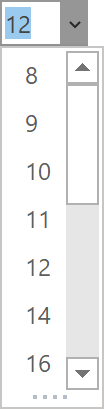
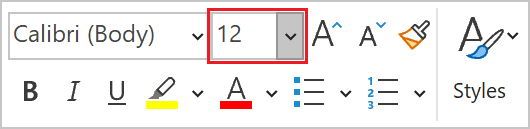
On the Home tab, in the Font group, open the Font Size dropdown list:
From the Font Size dropdown list, choose a new size or type a new size in this text box.
-
If you see the Mini Toolbar after selecting the text, you can open the
Font Size dropdown list or type a new size on the Mini Toolbar:
Align the paragraph text
To align a single paragraph, you need to place the cursor anywhere in the paragraph. You can select one or multiple paragraphs to align them all at once. To align the selected paragraph (paragraphs), do one of the following:
- Press Ctrl + L (align left), Ctrl + R (align right), Ctrl + E (center), or Ctrl + J (justify).
-
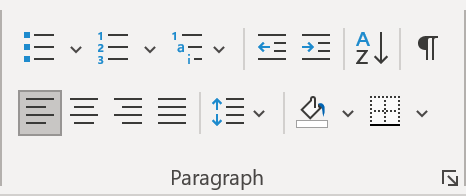
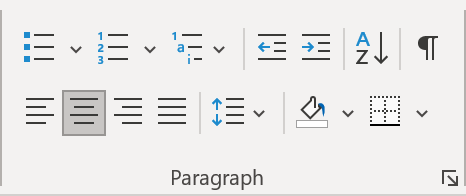
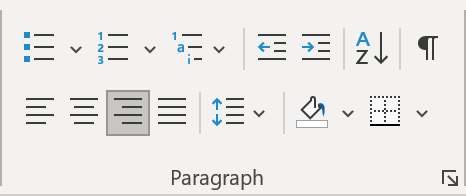
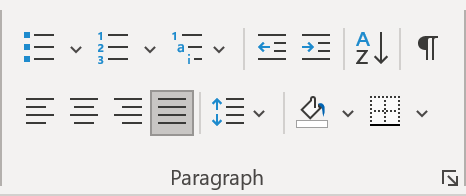
On the Home tab, in the Paragraph group, click the Align Left,
Align Right, Center, or Justify button:
Increase/decrease text indentation
To increase/decrease text indentation for the selected text, do one of the following:
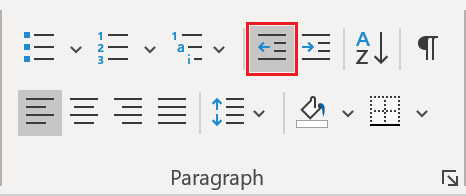
-
On the Home tab, in the Paragraph group, click the Decrease Indent:
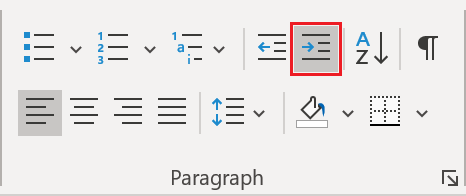
-
or Increase Indent button:
Change line spacing
To change line spacing for the selected text, do one of the following:
- Ctrl + 1 - Single-line spacing
- Ctrl + 5 - 1.5-line spacing
- Ctrl + 2 - Double-spacing
- Ctrl + 0 (zero) - Add or remove 12 points of space before a paragraph
-
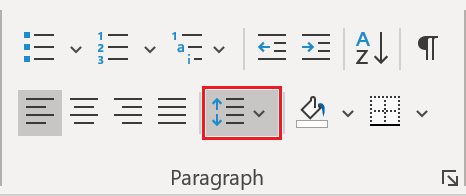
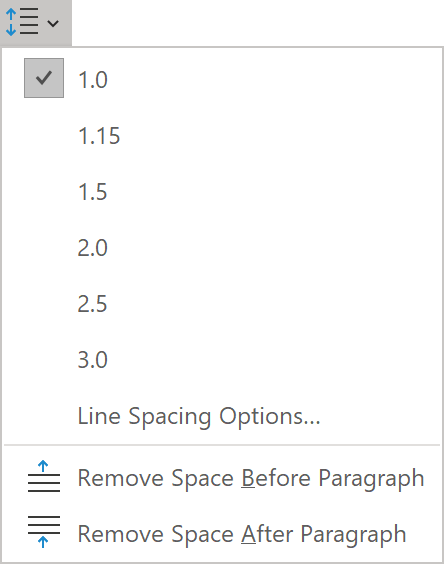
On the Home tab, in the Paragraph group, click the Line and Paragraph Spacing button
and select a pre-defined line-spacing value:
Show/hide formatting marks
Microsoft Word has many types of nonprintable symbols such as different types of spaces, tabulations, line or page breaks, etc. These symbols are called formatting marks. To show/hide formatting marks, do one of the following:
- Click Ctrl + * or Ctrl + Shift + 8
-
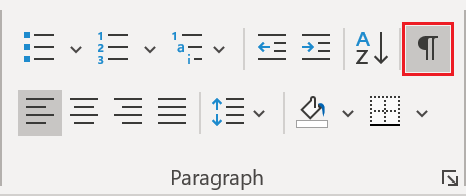
On the Home tab, in the Paragraph group, click the Show/Hide ¶ button:
For example:

Copy and clear formatting
If you have an element of text such as character, word, several words, phrase, etc. with specific formatting and want to copy this formatting to another element, do the following:
- Select the text with the formatting to copy.
-
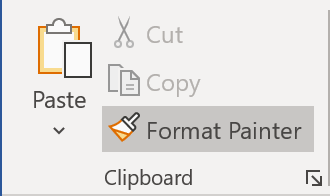
On the Home tab, in the Clipboard group, click the Format Painter button:
If you want to apply that formatting multiple times, double-click the Format Painter button. The mouse pointer changes to the paintbrush.
-
Select the text that you would like to change using the selected format.
To apply the formatting to the single word, double-click the word. Otherwise, drag over the destination text to format. If you double-clicked the Format Painter button, continue making selections until you finish applying the copied formatting. Press Esc or click the Format Painter button again to deactivate it.
- Select the text with the formatting to copy.
- Press Ctrl + Shift + C to copy the formatting of the selected text.
- Select the text to which you want to apply the copied formatting.
- Press Ctrl + Shift + V to apply the formatting to the selected text.
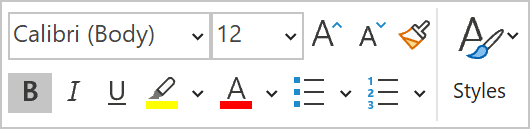
To clear the formatting of the selected text, on the Home tab, in the Font group,
click the Clear All Formatting button:
![]()