Copy and paste in the document
To copy and paste some text within the document, do one of the following:
-
Use the Drag and Drop:
- Select the text fragment (symbol, word, sentence, paragraph, etc.).
- Press the Ctrl key and, holding the Ctrl key, drag a cursor to the place where you want to paste the selected text.
- Release the Ctrl key.
-
Use the Clipboard:
- Select the text fragment (symbol, word, sentence, paragraph, etc.).
-
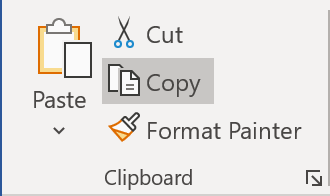
Press Ctrl + C, or on the Home tab,
in the Clipboard group, click the Copy button:
- Position the cursor where you want to paste the copied text.
-
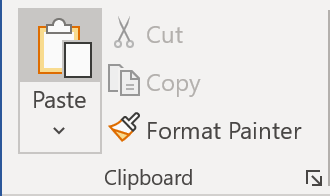
Click Ctrl + V, or on the Home tab,
in the Clipboard group, click the Paste button:
Copy and paste from Web
Often you need to paste into the document text fragments, quotations, etc. from different resources such as Web pages, PDF files, and other documents. If you paste the text from an external source, the formatting of the external source is inserted with the pasted text and regularly breaks the visual style of the document. A good practice is to paste the text from other sources as text and apply the document-specific formats after.
To insert the text from any source, you need to copy it to the Clipboard. After you put
the pasted text in the Clipboard, place the cursor where you want to put it and on the
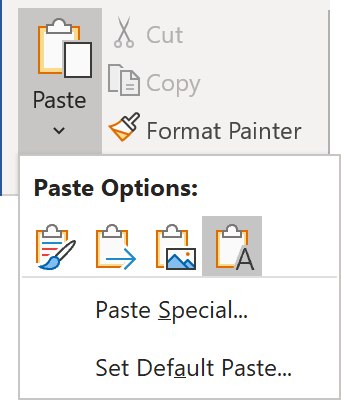
Home tab, in the Clipboard group, click Paste and then choose
the Keep Text Only button:
Simple find and next/previous
Word offers two different options to find some text in the document:
-
Press Ctrl + F to open the Navigation pane:
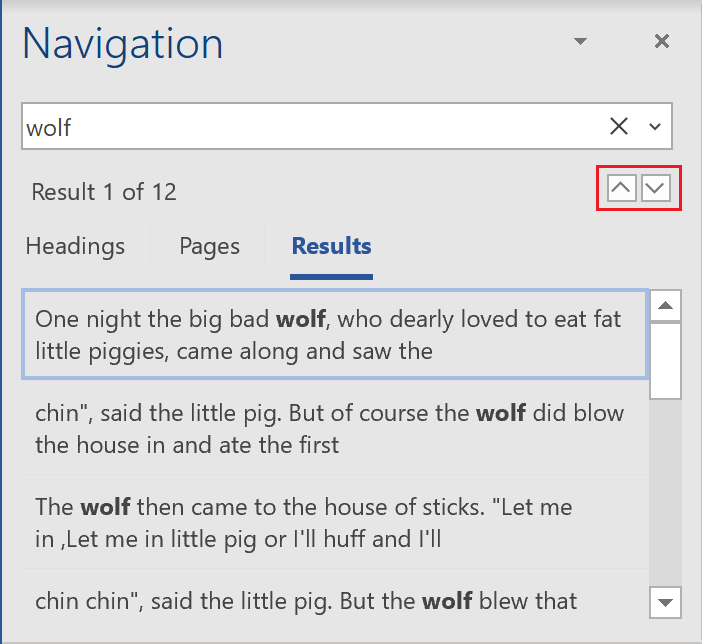
If you have the text in the Clipboard or select the text in the document, you see this text in the search text box and the search results. Otherwise, you can type or insert any text you want to find and click Enter to show the results.
To jump to the next result, click Shift + F4, or Next and Previous buttons on the Navigation pane for easy navigation between the next or previous result.
-
On the Home tab, in the Editing group, open the Find dropdown list and then choose Advanced Find... to open the Find and Replace dialog box. :
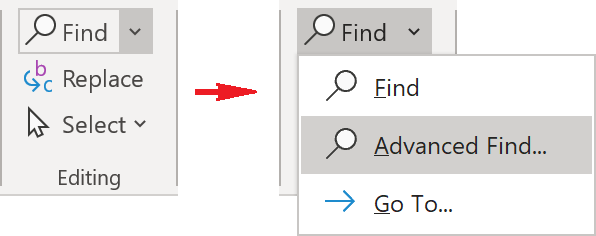 For example:
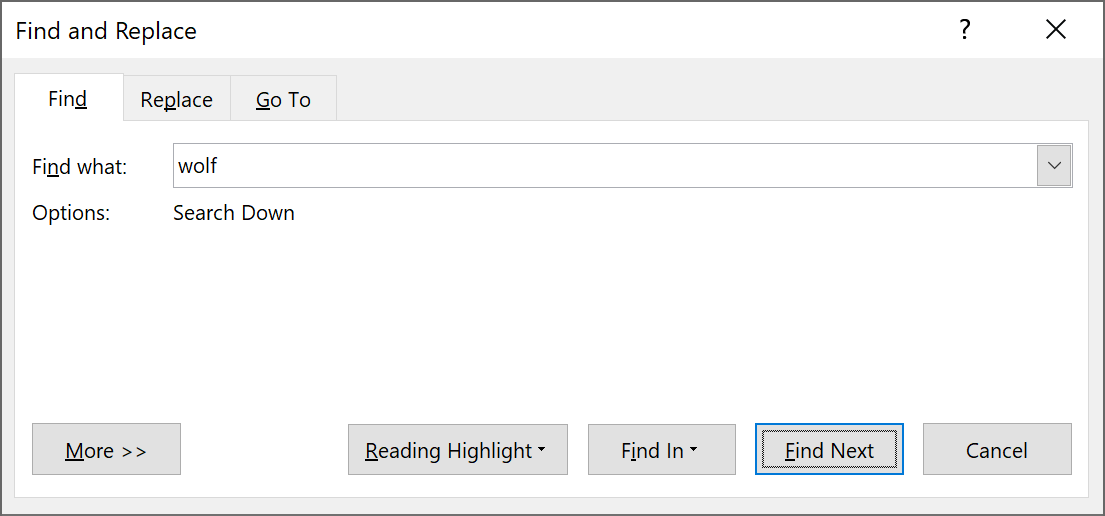
To jump to the next result, click the Find Next button.
Advanced find
To reveal the advanced find options, do one the following:
-
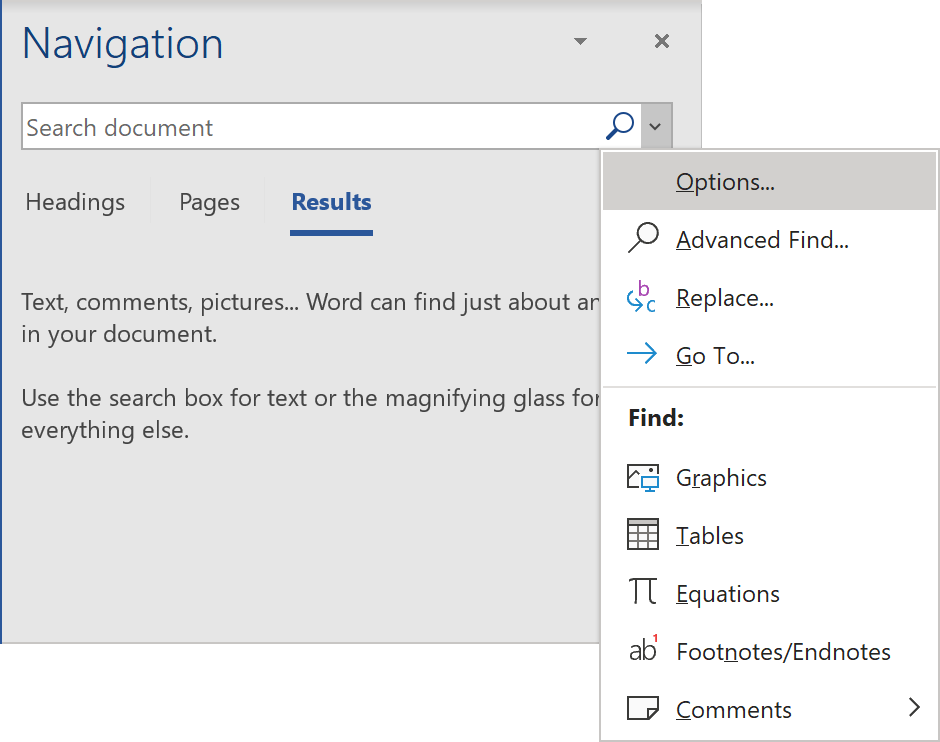
In the Navigation pane, click the arrow down on the right side of
the search text box and choose Options... in the list:
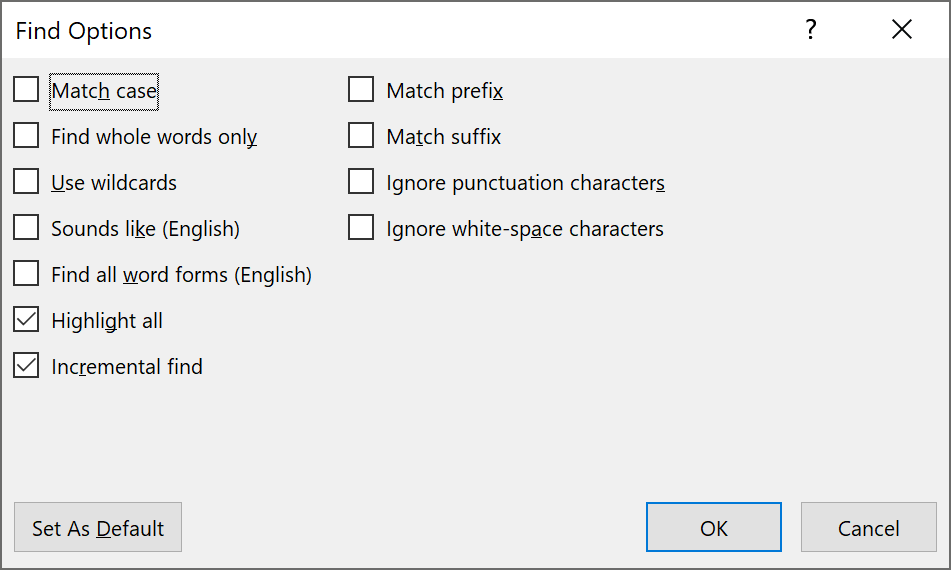
Word opens the Find Options dialog box.
-
In the Find and Replace dialog box, click the More >> button (it doesn’t matter,
which tab is active: Find or Replace):
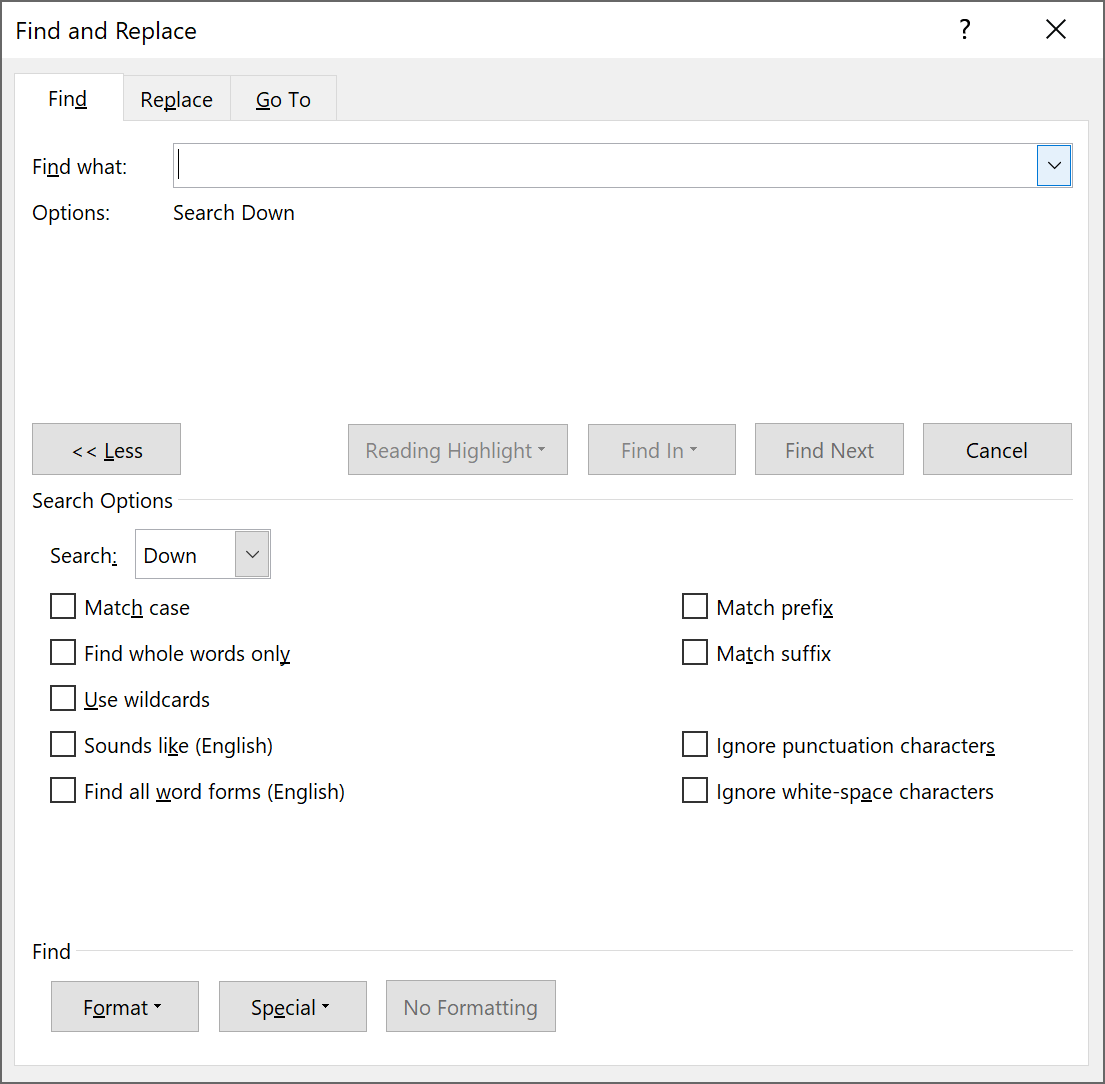 The Search Options group includes additional search features that you can use.
Highlight search results
To highlight search results, do one of the following:
-
In the Navigation pane, enter the text you want to find in the search box to
highlight all occurrences of the search string in the document and display them on
the Results page of the Navigation pane:
-
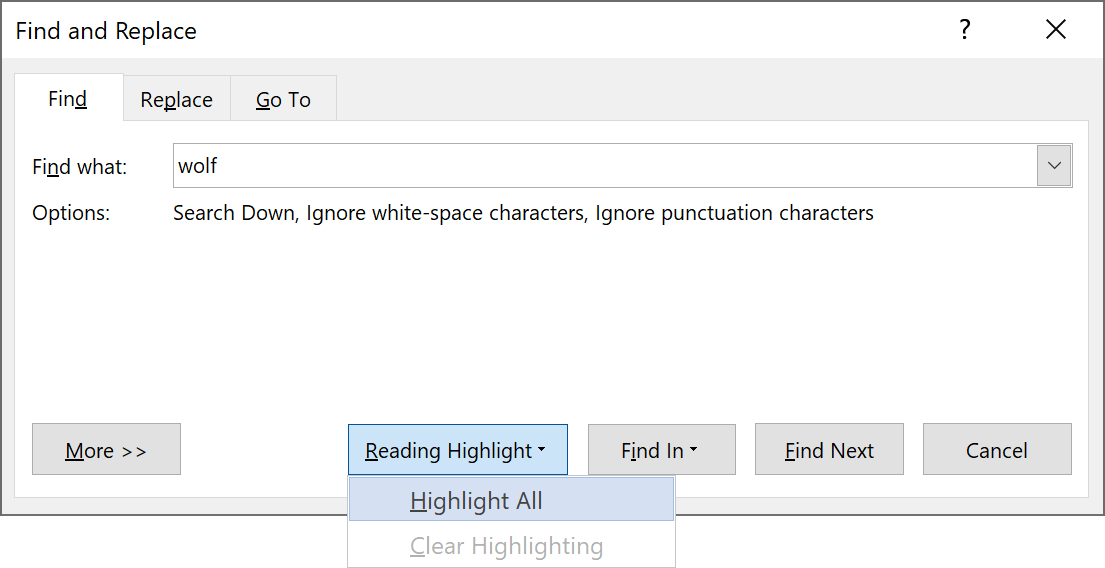
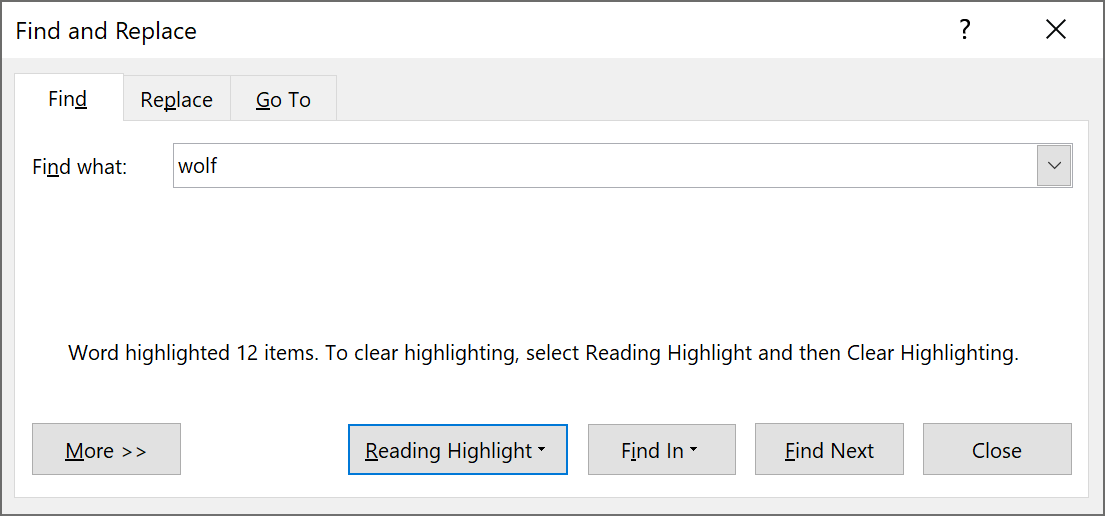
In Find and Replace dialog box, Microsoft Word highlights the next found result.
To highlight all results, click the Reading Highlight button and choose Highlight All:
 For example:
Change the text language
Microsoft Word uses your default language for new documents but, when you open other documents or paste text from an external source, the language of the document or fragment may differ. Also, you may need to use different languages for particular parts of the document. To change text language, select the text for which you want to change language and do one of the following:
-
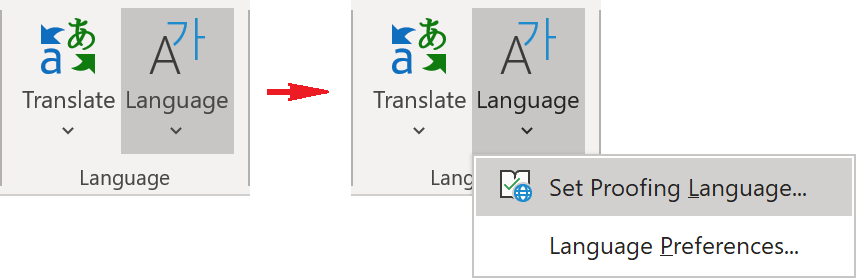
On the Review tab, in the Language group, click the Language button,
then choose Set Proofing Language...:
-
On the status bar, click the Language button:

Run spelling and grammar check
Microsoft Word automatically checks spelling and grammar, but you can re-check spelling and grammar after finishing the part of the document.
To start a check of the spelling and grammar, do one of the following:
- Press F7
-
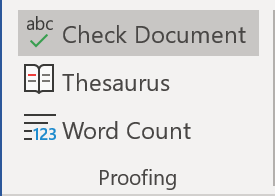
On the Review tab, in the Proofing group, click the Check Document button:
-
On the status bar, click the Check Document button:

Microsoft Word opens the Editor pane with found errors. You can open every error one-by-one to fix,
ignore, or even add some of them to the custom dictionary.
Fix spelling and grammar errors
By default, Word automatically checks for potential spelling and grammatical errors as you type:
-
Red squiggly line marks identified spelling errors:

-
Blue double line marks identified grammatical errors:

To fix the spelling error, right-click on the underlined word or phrase and choose one
of the proposed fixes. For example:
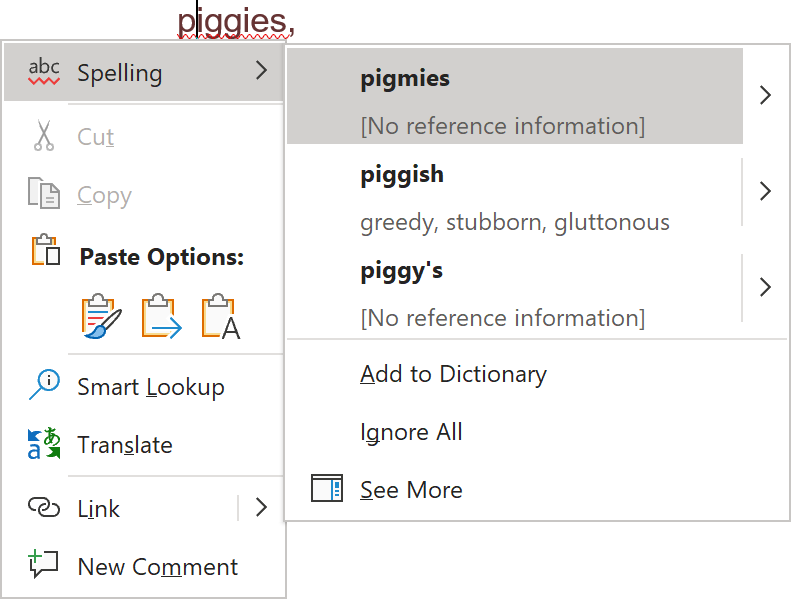
- Add to Dictionary - add a word to the custom dictionary to prevent Microsoft Word from marking this word as misspelled ever again.
- Ignore All - leave the text “as is” for this and all following instances.
- See More - open the Editor pane.
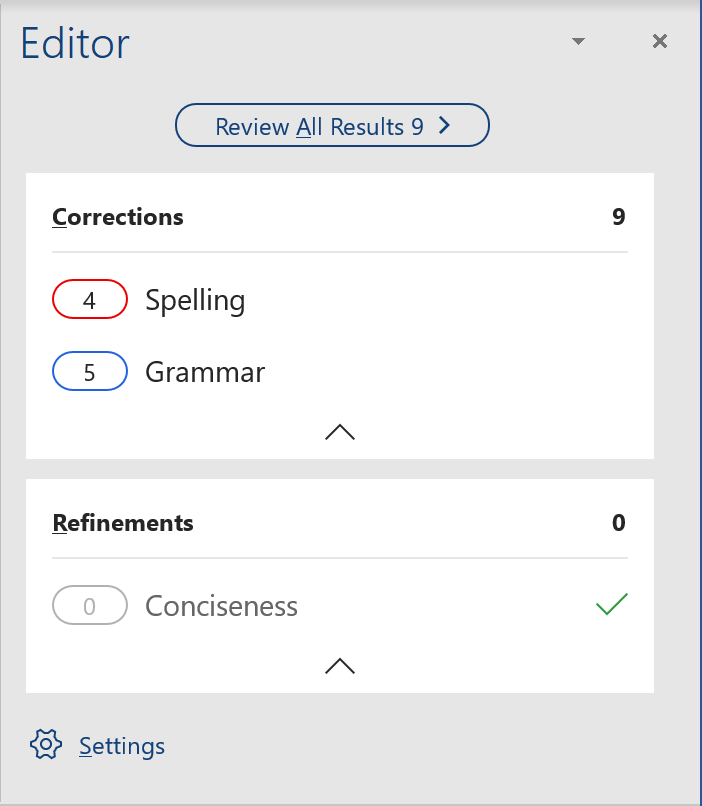
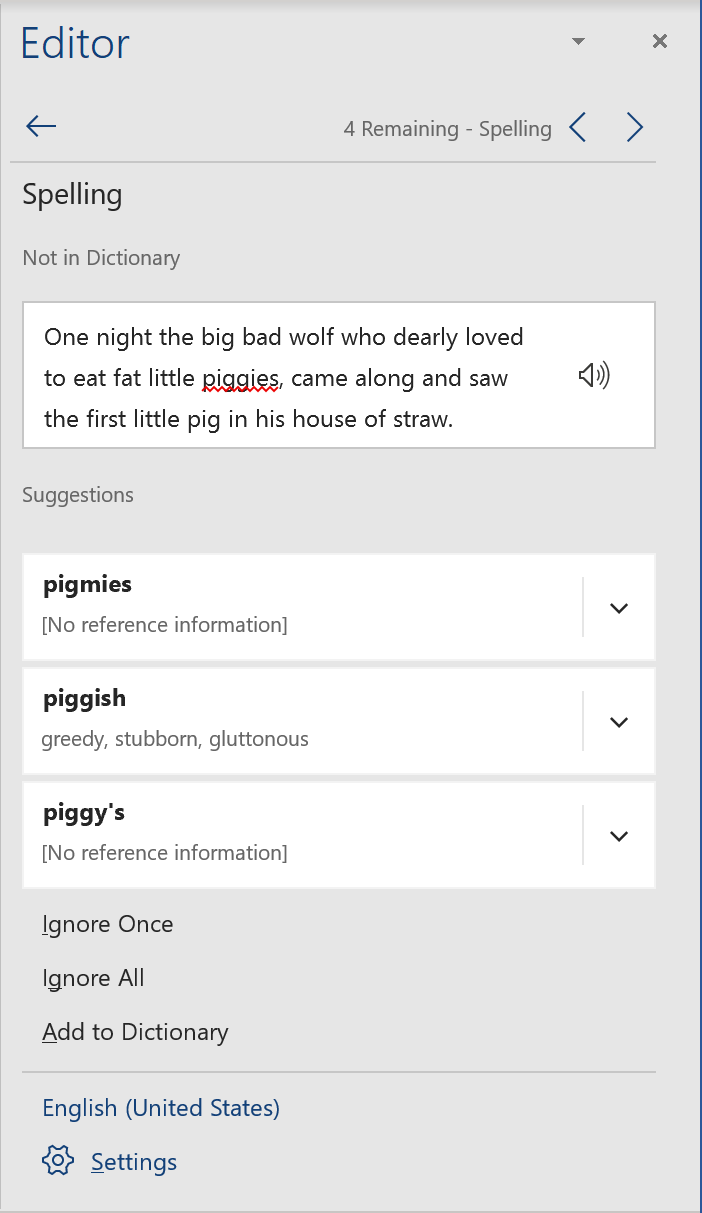
In the Editor pane, you can see all errors that Word proposes to fix.
Click the Review All Results button or the Spelling option to open all
potential errors one-by-one:
To fix the grammatical error, right-click on the underlined word or phrase and
choose one of the proposed fixes. For example:

- Ignore Once – leave the text “as is” once.
- Don’t check for this issue - leave the text “as is” for the issue in this and all following instances.
- Options for “Grammar” - open the Grammar Options dialog box for choosing different options for checking and ignoring.
- See More - open the Editor pane.
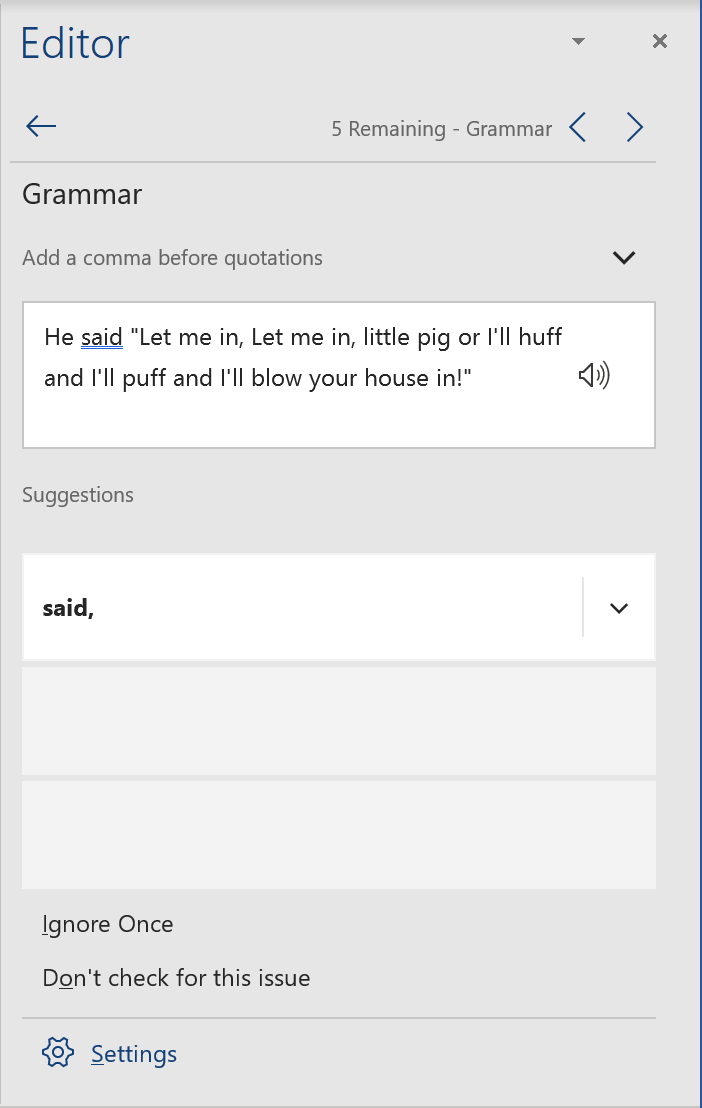
In the Editor pane, you can see all errors that Word proposes to fix.
Click the Review All Results button or the Grammar option to open all
potential errors one-by-one:
Skip spelling and grammar errors
To intentionally skip spell checking some text, such as a quotation, during spell checks, select it and then do one of the following:
-
On the Review tab, in the Language group, click the Language button,
then choose Set Proofing Language...:
-
On the status bar, click the Language button:
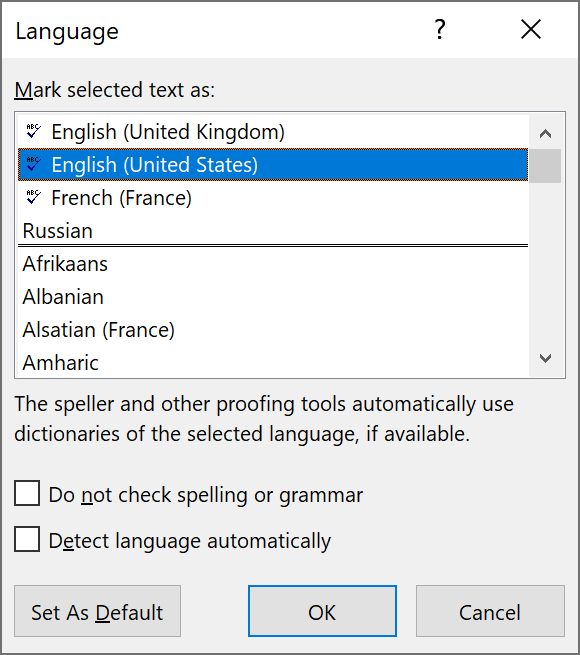
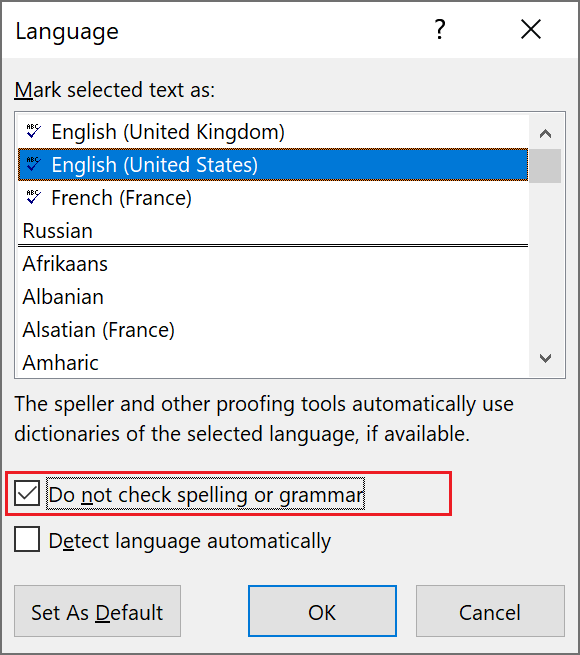
In the Language dialog box, select the Do not check spelling or grammar checkbox
and click OK:
Revert AutoCorrect
Microsoft Word fixes some misspellings or potential errors using the AutoCorrect feature.
For example, when you start the first word of the sentence from a lowercase letter,
Word automatically changes the first letter to uppercase. The little blue rectangular mark
after AutoCorrect changes stays for a short time:

To revert AutoCorrect instant changes, do one of the following:
- Press Ctrl + Z (the Undo command) immediately after AutoCorrect makes its correction.
-
Move the mouse under the correction to see the blue rectangular under it.
Then move the mouse below this blue rectangle to see
the AutoCorrect options button under the changes:
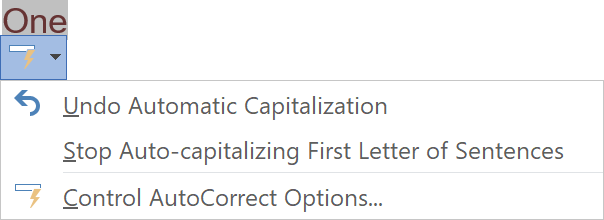
 Click the button to see the options you can use:
Disable AutoCorrect
Sometimes you need to stop all automatic corrections. To disable AutoCorrect for the document, do the following:
-
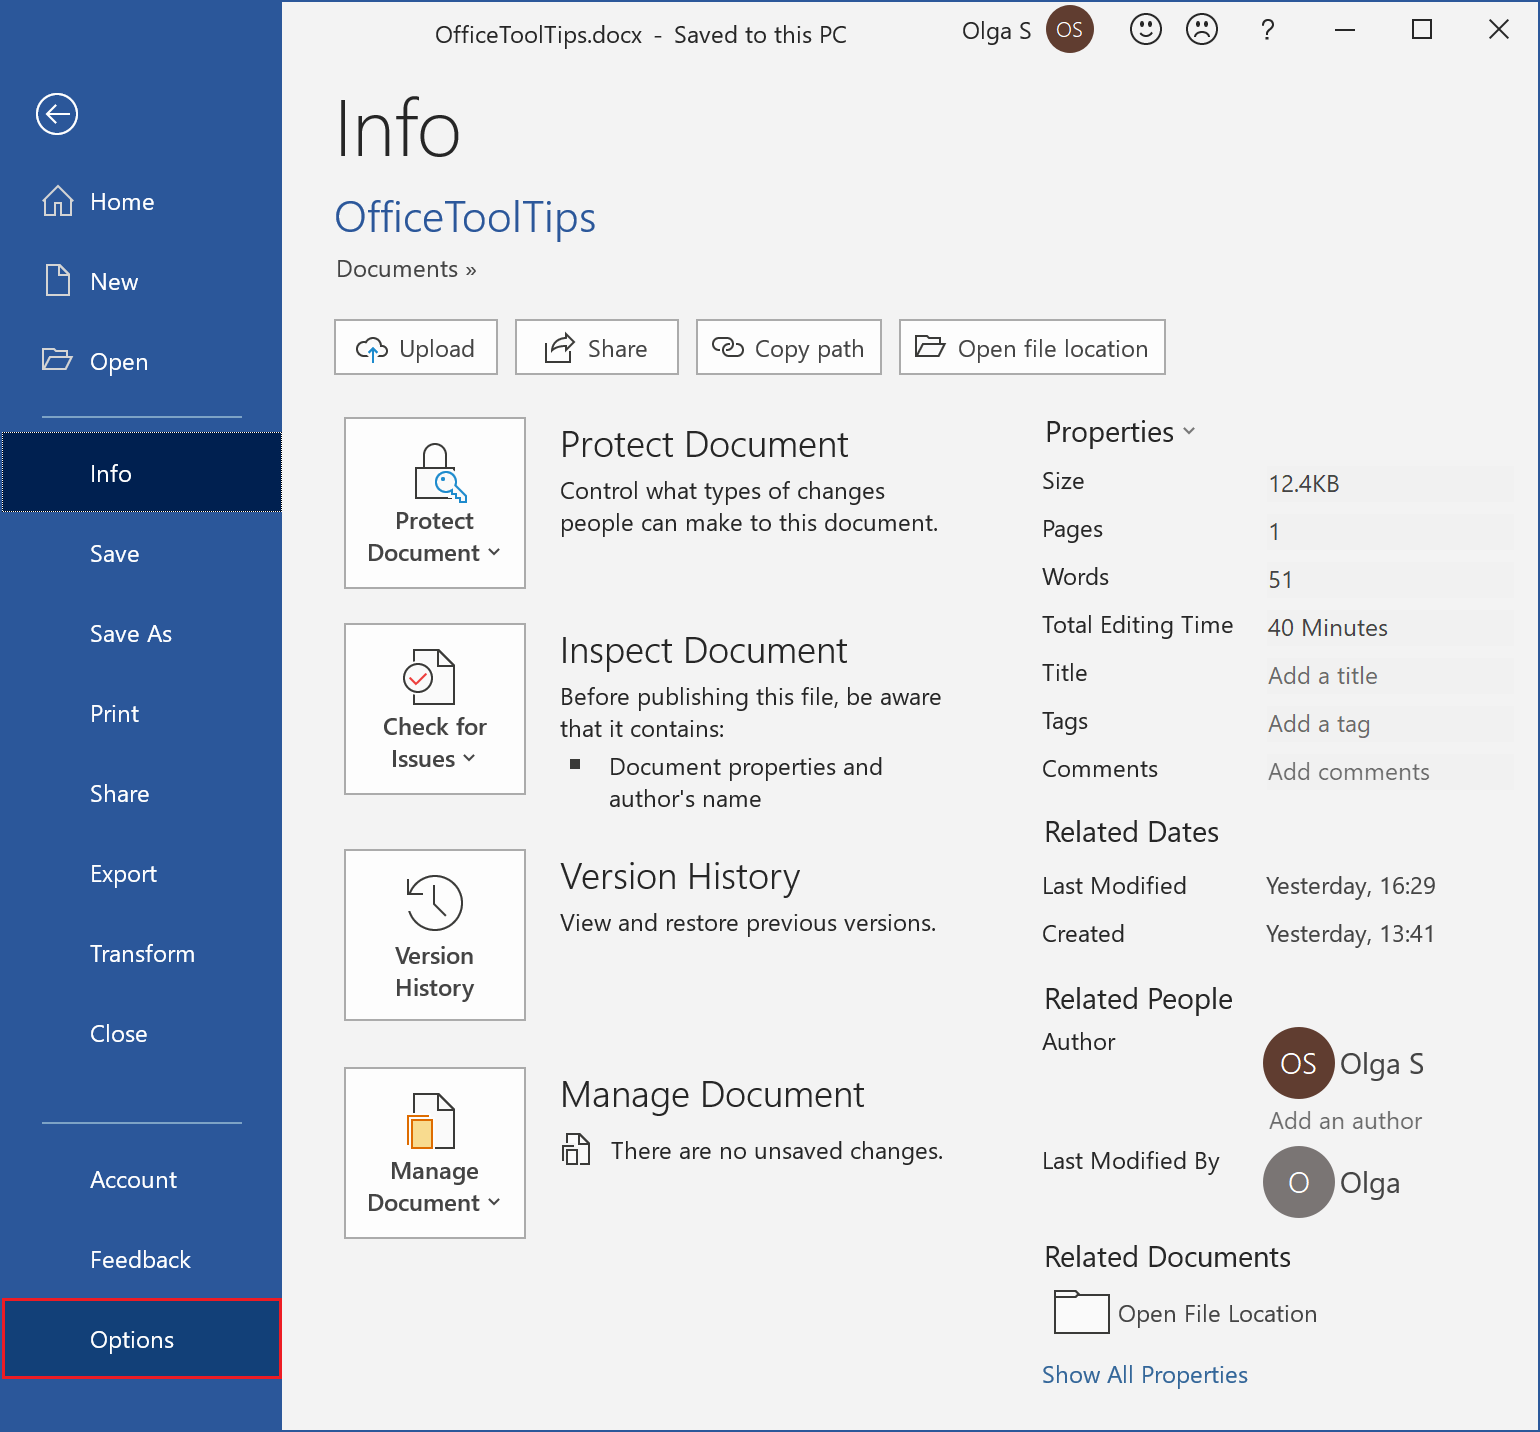
On the File tab, click Options:
-
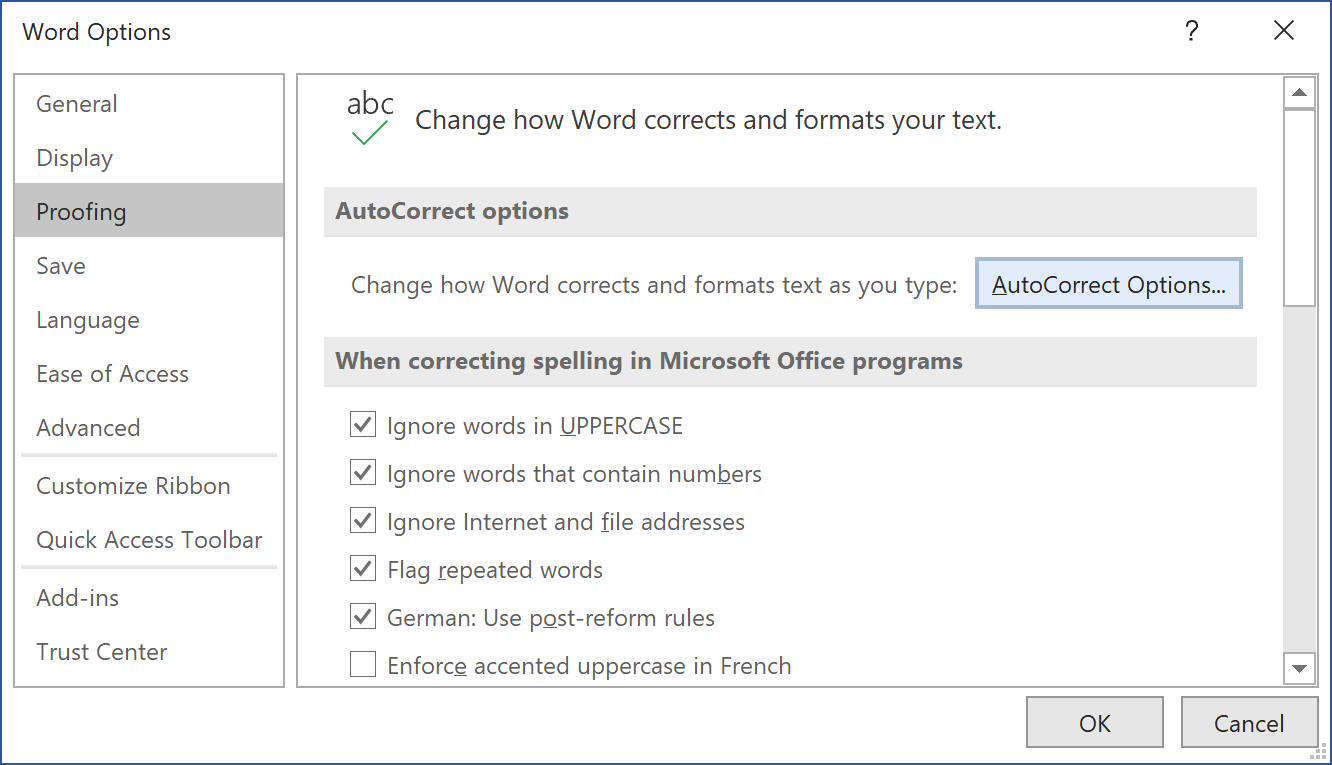
In the Word Options dialog box, on the Proofing tab, click
the AutoCorrect Options... button:
-
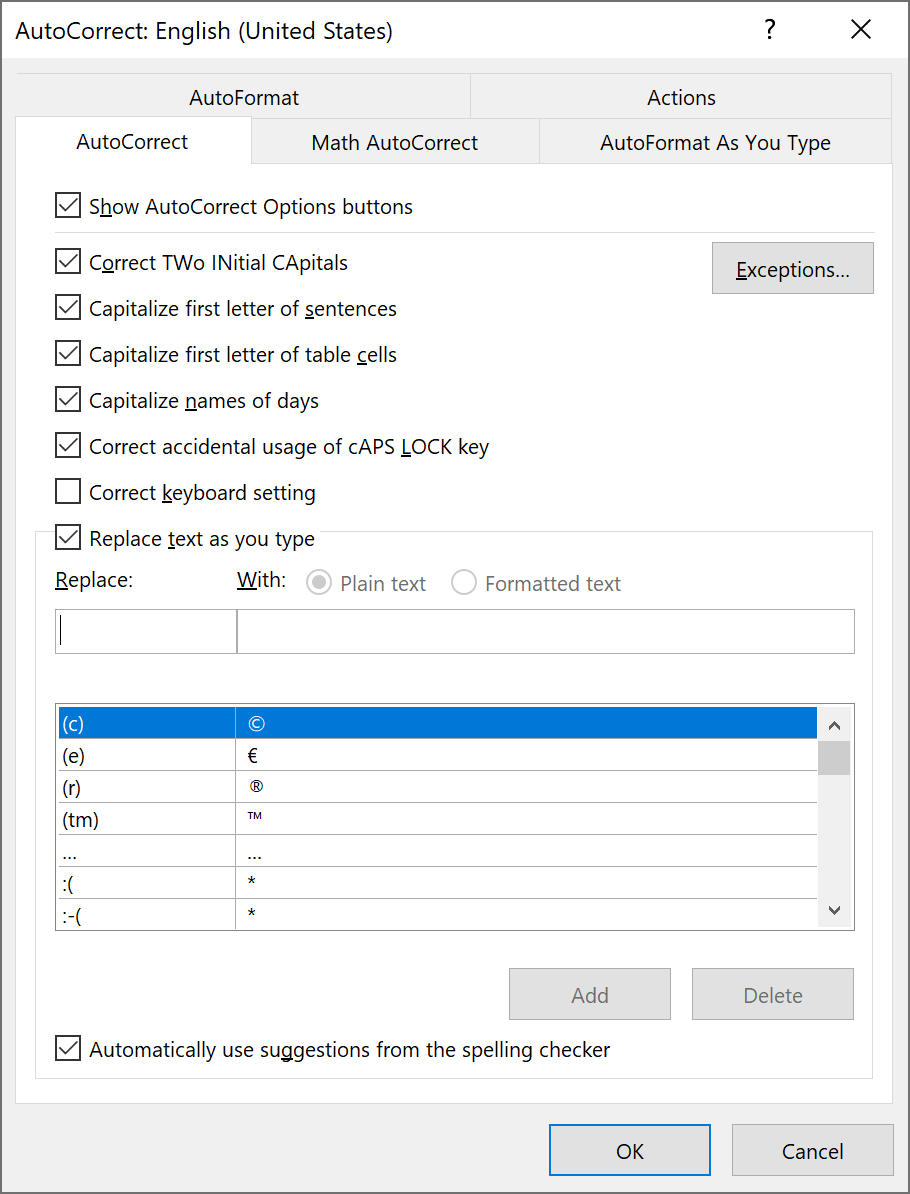
In the AutoCorrect dialog box, disable features you don’t need, such as the auto
capitalization of first letters of sentences, or disable all automatic corrections:
- Click OK to apply your changes.