Create a bulleted list
To create a bulleted list, do one of the following:
-
Type one of the special symbols with the following space in
the first position of the line:
By default, Microsoft Word automatically changes these special symbols to the bulleted list. You can turn off or turn on this feature in the AutoCorrect settings.Symbol with the following space Bulleted list -
*
>
->
=>
-
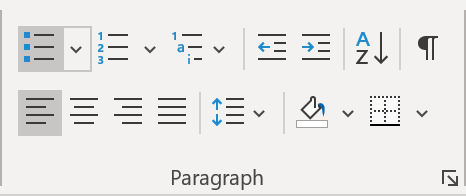
On the Home tab, in the Paragraph group, click the Bullets button:
 Word creates the bulleted list with the last used bullet symbol or with the default bullet symbol:
 If you want to create a bulleted list with another symbol, click on the arrow down on the right side
of the Bullets button to open the Bullet Library list. From the pre-defined
Bullet Library list, choose the symbol you prefer:
If you want to create a bulleted list with another symbol, click on the arrow down on the right side
of the Bullets button to open the Bullet Library list. From the pre-defined
Bullet Library list, choose the symbol you prefer:

Create a custom bullet
To create a custom bulleted list, follow the next steps:
-
On the Home tab, in the Paragraph group, click the arrow down
on the right side of the Bullets button to open the Bullet Library list:

-
In the Bullets Library list, choose Define New Bullet…:

-
In the Define New Bullet dialog box, click the Symbol... button:
 Here, you can also:
- Click the Picture… button to choose the picture from a file or the Internet as a bullet.
- Click the Font… button to change the color or style of the bullet symbol such as bold, italic, strikethrough, etc.
-
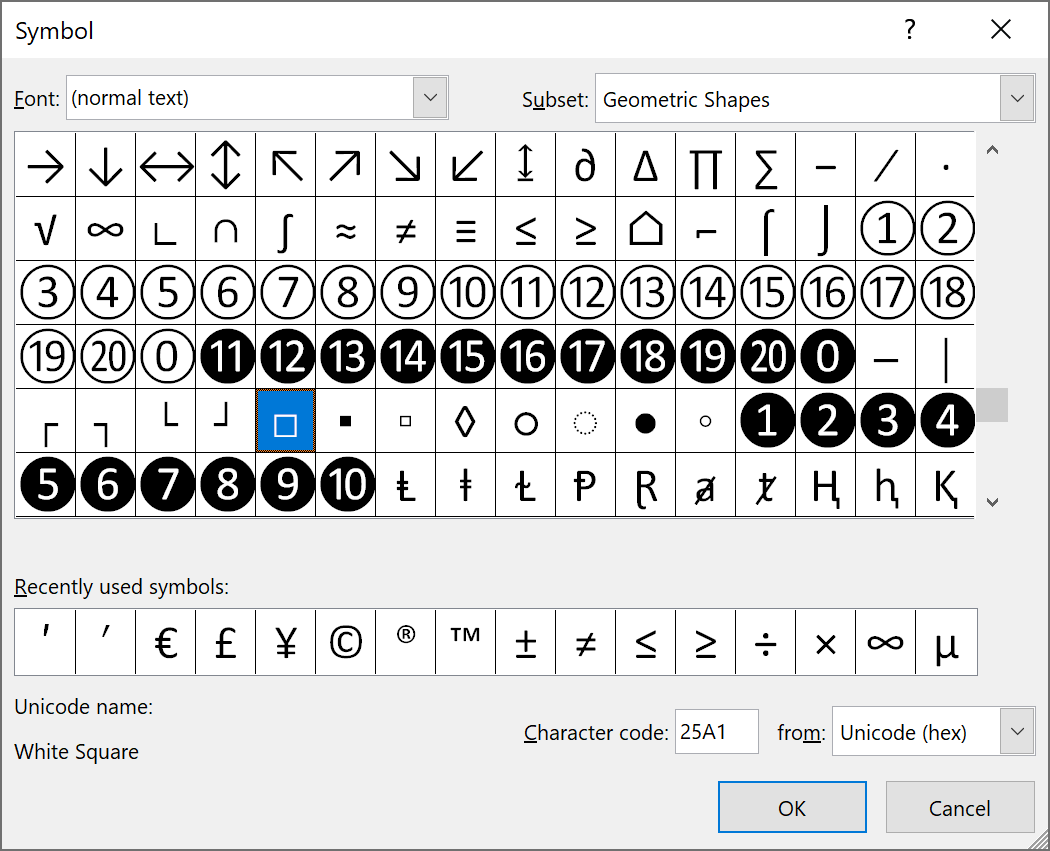
In the Symbol dialog box, choose the symbol you prefer and click OK.
For example, the symbol Square:
 Word shows the selected symbol as a bullet in the Preview zone.
-
Click OK to apply a new bullet style to the list:

Change the list line spacing
The style of the paragraph sets an initial line and paragraph spacing for lists. To change line spacing between lines and bullets in a list, do the following:
-
Select the list (the bullets won’t appear selected):

-
On the Home tab, in the Paragraph group, click the dialog box launcher
to open the Paragraph dialog box:

-
In the Paragraph dialog box, on the Indents and Spacing tab, under Spacing,
clear the check from Don’t add space between paragraphs of the same style:
 You can also change the spacing between every single line by choosing the appropriate value
from the Line spacing list and changing the value in the At text box.
You can also change the spacing between every single line by choosing the appropriate value
from the Line spacing list and changing the value in the At text box.
Create a numbered list
To create a numbered list, do one of the following:
-
Type one of the following symbols, then type point or closing parenthesis
and space (three symbols in total) in the first position of the line:
By default, Microsoft Word automatically changes these three symbols to the numbered list. You can turn off or turn this feature in the AutoCorrect settings.Symbols with the followed point
or closing parenthesis and spaceNumbered list 1.or1)- Arabic numeric or
or

I.orI)- Roman numeric or
or

i.ori)- Roman numeric or
or

A.orA)- capital letter or
or

a.ora)- small letter or
or

-
On the Home tab, in the Paragraph group, click the Numbering button:
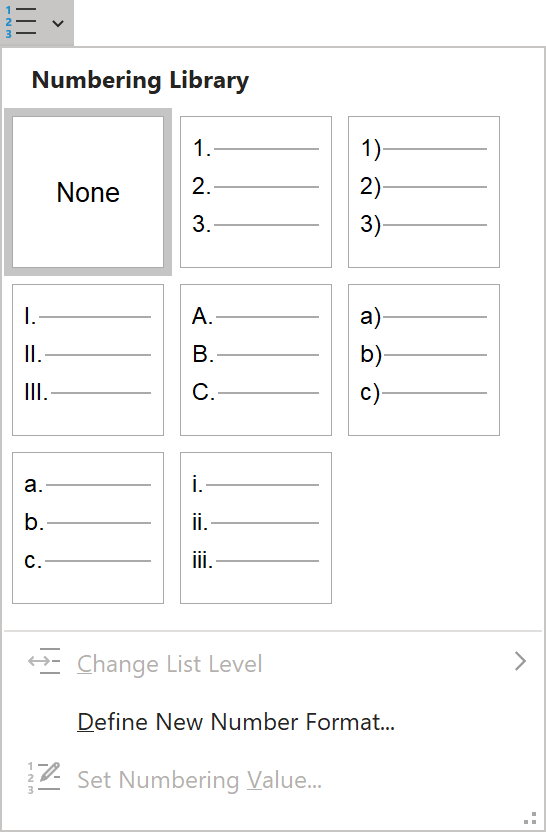
 Word creates the numbered list with the last used type of the numbering or with the digit 1
and the point by default. If you want to create another type of a numbered list, click on the
arrow down on the right side of the Numbering button. From the Numbering Library list,
choose the numbering type you prefer:
Word creates the numbered list with the last used type of the numbering or with the digit 1
and the point by default. If you want to create another type of a numbered list, click on the
arrow down on the right side of the Numbering button. From the Numbering Library list,
choose the numbering type you prefer:
Change the list numbering
To change the numbering in a numbered list, do the following:
-
Double-click the numbers in the list (the text won’t appear selected):

-
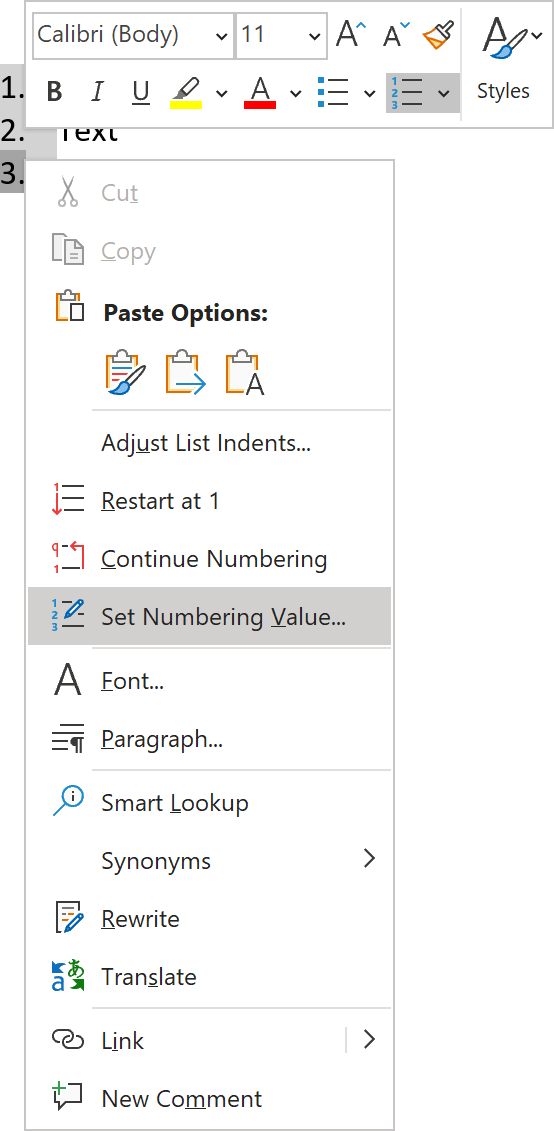
To set numbering value, right-click on the item you want to change and choose Set Numbering Value…
in the popup menu:
Restart list numbering
To restart the numbering in a numbered list, do the following:
-
Double-click the numbers in the list (the text won’t appear selected):
-
To restart numbering, right-click on the item from which you want to restart the numbering and choose
Restart at 1 in the popup menu:

Continue list numbering
If you copy list lines or in some other situations, when Word loses the numbering,
to continue the list numbering right-click on the number where you need to continue numbering and
choose Continue Numbering in the popup menu:

Create a multi-level list
To create a multi-level list, do the following:
-
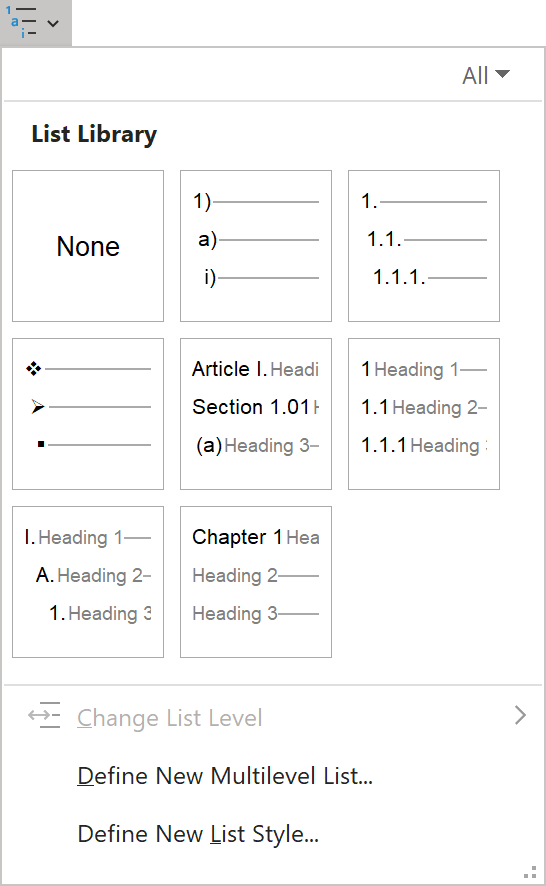
On the Home tab, in the Paragraph group, click the Multilevel List button:

-
From the List Library list, select the list type you prefer:
Customize the multi-level list
To create a custom multi-level list, do the following:
-
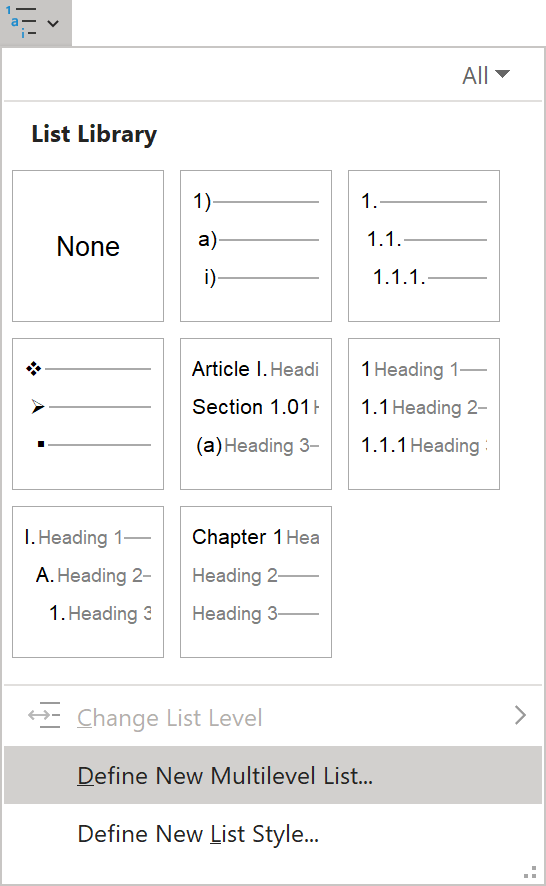
On the Home tab, in the Paragraph group, click the Multilevel List button:
-
From Multilevel List, choose Define New Multilevel List…:
-
In the Define New Multilevel List dialog box:
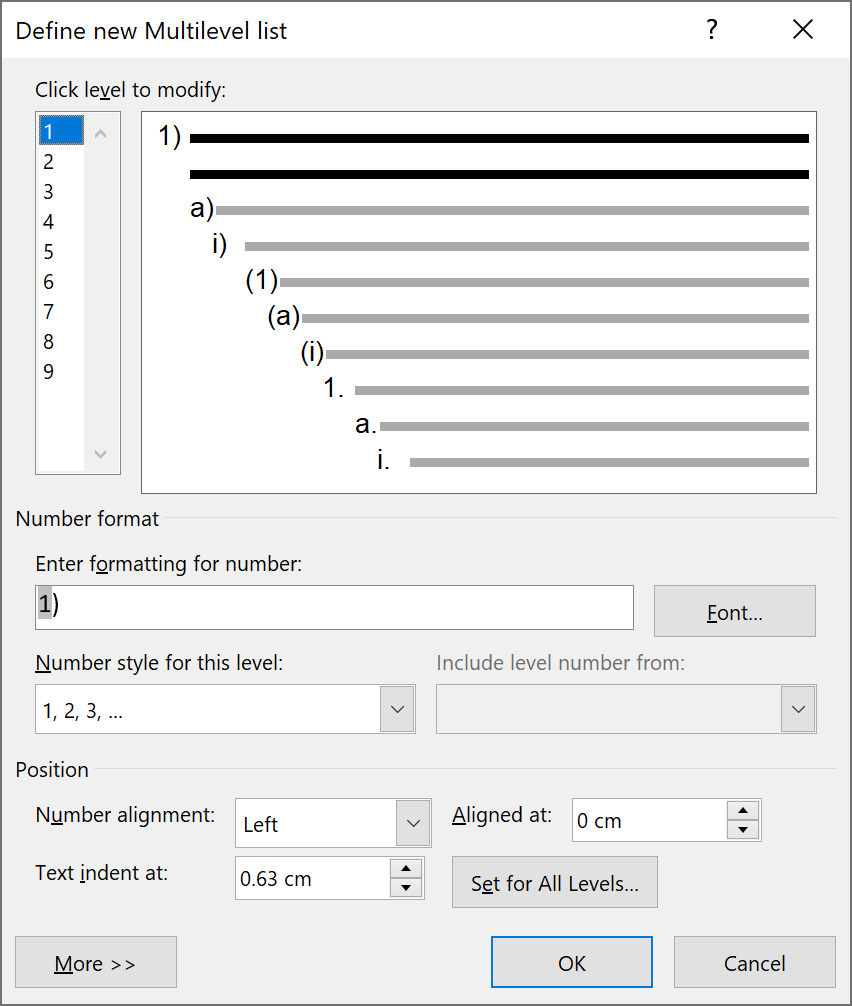
- In the Click level to modify list, select the list level you want to change.
-
In the Number format group:
-
Change the text in the Enter formatting for number text box to set
the number format for the selected list level. For example, if you change
A)format toSection A), each list line will include the prefix Section and the automatic line number A. - Change the number style in the Number style for this level drop-down list.
-
If you need a complex numbering like
A.1, choose the level from the Include level number from drop-down list to include the number from the parent level (or a higher level).
-
Change the text in the Enter formatting for number text box to set
the number format for the selected list level. For example, if you change
When you type a text in the list, Word automatically creates a next list level after pressing Enter. If you want to increase or decrease the current list level, do one of the following:
-
Use the following shortcuts:
- Press Tab to indent the level in the list
- Press Shift + Tab to unindent the level in the list.
-
On the Home tab, in the Paragraph group, click
the Increase Indent or Decrease Indent buttons:

