Apply styles to the paragraph
In Microsoft Word, a style is a collection of formatting instructions for characters, paragraphs, lists, and tables. There are dozens of pre-defined styles, for example, Title style for the document title, Normal for the body text, Caption for the picture captions, and Heading 1 for the major headings.
To apply the style to the paragraph or other fragment of the text, do the following:
- Select a paragraph or fragment of the text.
-
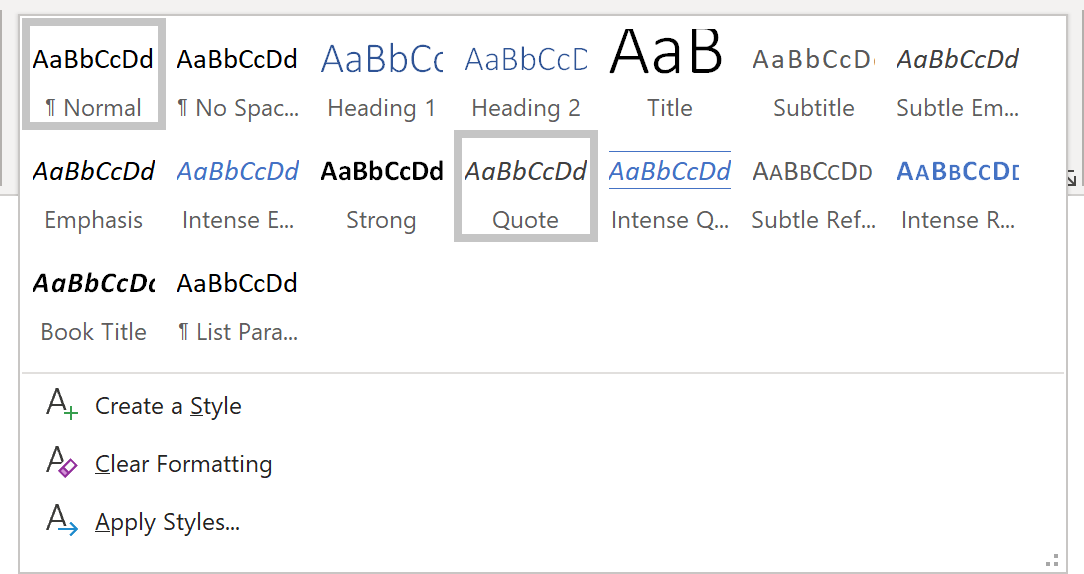
On the Home tab, in the Styles group, select the style from the Style Gallery.
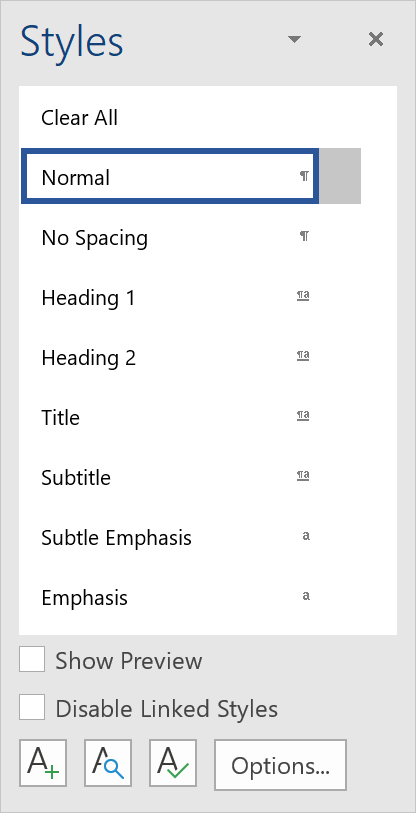
For example, the Normal style:
 Normal style plays an important role in the document because it defines base formatting
for many other styles. To display more styles, click the More button to expand the Style
Gallery:
Normal style plays an important role in the document because it defines base formatting
for many other styles. To display more styles, click the More button to expand the Style
Gallery:

Select the style in the extended Style Gallery. For example, the Quote style:
Build the document structure
Heading structures with a distinct, visual style help to understand how the document is organized. Making text larger or bolder does not make it a heading in Microsoft Word. Use the built-in heading styles to apply uniform heading structure to Word documents:
- Select the text that should be a heading or position the cursor where you plan to type the heading.
-
On the Home tab, in the Styles group, select the style from the Styles Gallery:

Apply the Heading 1 style for the main heading and Heading 2 for sub-headings. Further organization and division of topics should use the appropriate heading style: Heading 3, Heading 4, etc. up to Heading 6.
By default, you see only Heading 1 and Heading 2 in the Style Gallery. As soon as you apply the Heading 2 in the document, the Heading 3 style will appear in the Style gallery. So, the Heading 4 reveals after using the Heading 3 in the document and so on.
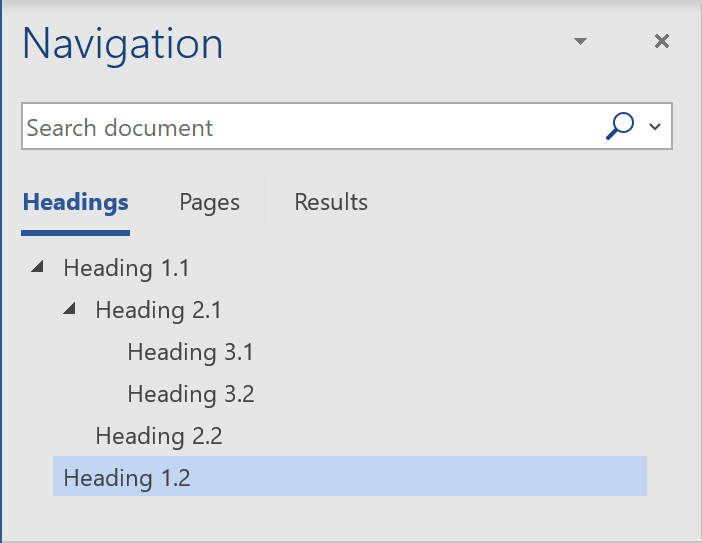
Appropriate headings act as secondary Navigation tools that help readers skim the document.
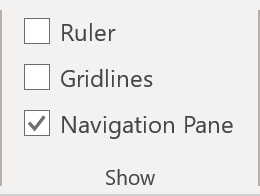
To display the navigation, on the View tab, in the Show group, select
the Navigation Pane checkbox:
 For example:
View pre-defined styles
To view all pre-defined styles, on the Home tab, in the
Styles group, click the dialog box launcher (or press
Ctrl + Shift + Alt + S):

In the Styles dialog box:
- Styles with the Paragraph mark icon, such as Normal, are paragraph styles.
- Styles with the Small letter ‘a’ icon, such as Emphasis, are character styles.
-
Styles with both icons, such as Heading 1, are linked styles that control both
paragraph formatting and character formatting:
- Linked styles act as character styles when applied to the text within a paragraph.
- Linked styles work as paragraph styles when applied to the paragraph.
- Linked heading styles become a source for the Table of Contents when applied to the text at the beginning of the paragraph,
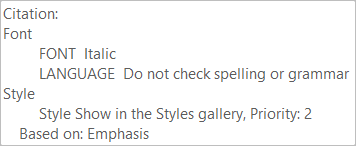
On highlighting the pre-defined style, Microsoft Word displays all characteristics of this style:
Customize gallery styles
To customize the style, do one of the following:
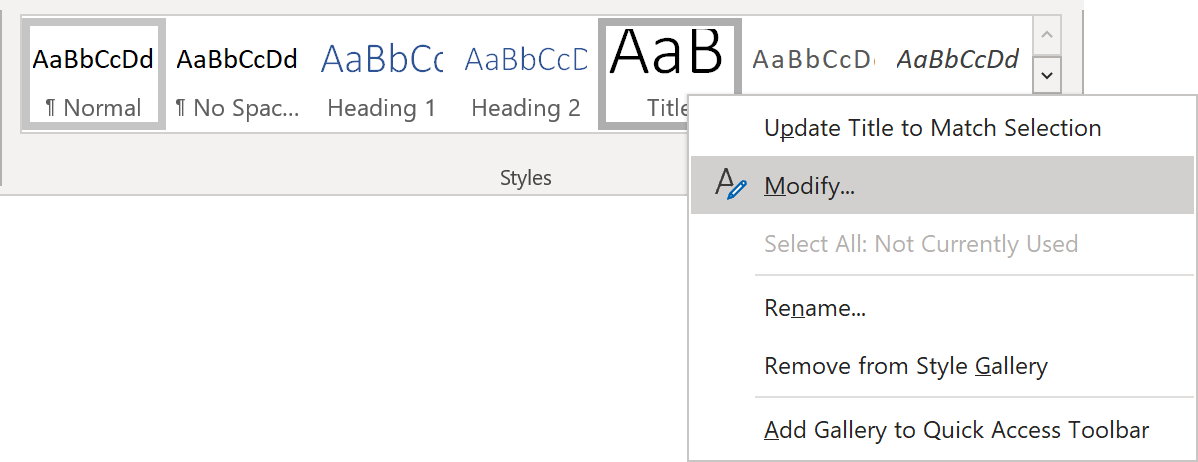
-
On the Home tab, in the Styles group, select the style you want to customize,
right-click on it and choose Modify… in the popup menu:
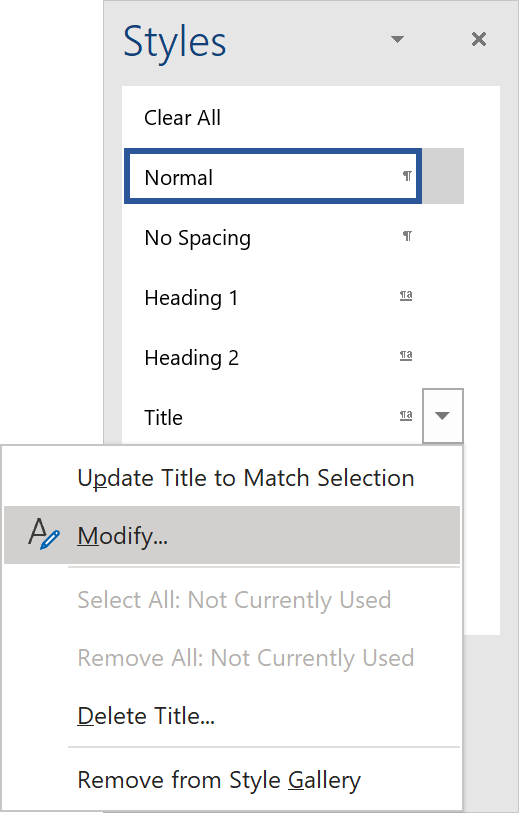
-
In the Styles pane, select the style you want to customize, right-click on it or
click the arrow down on the right side of the style and choose Modify… in the popup menu:
In the Modify Style dialog box:
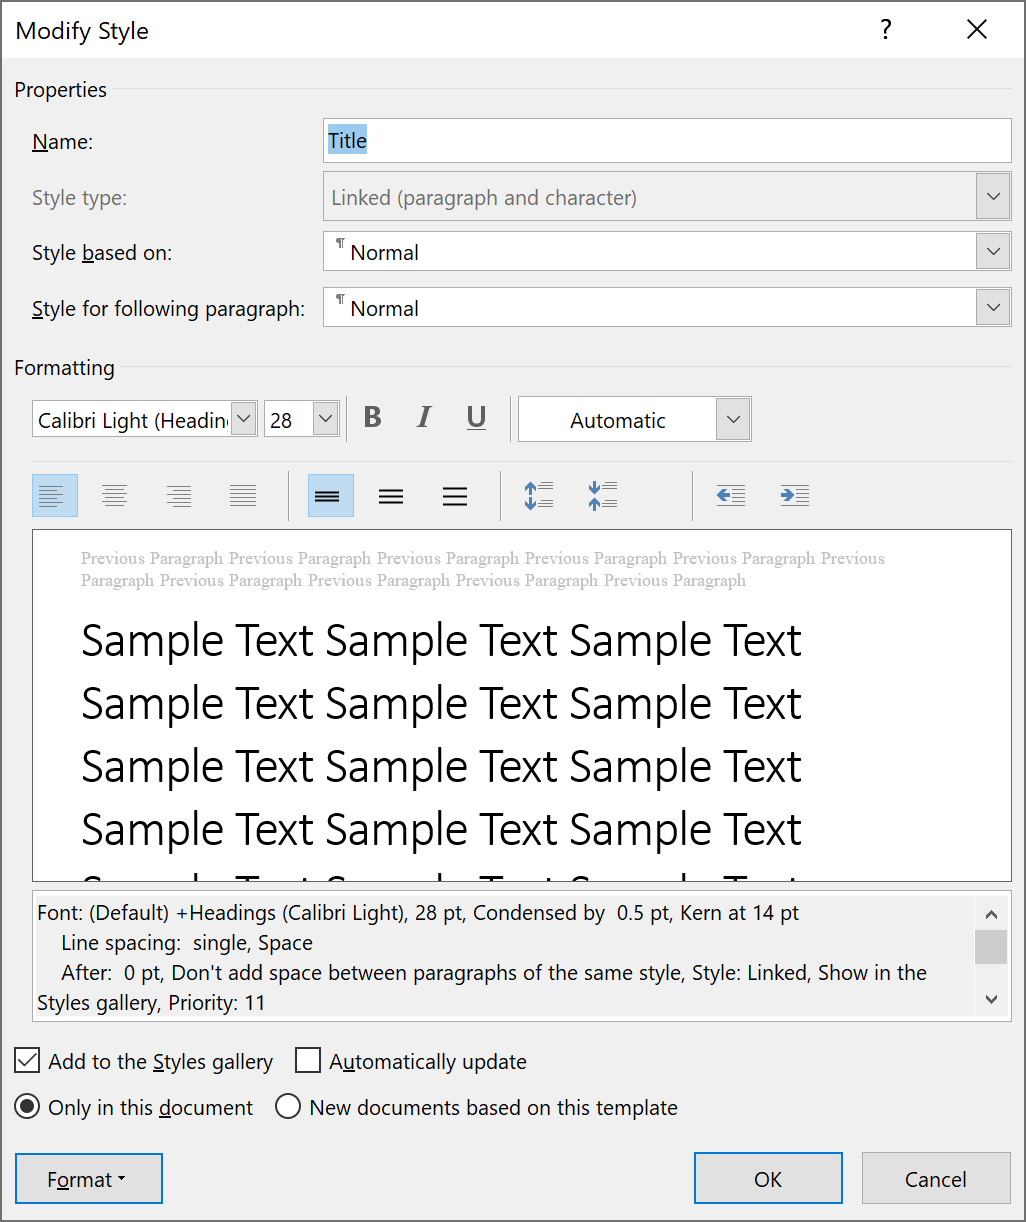
- Change the style name in the Name field (if needed).
-
In the Formatting group:
- Modify the font name, font size, and the most popular font formatting settings;
- Modify the alignment, spacing, and other most popular paragraph formatting settings.
- Click the Format button to modify all other formatting settings: font, paragraph, tabs, border, language, frame, numbering, shortcut key, and text effects.
- Verify the changes in the Preview zone and click the OK button.
Create resume from template
In Microsoft Word, a document theme is a collection of pre-defined text styles, colors, backgrounds, and other design elements. The theme provides an easy way to customize your document without changing the underlying template.
To create a document from resume template, do the following:
-
On the File tab, click New:
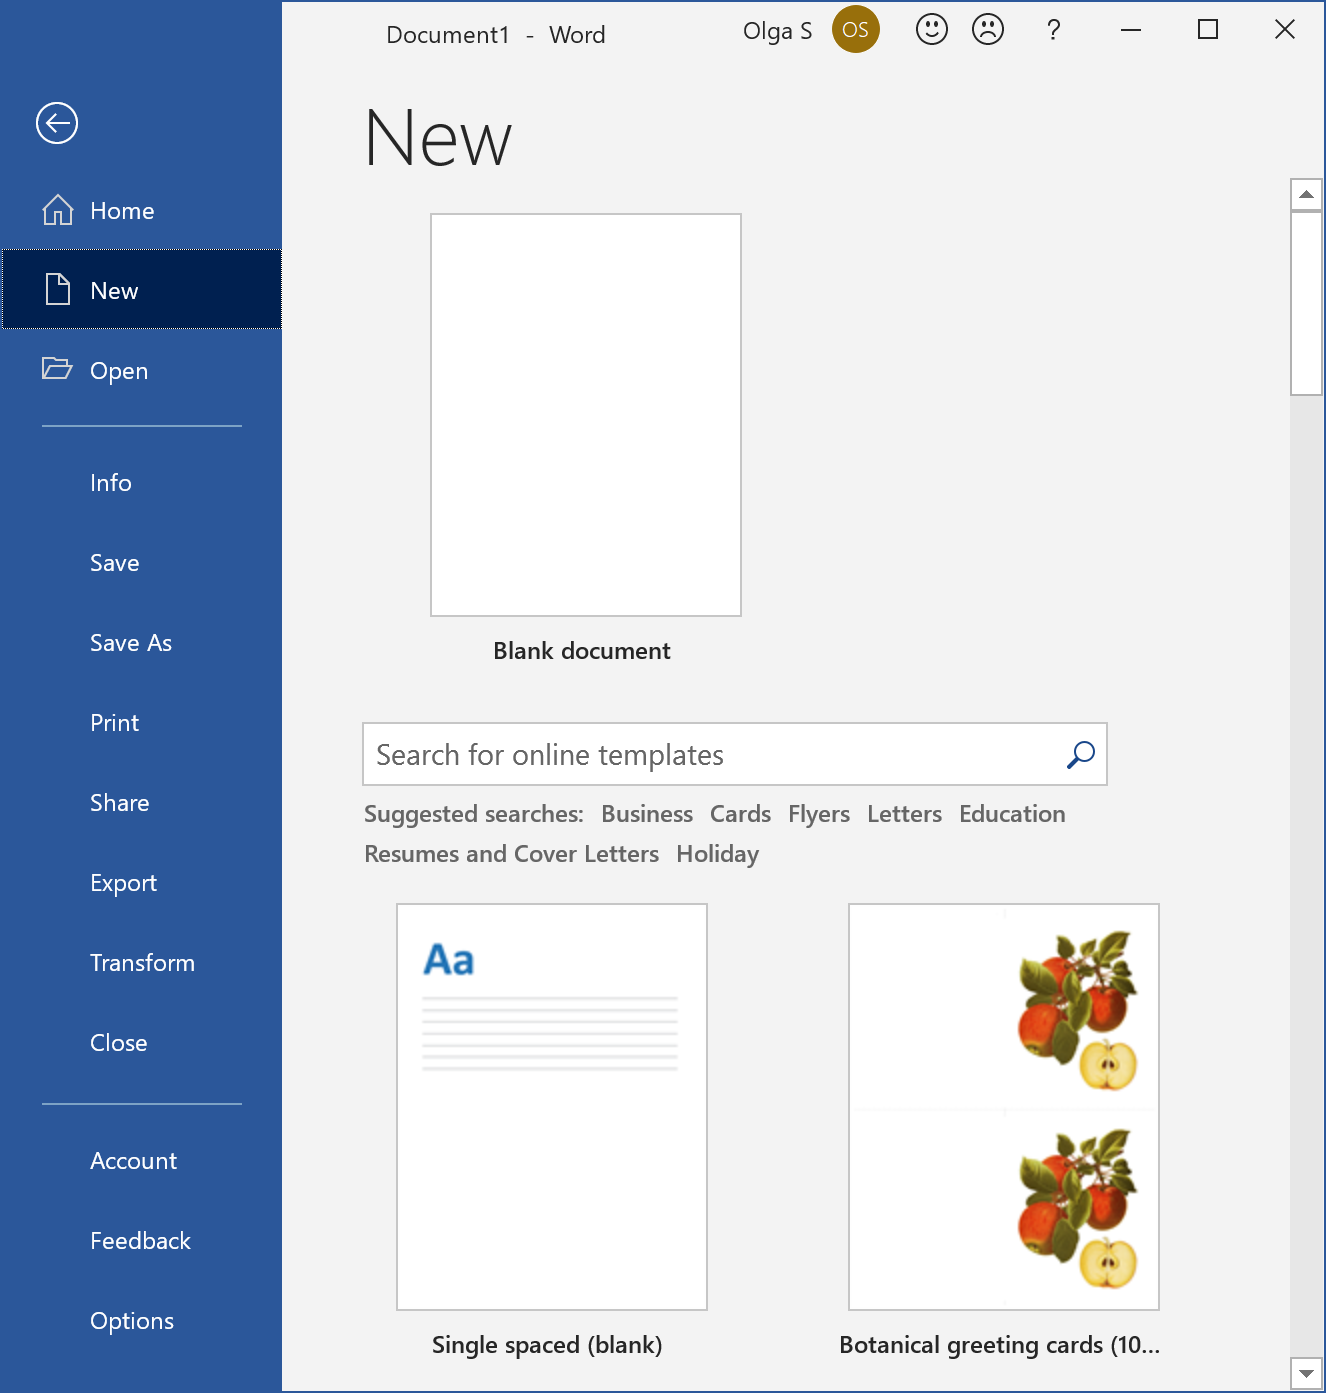
-
In the Search for online template textbox, type resume and press Enter:

-
Select the template you want to use. You can click on any resume and choose you like using
the arrows right and left. For example:
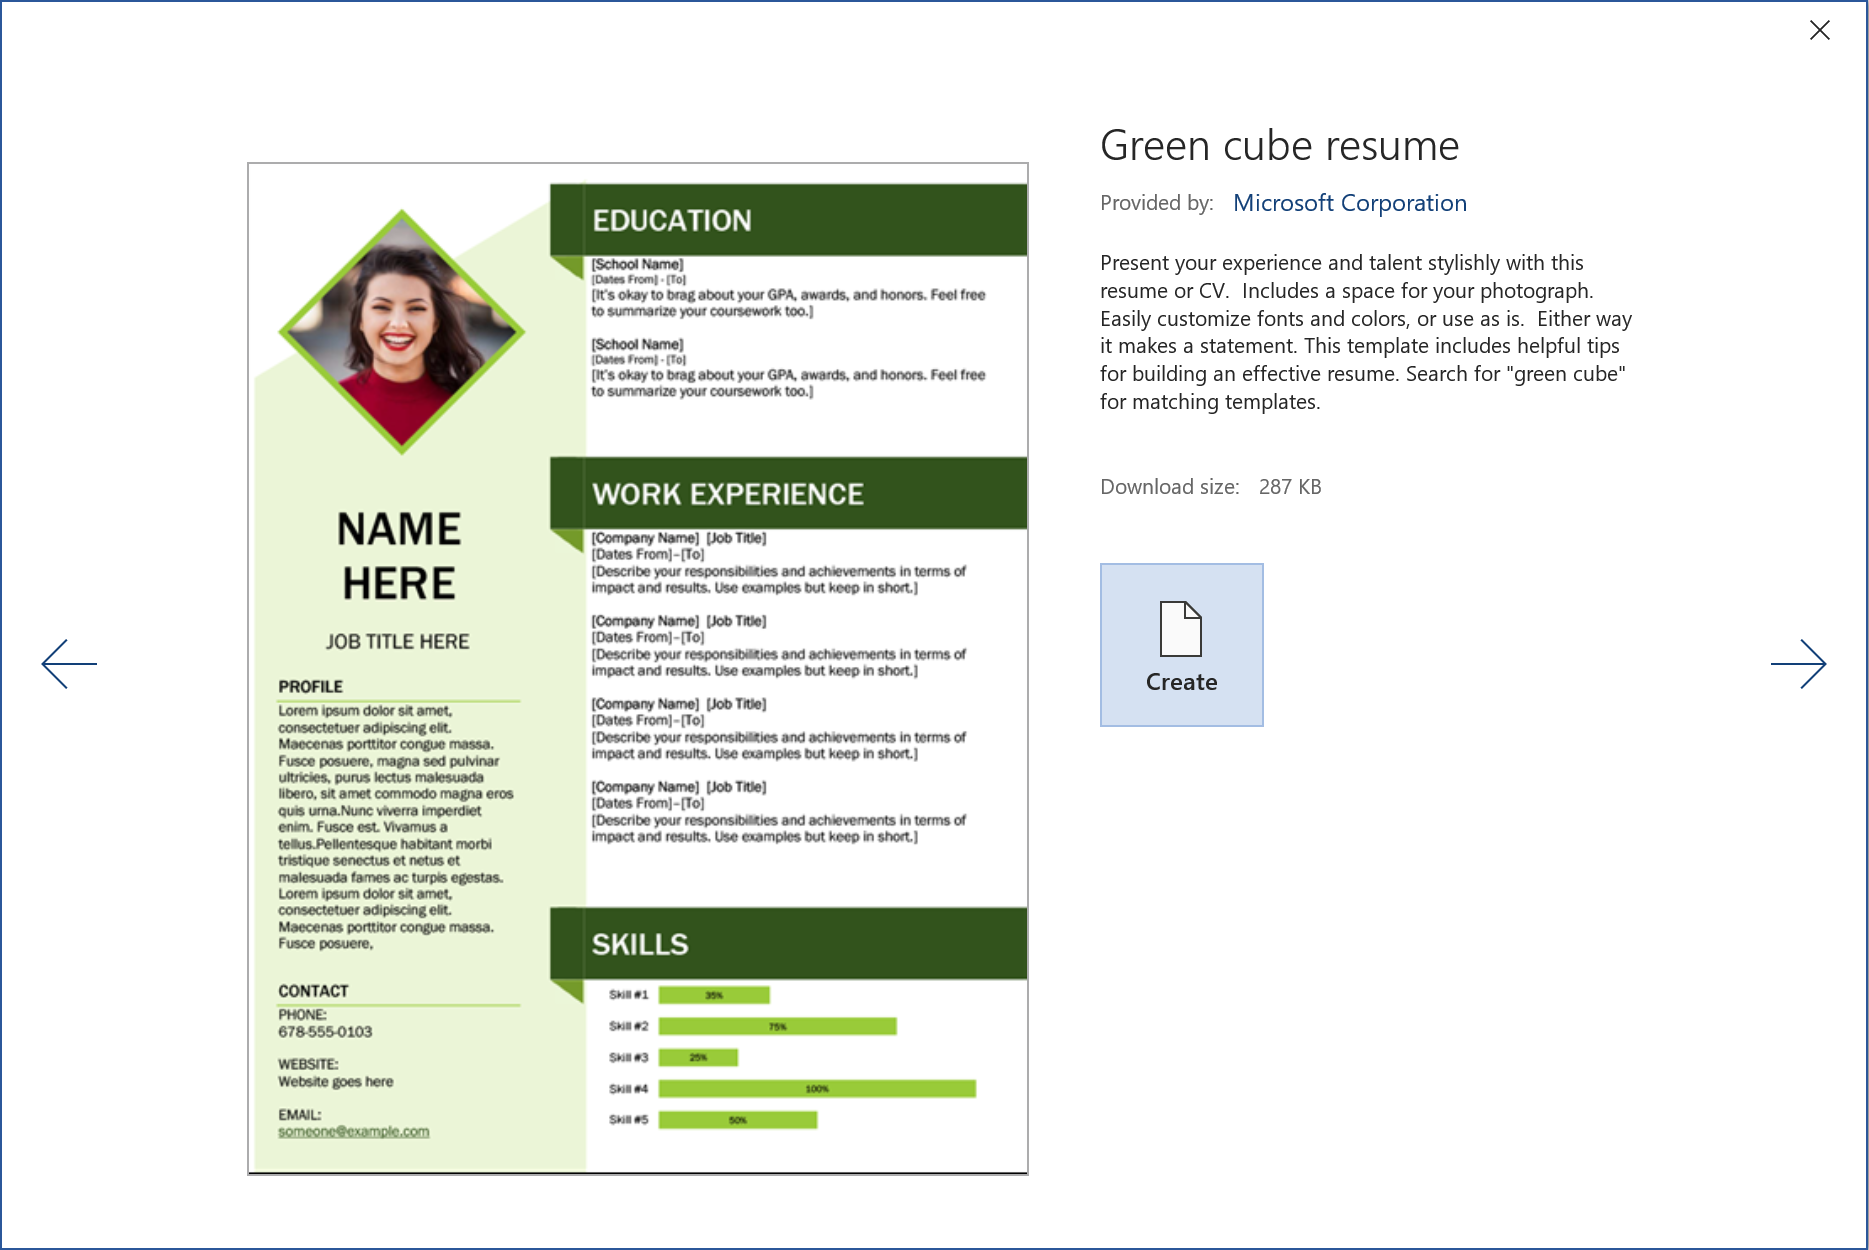
- Click the Create button for the resume you chose.
- Edit the template by changing fields one-by-one and creating your fields, charts, text boxes, etc.
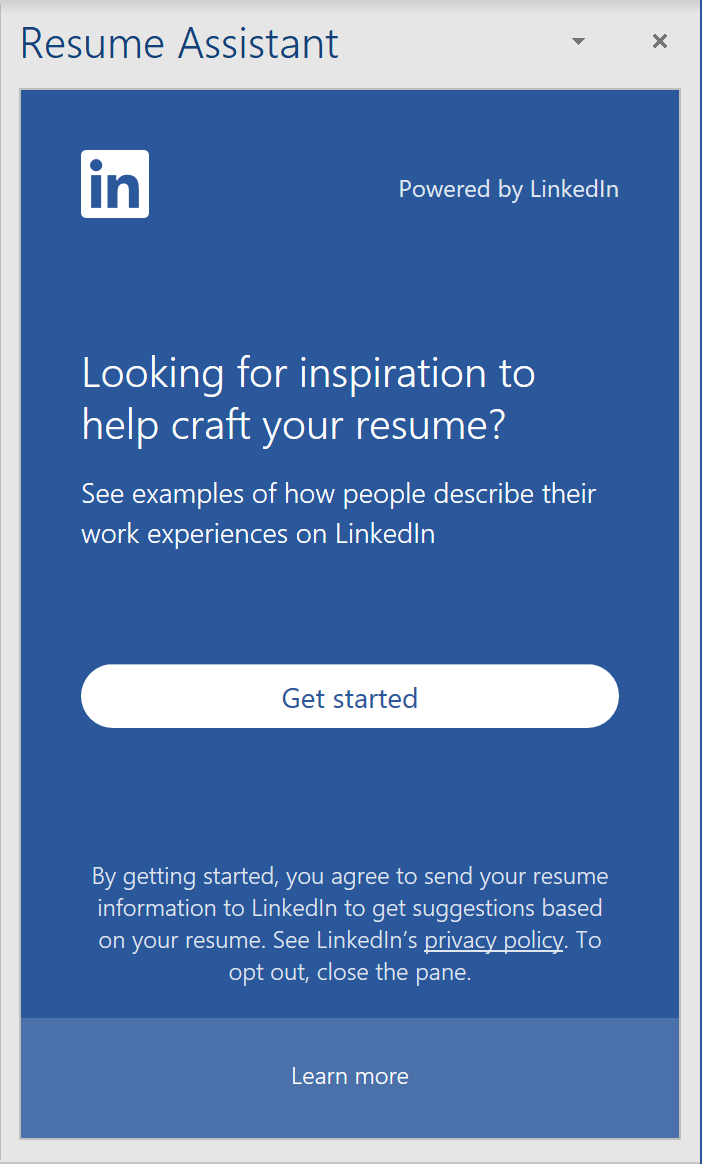
You can also use the examples proposed by Resume Assistant:
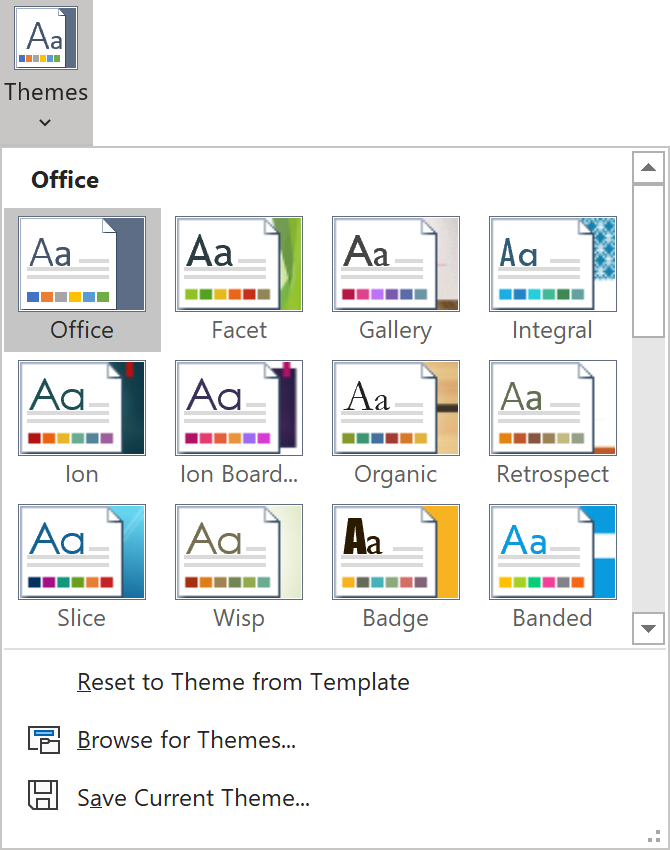
Switch the theme
Microsoft Word offers several pre-defined Themes that you can use to create your perfect document. To switch the document theme from the default one, do the following:
-
On the Design tab, in the Document Formatting group, click the Themes button:

-
From the Themes drop-down list, select the Theme:
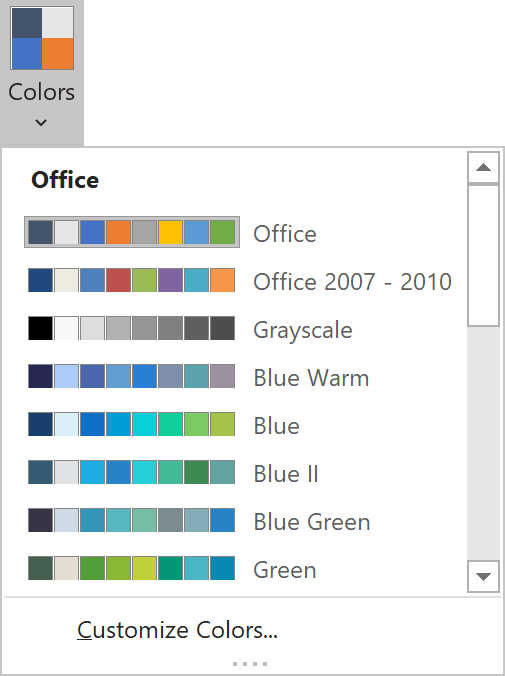
Change the color palette
In addition to different Themes, Word offers numerous pre-defined color palettes to create a perfect document. To change the Color Palette, do the following:
-
On the Design tab, in the Document Formatting group, click the Colors button:

-
From the Colors drop-down list, select the Colors palette: