Change the paper size
Microsoft Word creates a new document with the locale-specific paper size, which is 8.5 by 11 inches for the U.S. To change the paper size for the document, do the following:
-
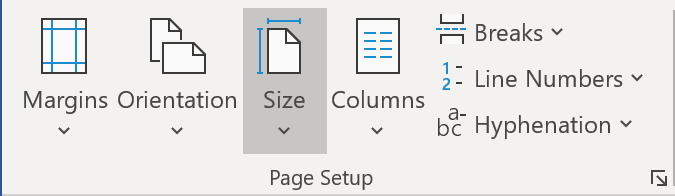
On the Layout tab, in the Page Setup group, click the Size button:
-
From the Size drop-down list, choose a new size:
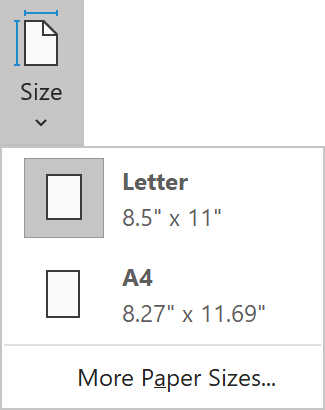 Click the More Paper Sizes… option to open the Page Setup dialog that
lists all default sizes and allows you to set a custom paper width and height.
Click the More Paper Sizes… option to open the Page Setup dialog that
lists all default sizes and allows you to set a custom paper width and height.
In the Page Setup dialog box, on the Paper tab:

-
In the Paper size group:
- Choose one of the default sizes in the drop-down list, or
- Type or choose a custom width and height in the Width and Height text boxes.
-
In the Apply to drop-down list, select the Whole document option (if it isn’t selected):

Change the margins
By default, Microsoft Word creates a new document with one-inch margins, which are called Normal. To set narrower, wider or asymmetric document margins, do the following:
-
On the Layout tab, in the Page Setup group, click the Margins button:

-
From the Margins drop-down list, choose the new pre-defined margins or
click the More Margins… option to open the Page Setup dialog that lists all
pre-defined margins and allows you to set a custom margin for each size of the paper:

In the Page Setup dialog box, on the Margins tab:

- In the Margins group, type or choose values top, bottom, left, and right margin value in the Top, Bottom, Left, and Right text boxes.
-
In the Apply to drop-down list, select the Whole document option
(if it isn’t selected):
Change the page orientation
Usually, the whole article, paper, or report is printed in the Portrait mode, but for a page with the big table, you need the Landscape mode. To change the page orientation, do the following:
-
On the Layout tab, in the Page Setup group, click the Orientation button:

-
In the Orientation drop-down list, choose the Landscape mode:

Select the printer
To change or select the printer in Microsoft Word, do the following:
-
On the File tab, click Print or press Ctrl + P:

-
From the Printer drop-down list, select the printer you need:

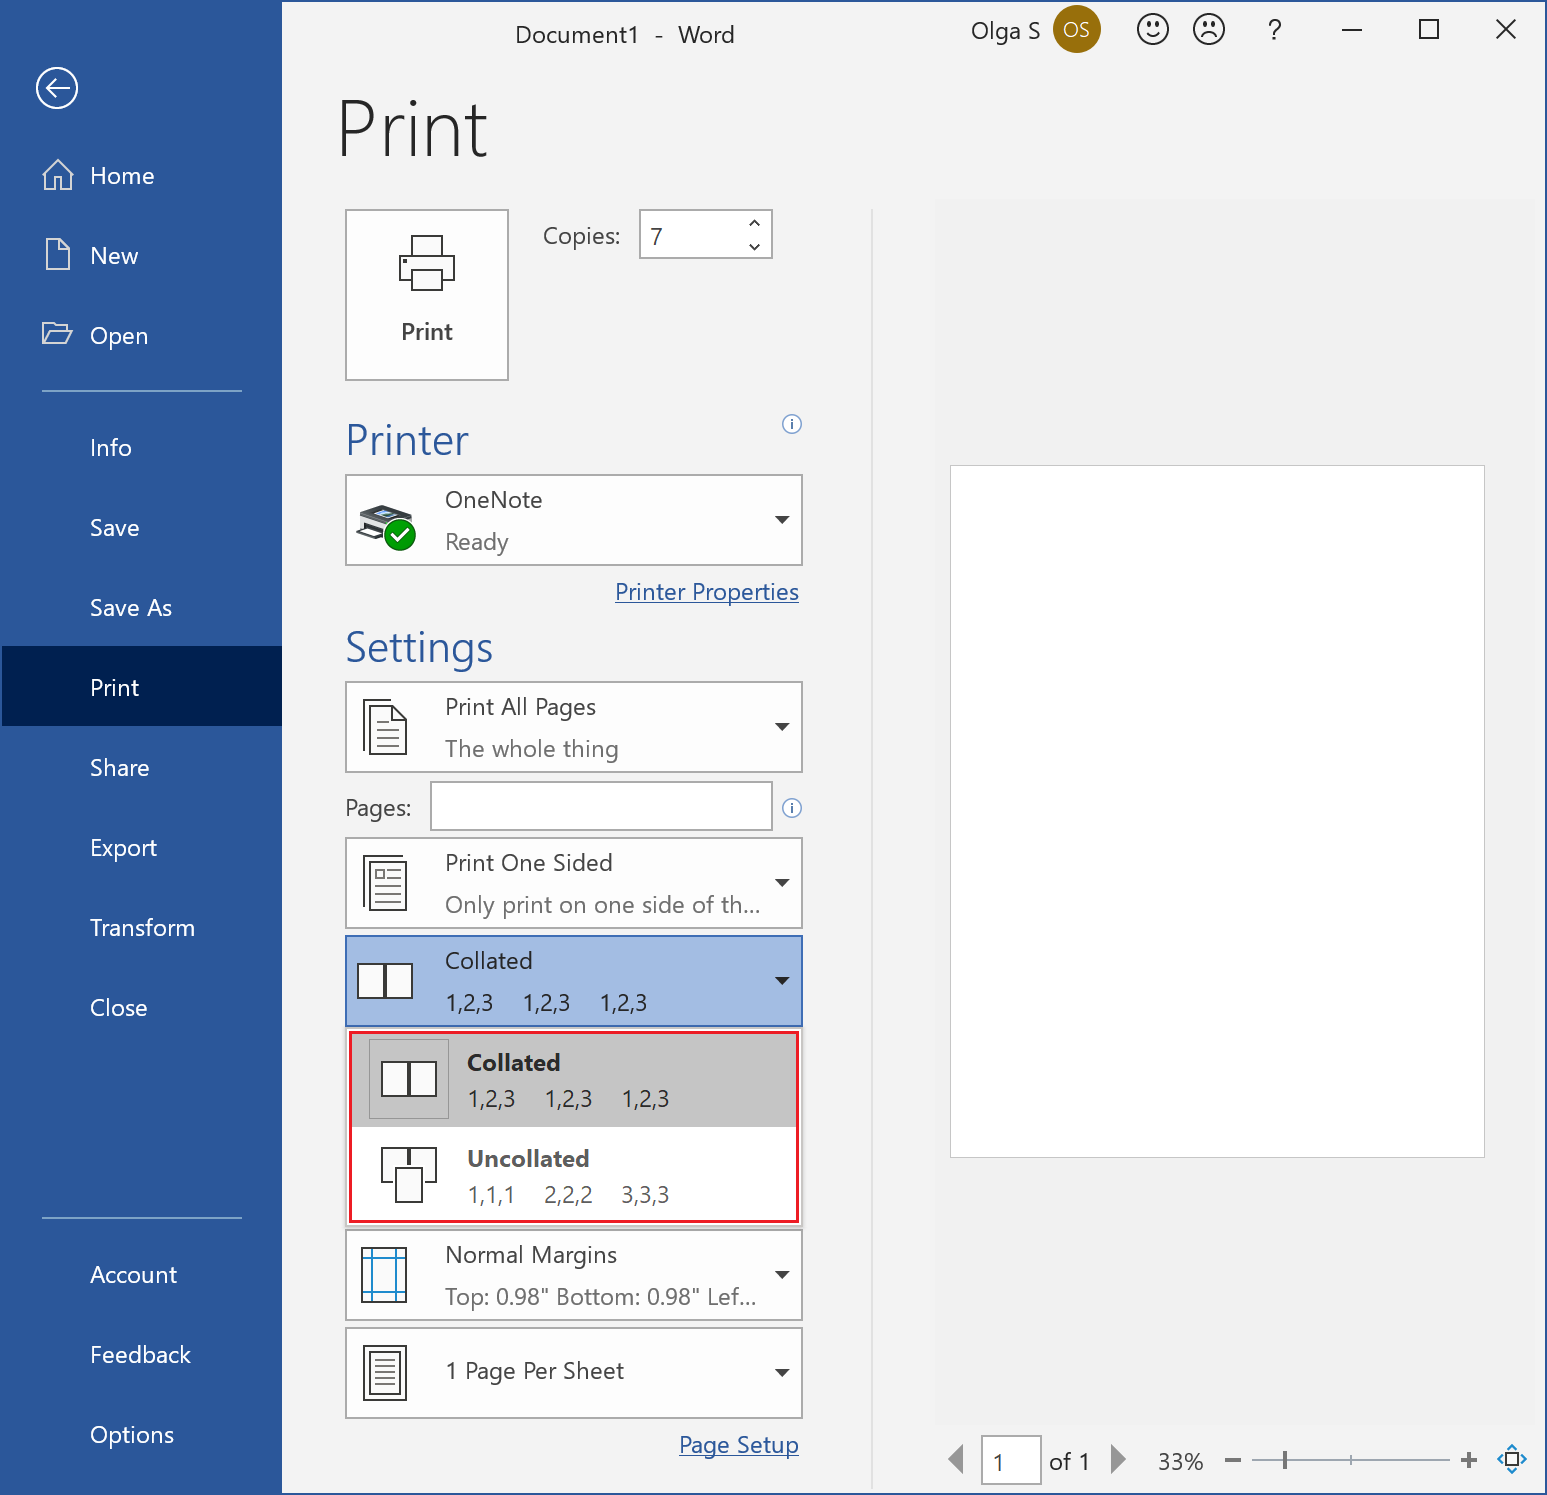
Print multiple copies
To print multiple copies of the same document, do the following:
- On the File tab, click Print or press Ctrl + P.
-
On the Print tab, near the Print button, type or select the number of copies you need:

Choose the Collated or Uncollated option to print copies in groups.
Collation means arranging of individual sheets of your documents or images into
the sequence preserving the natural order of pages:
Print a selected fragment or pages
To print only the selected fragment of the document, do the following:
- Select the text to print.
- On the File tab, click Print or press Ctrl + P.
-
On the Print tab, under Settings, select Print Selection from the drop-down list:

To print some pages of the document, do the following:
- On the File tab, click Print or press Ctrl + P.
-
On the Print tab, under Settings, in the Pages text field,
type the numbers of pages to print:

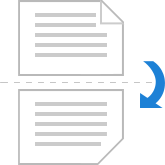
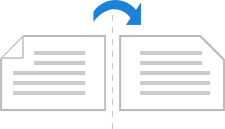
Print on both sides
Printing on both sides of the paper is called a duplex printing. If your printer supports duplex printing, do the following:
- On the File tab, click Print or press Ctrl + P.
-
On the Print tab, choose the Print on Both Sides (Flip pages on long edge)
or Print on Both Sides (Flip pages on short edge) option from the appropriate drop-down list:

-
Print on Both Sides (Flip pages on long edge) (left edge for portrait, top edge for landscape)
binding in portrait mode allows pages to be turned side-to-side like a book.

-
Print on Both Sides (Flip pages on short edge) (top edge for portrait, left edge for landscape)
binding allows the pages to be oriented correctly if they are flipped vertically, as in a notepad:

If your printer doesn’t support duplex printing, do one of the following:
-
Use the manual duplex printing:
- On the File tab, click Print or press Ctrl + P.
-
On the Print tab, choose Manually Print on Both Sides
from the appropriate drop-down list:
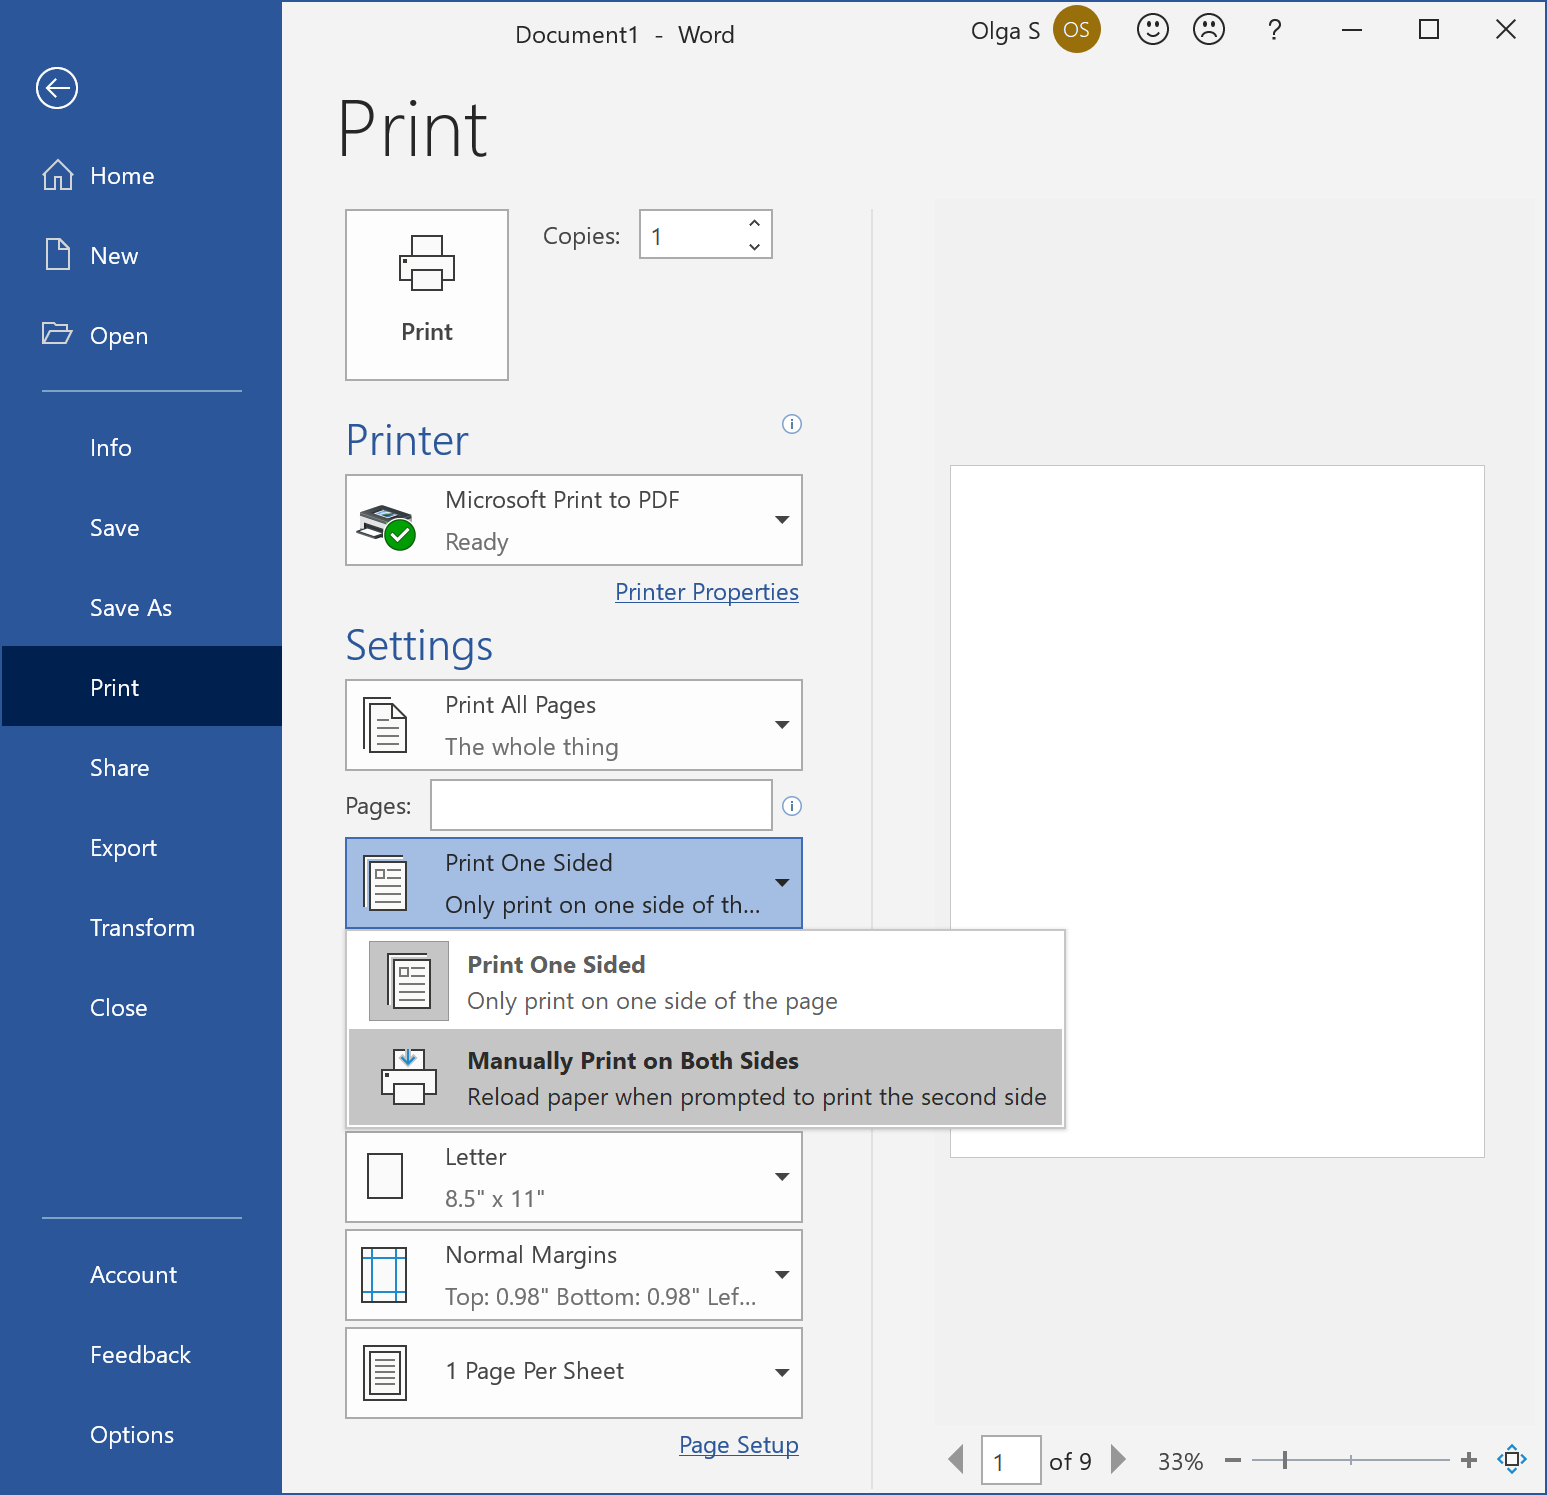
Before starting the manual printing on both sides a large document, we recommend running a small test to determine the correct way to load the pages for your printer.
-
Use the printing of odd and even pages:
- On the File tab, click Print or press Ctrl + P.
-
On the Print tab, under Settings, choose Only Print Odd Pages from the drop-down list:

- After the odd pages are printed, flip the stack of pages over, and then under Settings, choose Only Print Even Pages.
Print multiple pages on one sheet
To print multiple pages on one sheet, do the following:
- On the File tab, click Print or press Ctrl + P.
-
On the Print tab, from the last drop-down list, select how many pages to print on one page:
